
Add Ons
Learn how to enhance your Botsonic experience by activating and managing various add-ons.
How to Activate Add-Ons
Note: Access to add-ons varies with the plan you've chosen.
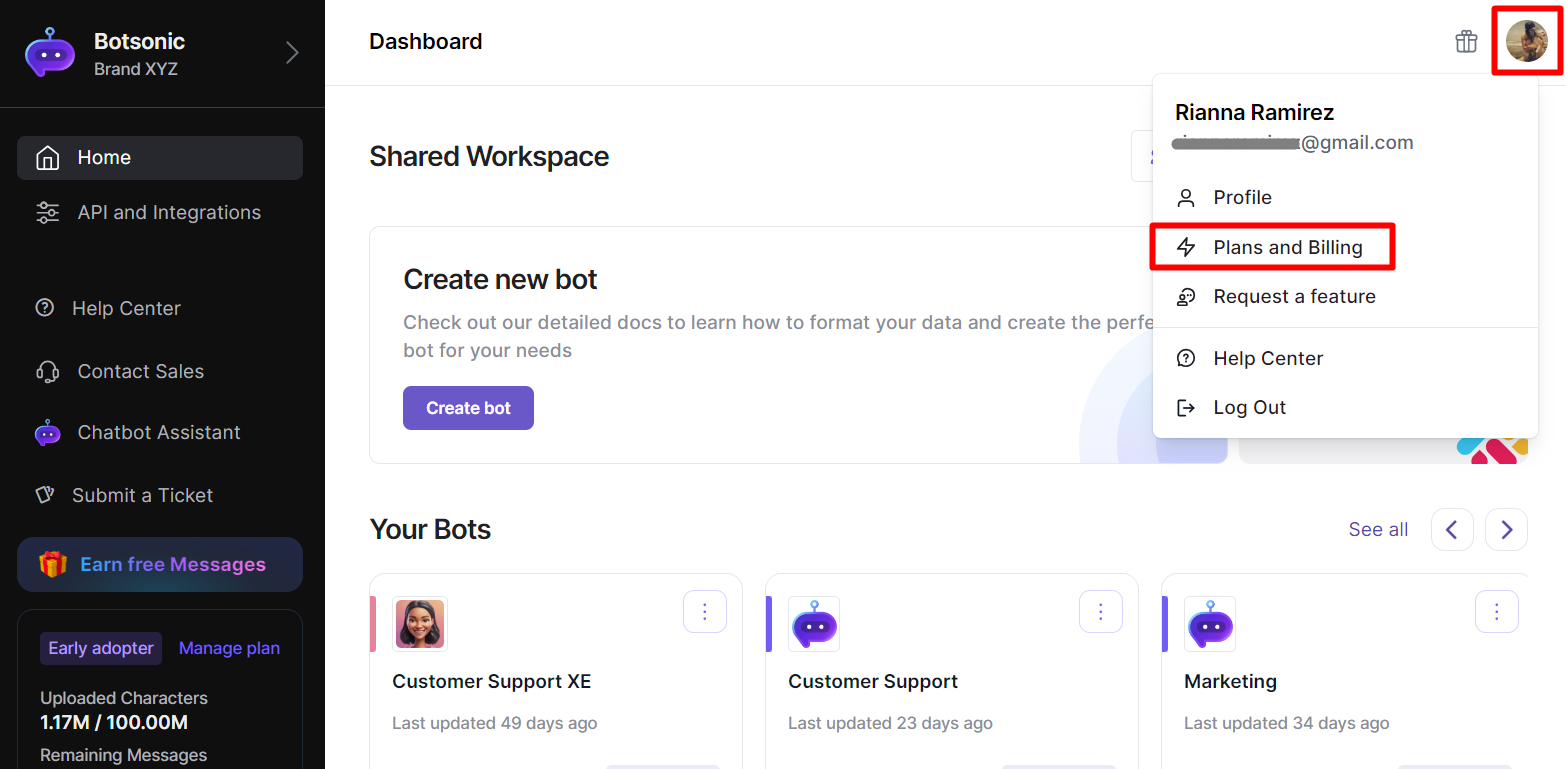
- Access your Plans and Billing page, click your [avatar] at the top right corner of the page, then select [Plans and Billing].
- Scroll down to the bottom of the page towards the [Add Ons] section.
- Toggle the controls of the add-on to see the new pricing per month.
- Click [Change Plan] to activate the add-on.
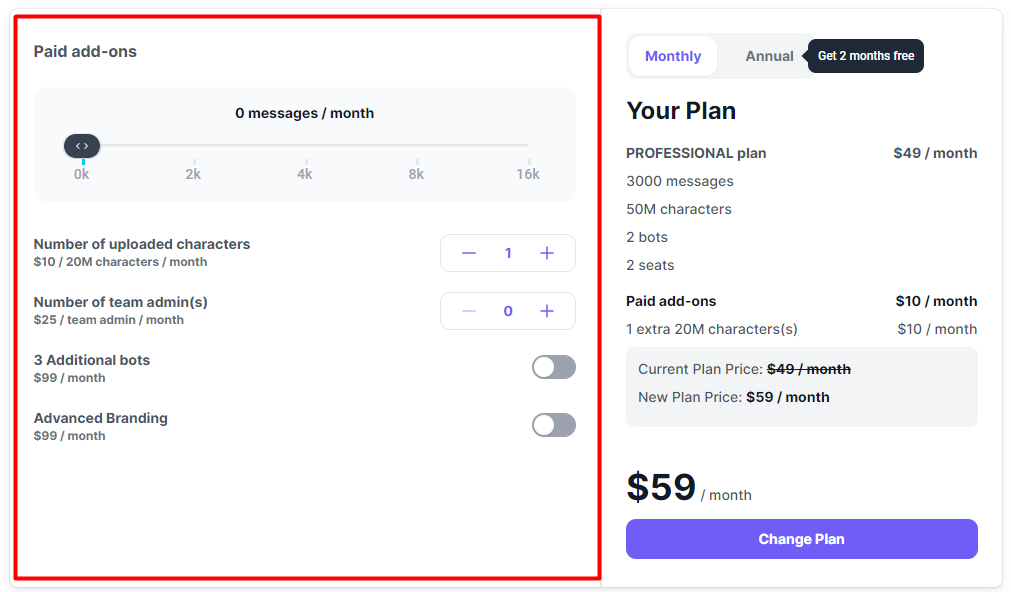
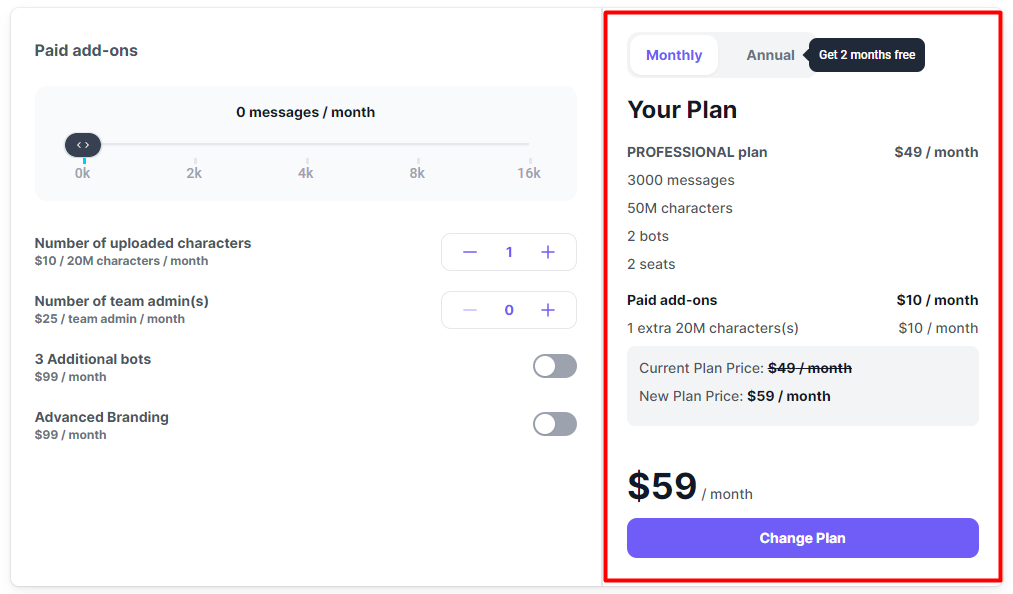
View the breakdown of fees and inclusions of your plan when activated
Available Add Ons
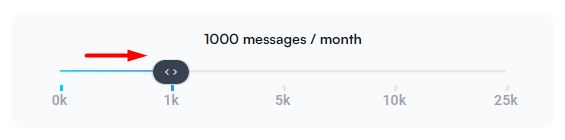
Increase the Number of Messages per Month
- Scale your chatbot's capacity by increasing the number of messages it can handle each month.
- Move the slider towards the right to select the number of additional messages per month
Add Team Members
- Collaborate more effectively by adding additional team members to your Botsonic workspace.
- Click the [-/+] dials to adjust the number of team members you want to add to your team.

Increase Uploaded Characters per Month
- Expand your chatbot's knowledge base by increasing the number of characters you can upload each month.
- Click the [-/+] dials to adjust the number of uploaded characters per month (1 unit is equal to 20M characters per month)

Zendesk Live Agent Handoff
- Seamlessly transition from chatbot to human support by enabling the Zendesk Live Agent Handoff.
- Toggle the switch to enable Zendesk Live Agend Handoff.

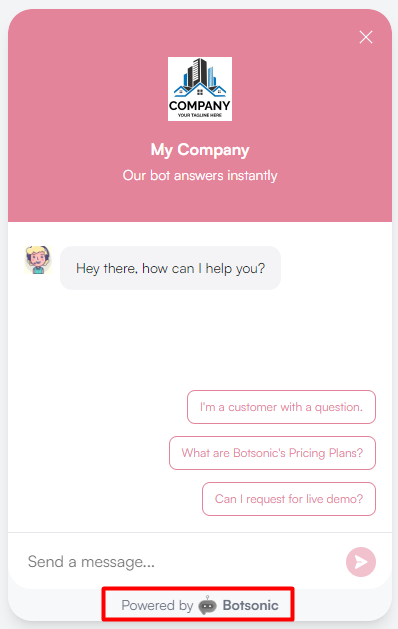
Hide Botsonic Branding
- Customize your chatbot's appearance by removing the "Powered by Botsonic" branding.
- Toggle the switch to enable the ability to hide the "Powered by Botsonic" branding on the chatbot
- Then go to the Bot's Settings Page to hide it. Read this article to learn more aboutBot Settings > How to Hide the Botsonic Brand

Updated 8 months ago
Did this page help you?