
Wordpress Integration
Learn how to install your Botsonic chatbot into your Wordpress website
Step 1 - Download and install the Botsonic Wordpress plugin
-
Download the Botsonic plugin
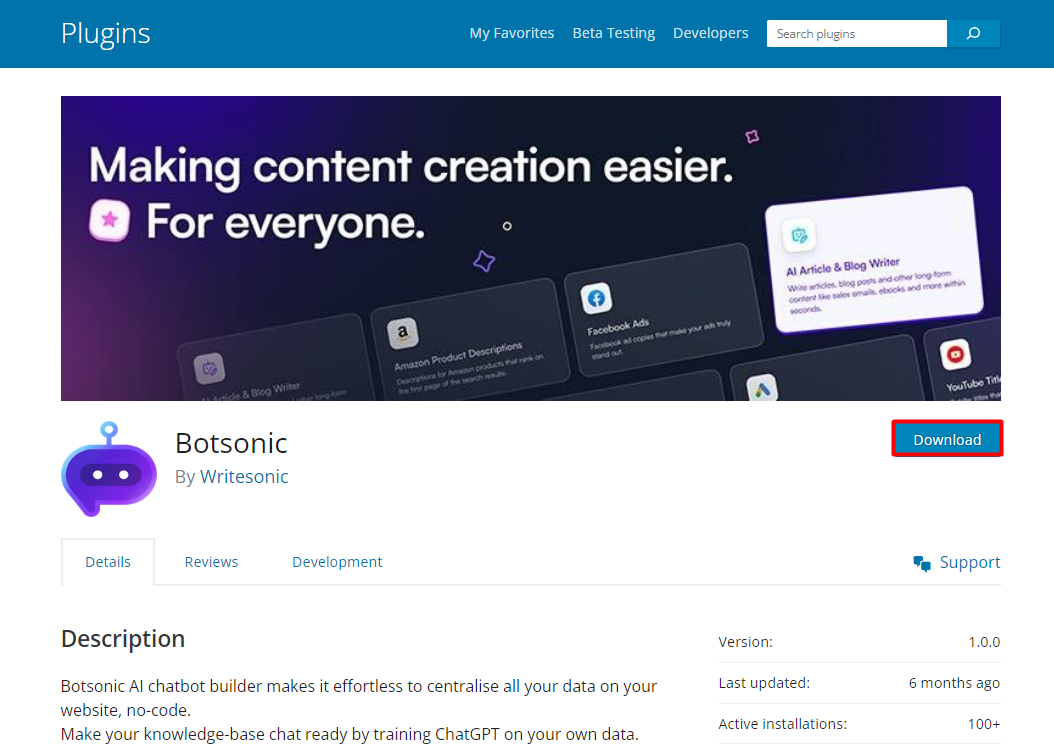
- Install the plugin to your Wordpress account
Step 2 - Connect your Botsonic chatbot
-
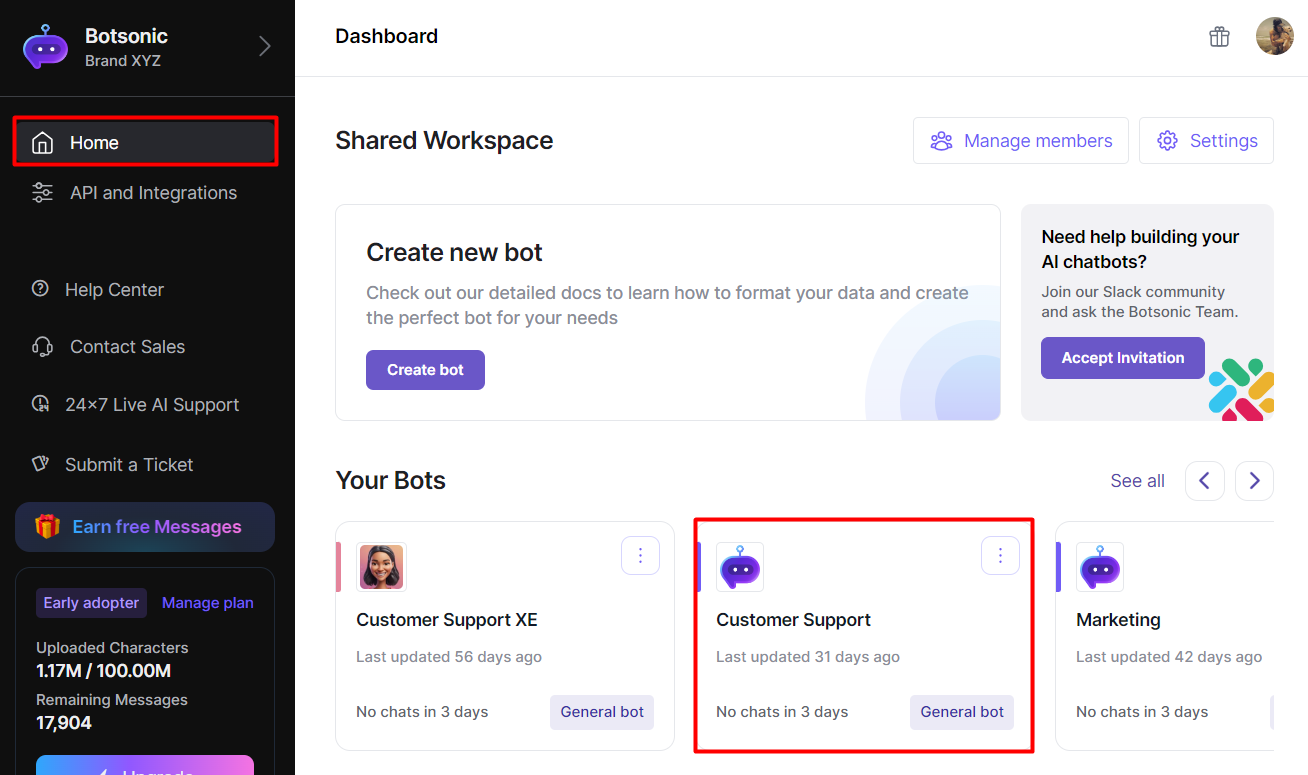
Navigate to your Botsonic Dashboard by clicking on [Home] from the left hand side menu. Then click and open the Bot you want to connect. If you haven't created a Bot yet, read thisQuick Start Guide.
-
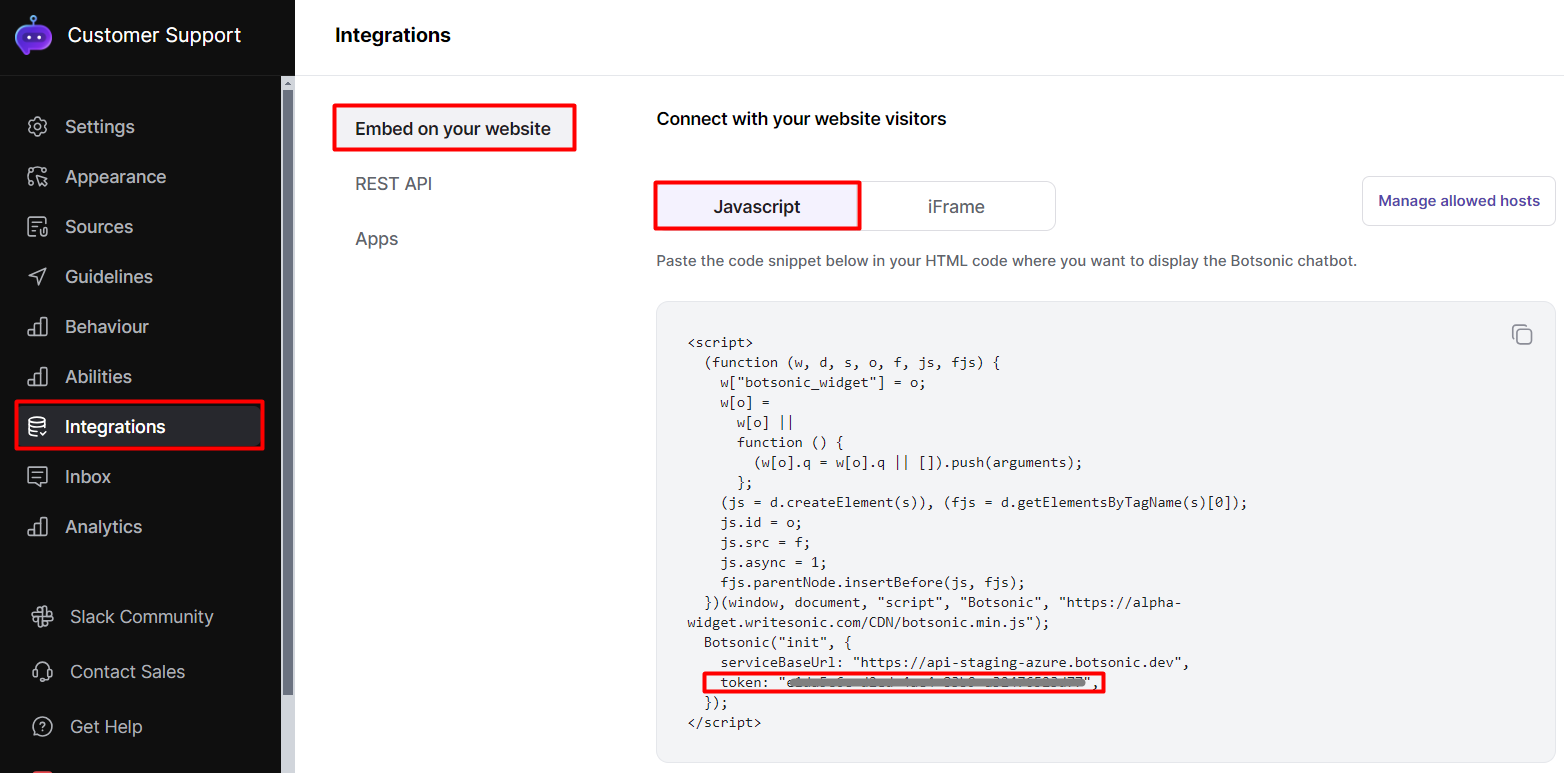
Click [Integrations], then click [Embed on your website]. Copy the chatbot's token to your clipboard (you will need it in the next step).
-
Go to your Wordpress account.
- Navigate to the "Settings" tab on the left hand side menu

- Then click [Botsonic Settings]

- Navigate to the "Settings" tab on the left hand side menu
-
Paste the Botsonic chatbot Token into Wordpress' Botsonic Widget Settings page, then click [Save Changes]


Step 3 - Test the integration
Note: Make sure your Botsonic chatbot is trained with an uploaded file or FAQ that answers the question/message that you're posting
-
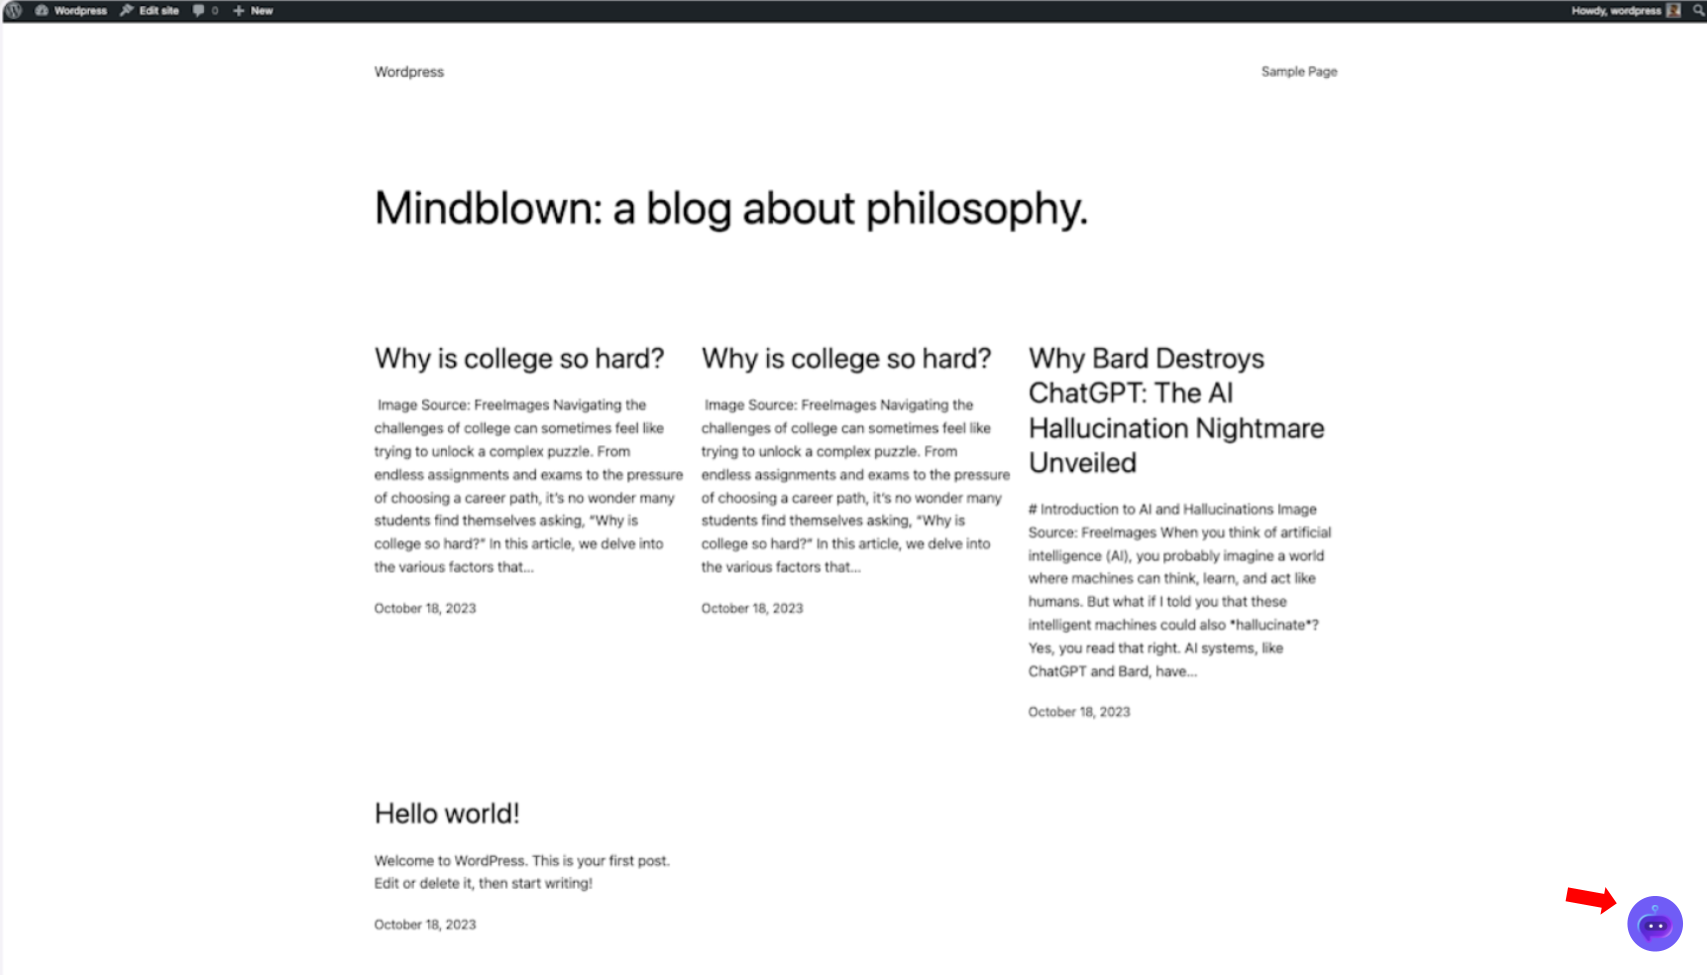
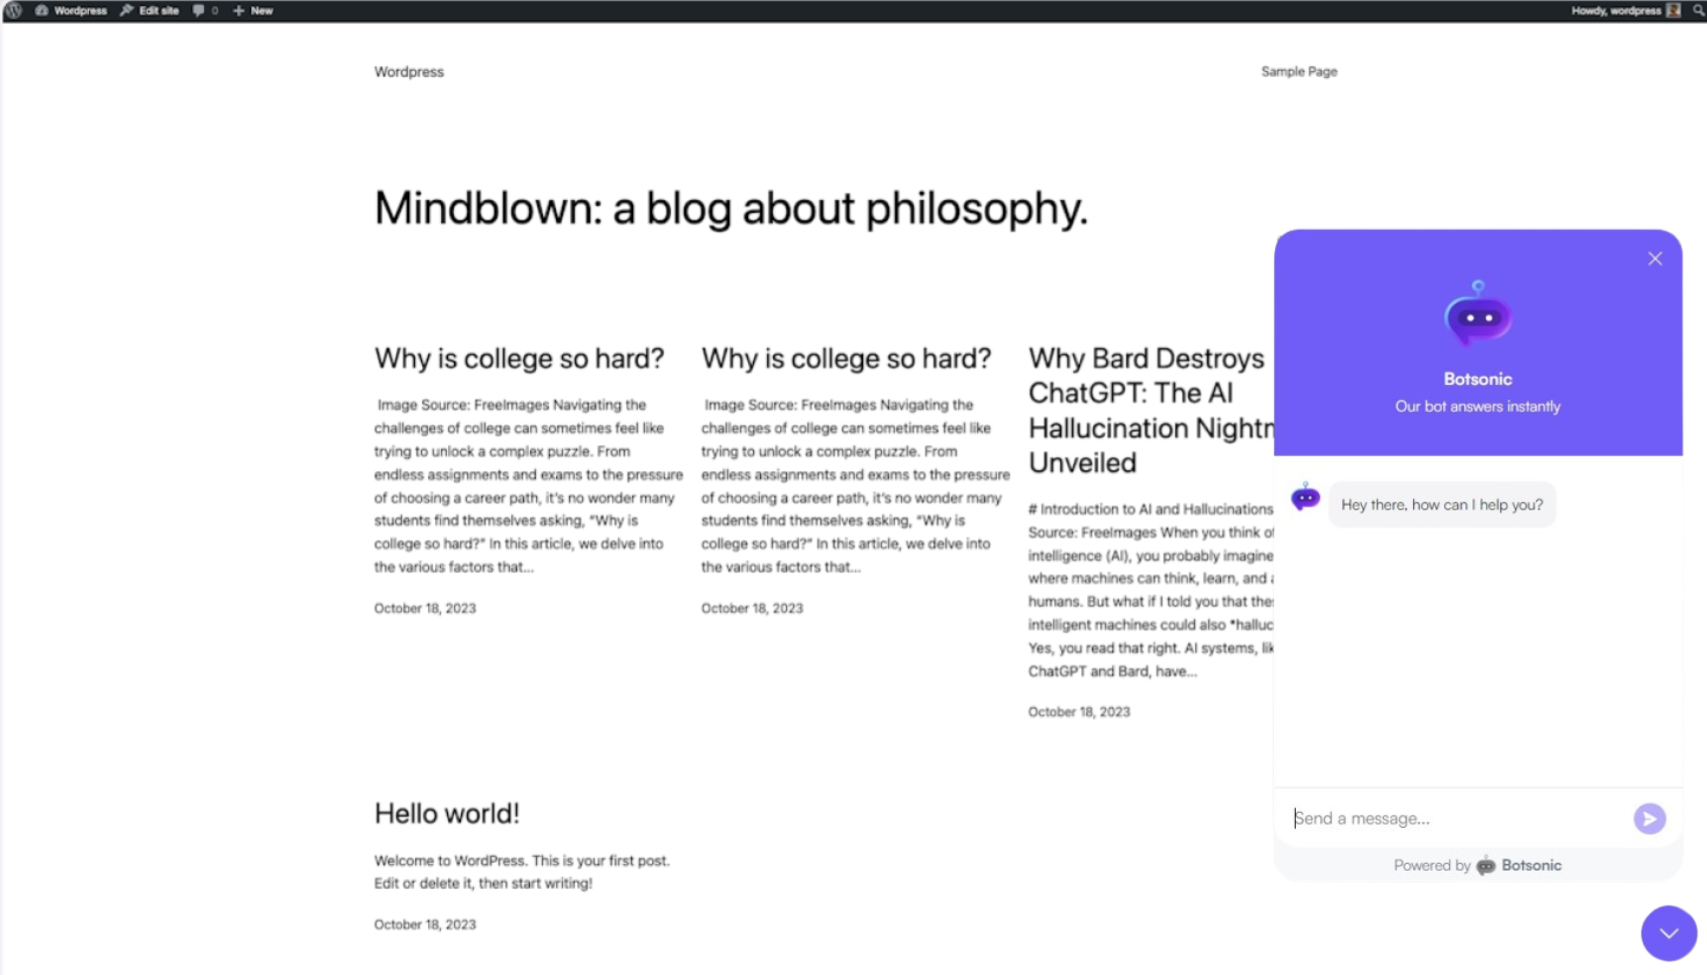
Open your Wordpress website and click the chat bubble icon located at the bottom right corner of the screen.
-
Interact with the chatbot
Updated 11 months ago