
Quick Start Guide
Create and embed a chatbot on any website in just a few minutes
Step 1 - Upload files or links of your knowledge base and help articles.
-
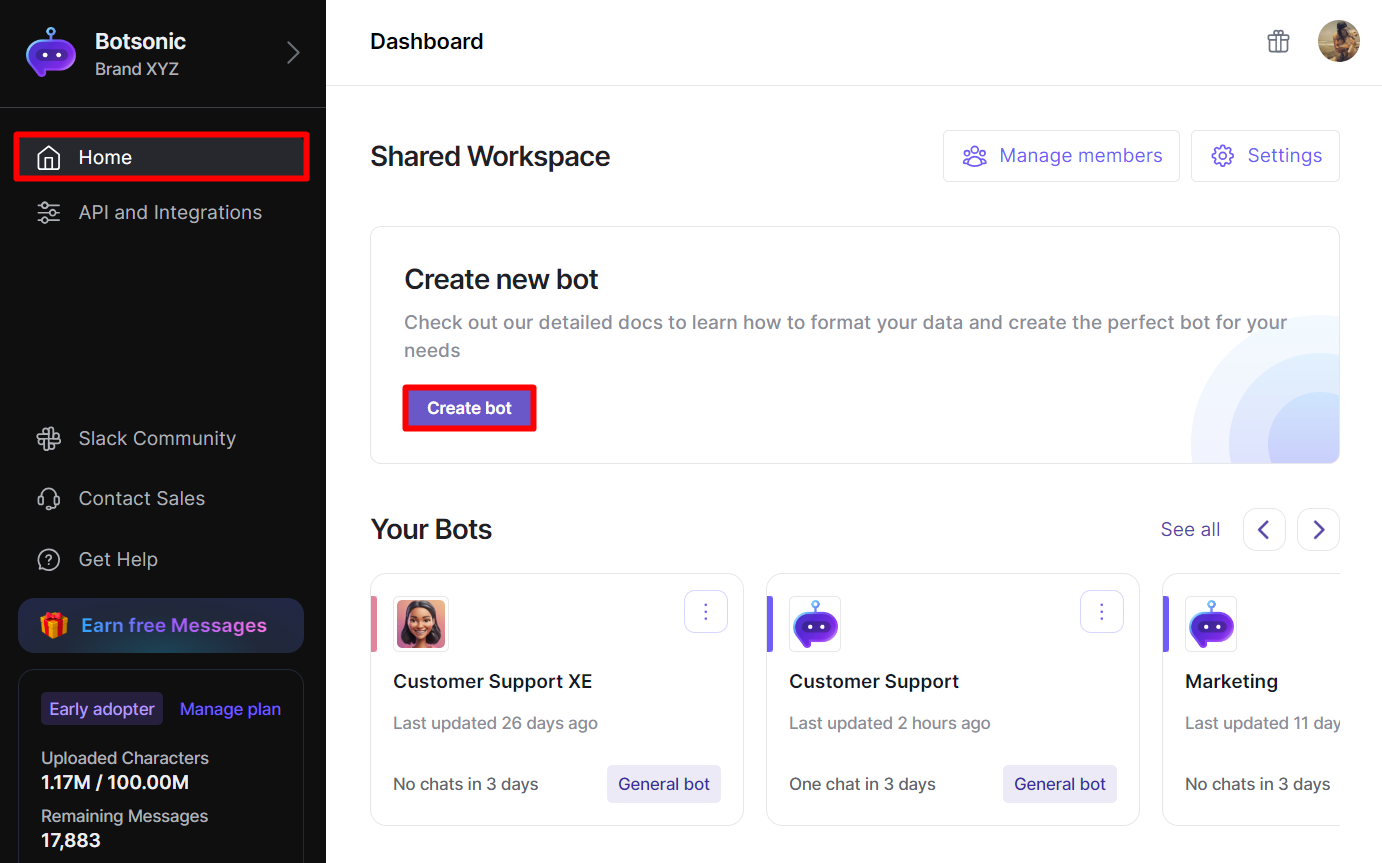
Log into your Botsonic account, click [Home] from the left hand side menu to get to the Dashboard
-
Click [Create bot]
-
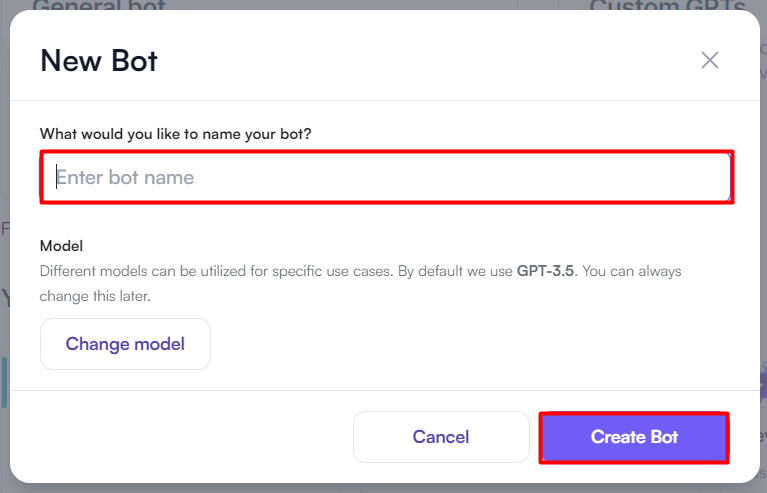
Enter a name for your bot (eg. Customer Support), then click [Create Bot]
-
Upload Files - click the [Sources] tab to upload documents of your knowledge base and help articles.
-
Click the [Files] tab then upload the file/s into the upload box. You can upload multiple files at a time.
-
Click [Upload and Train]

-
-
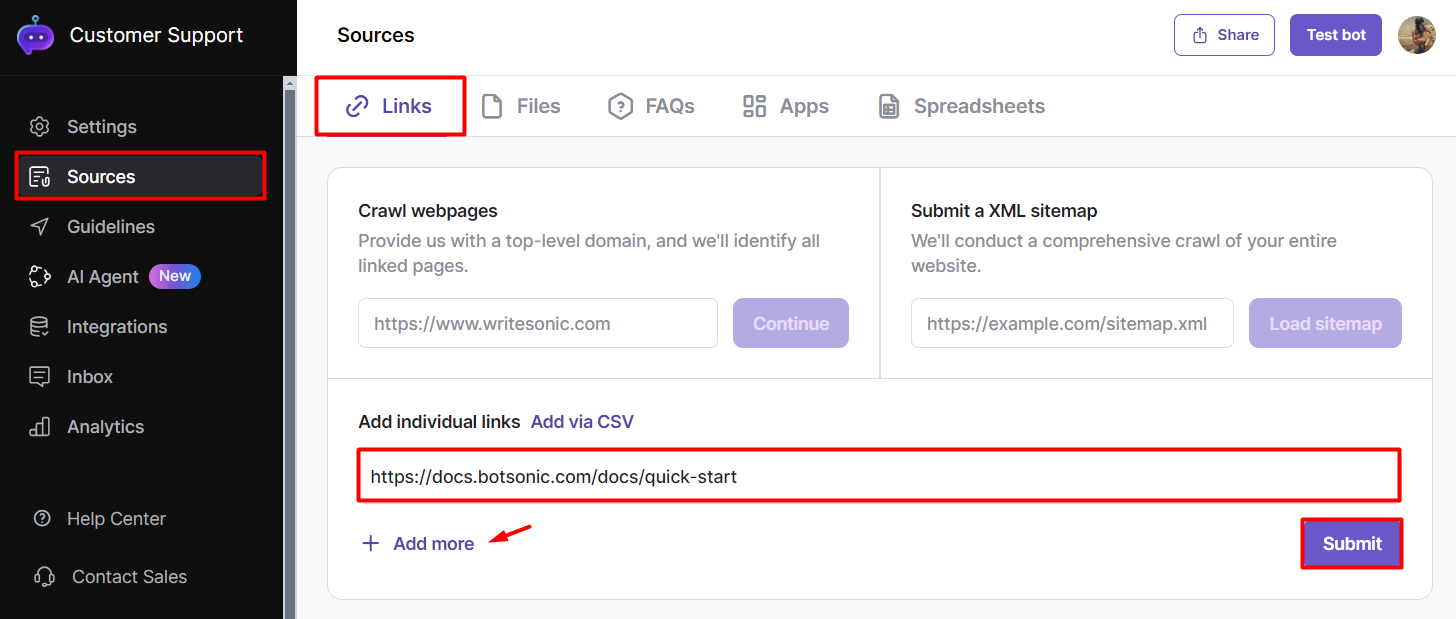
Upload an Individual Link or URL - click the [Sources] tab to add links of your knowledge base and help articles or a link to your website. Read this to learn more about the differentTypes of SOURCES that you can upload to train your bot.
-
Click the [Links] tab, the paste the link into the space provided, then press enter or click the [+] button. You can add multiple links at a time.
-
Click [Submit]
-
Note:
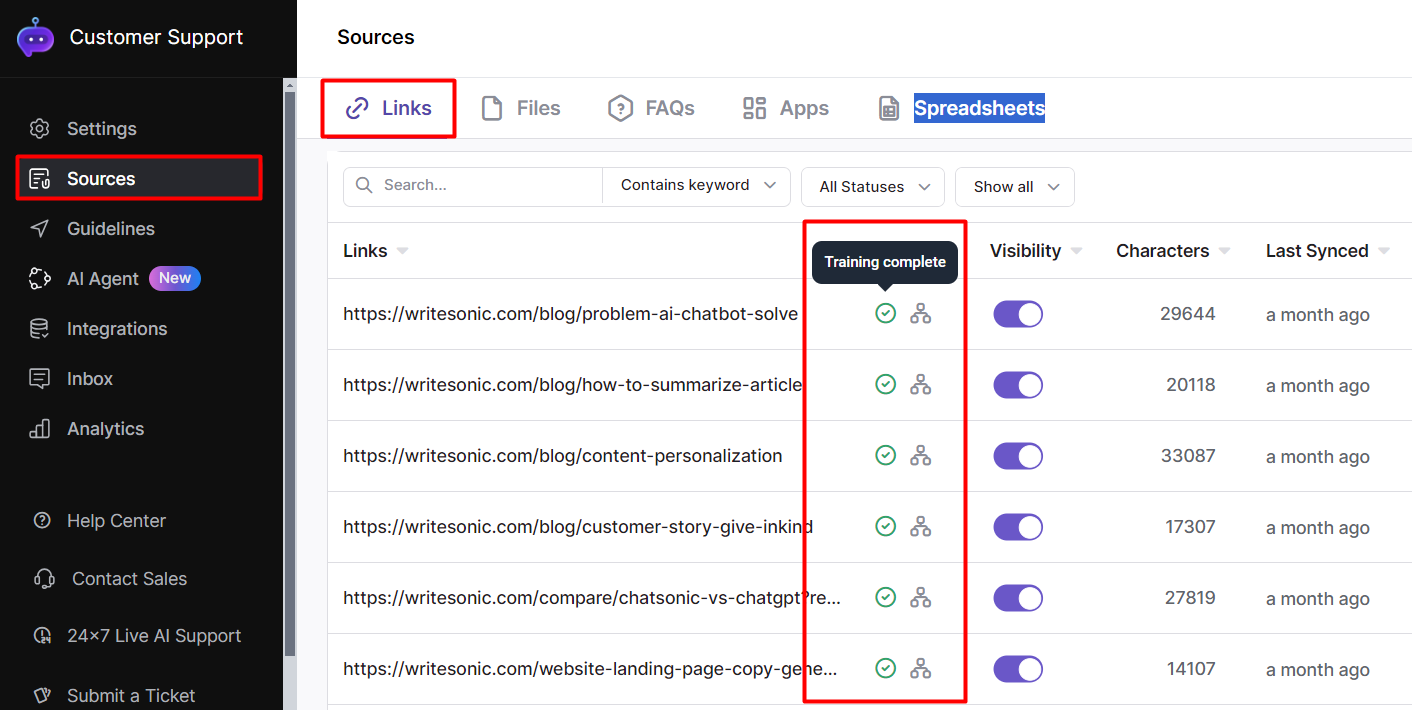
- All uploaded links can be found on the SOURCES > LINKS Page
- You can view the status of the file if it's waiting, processing, and trained.
- Read this article to learn more aboutconfiguring the FILE settings and how to Auto Sync Data from Webpages
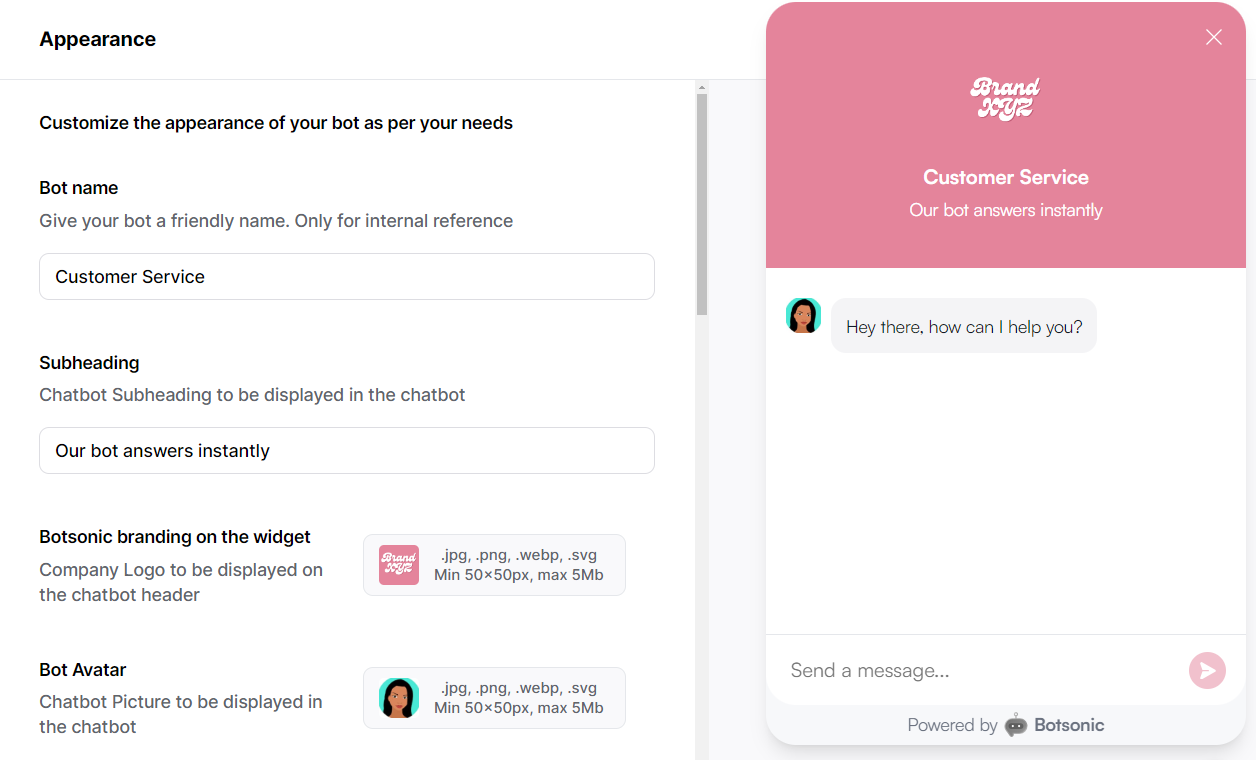
Step 2 - Customize the appearance of your bot
Click the [Appearance] tab on the left hand side menu. Read this step by step guide onHow to Customize the APPEARANCE of Your Chatbot
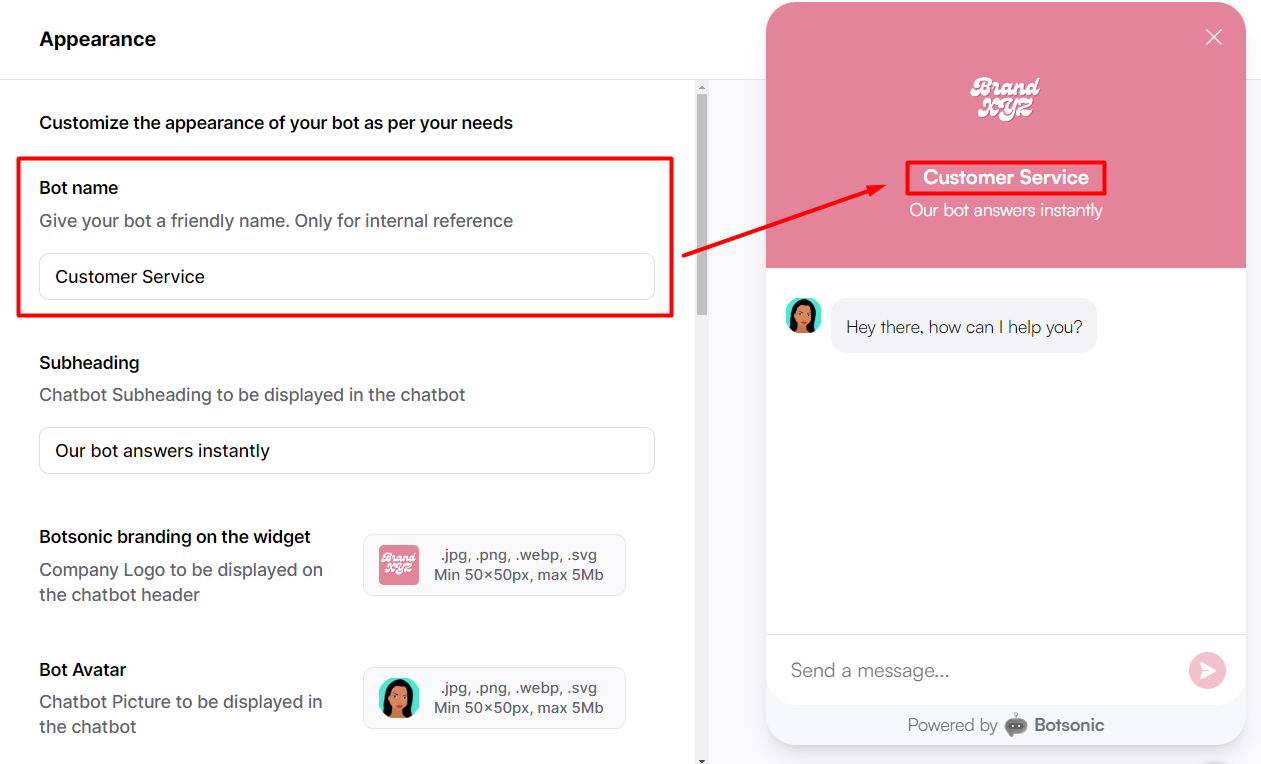
Company Name
Enter your company name
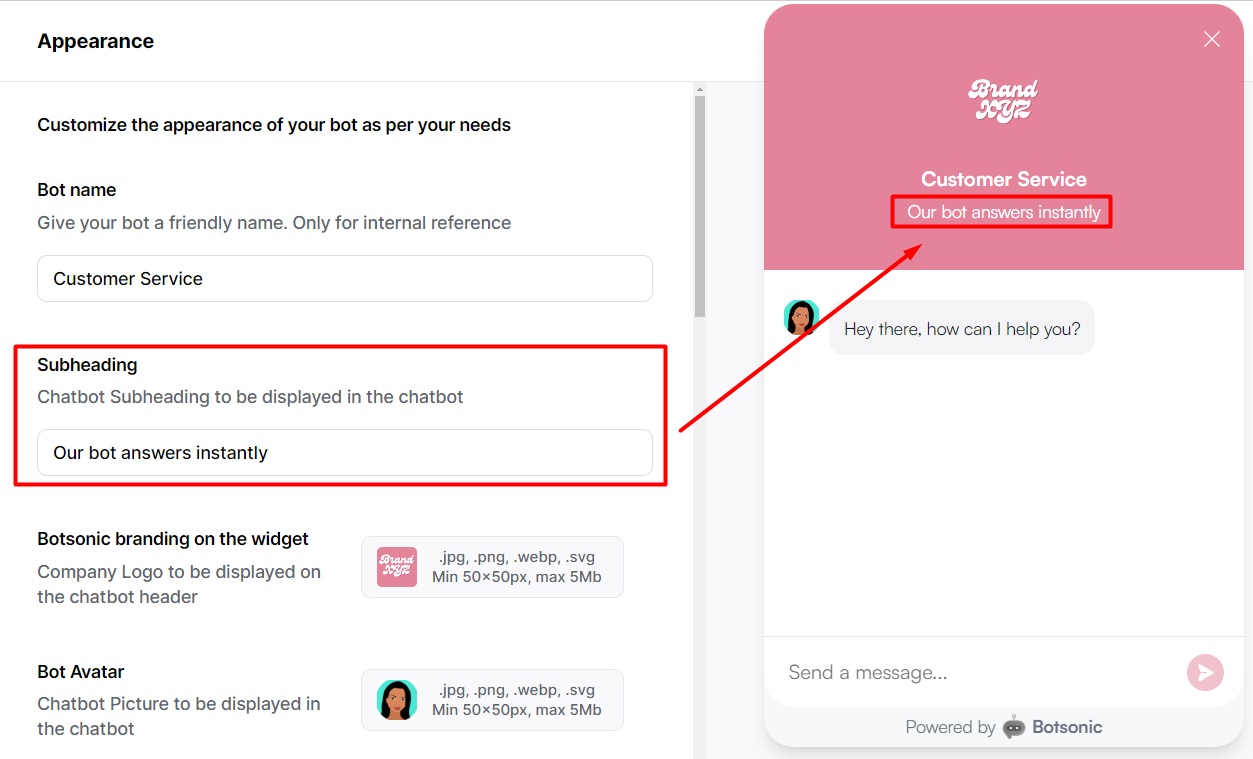
Subheading
Customize your bot's subheading
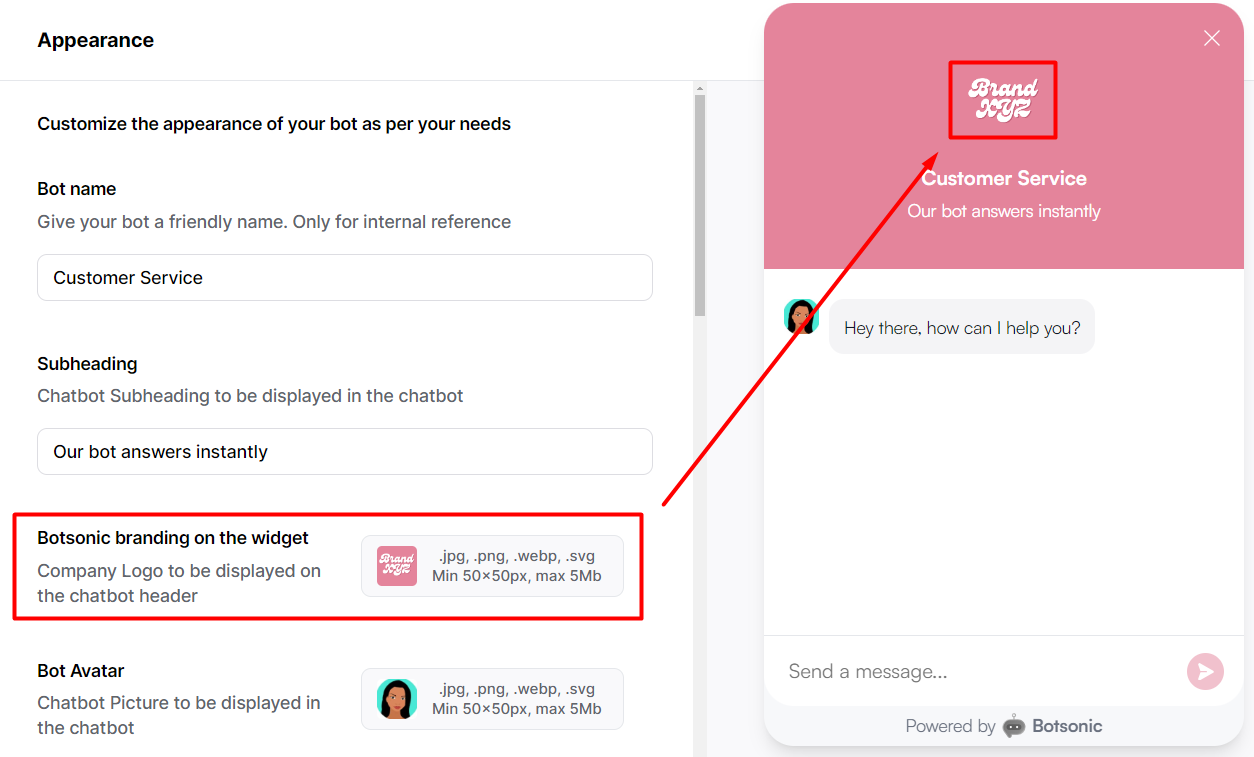
Company Logo
Upload your company logo
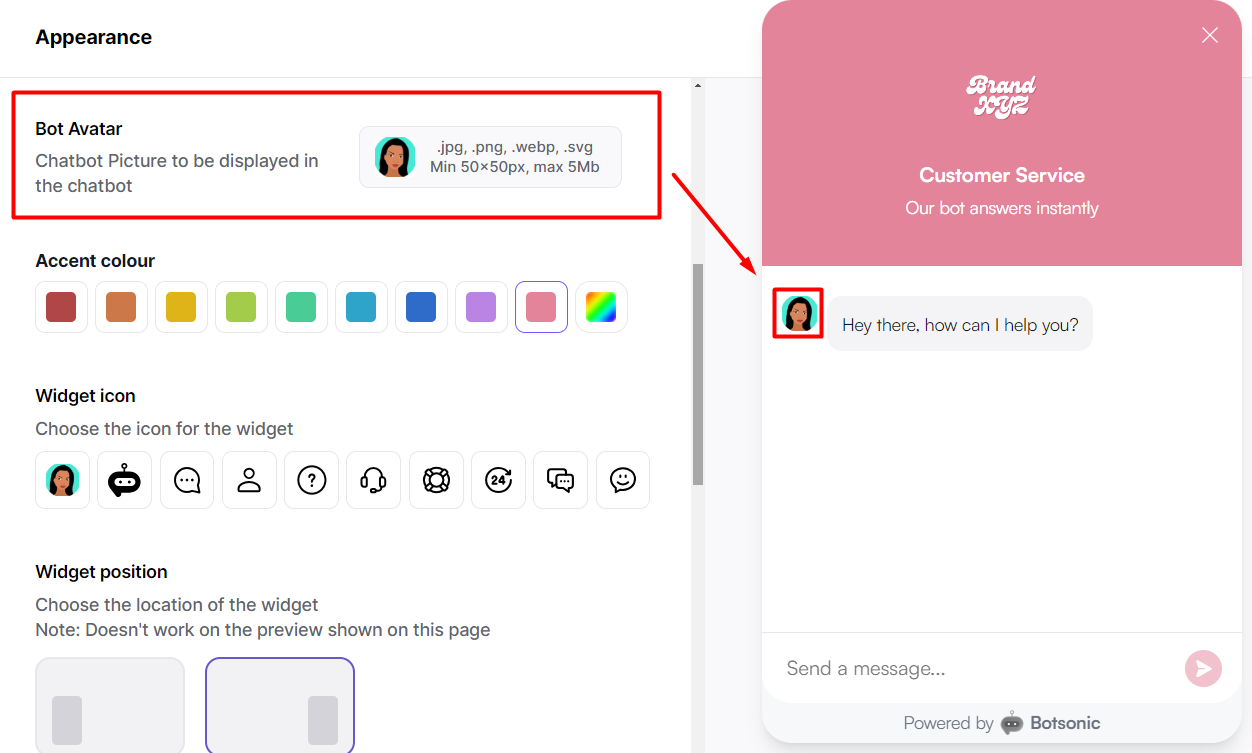
Bot Avatar
Upload an avatar for your bot
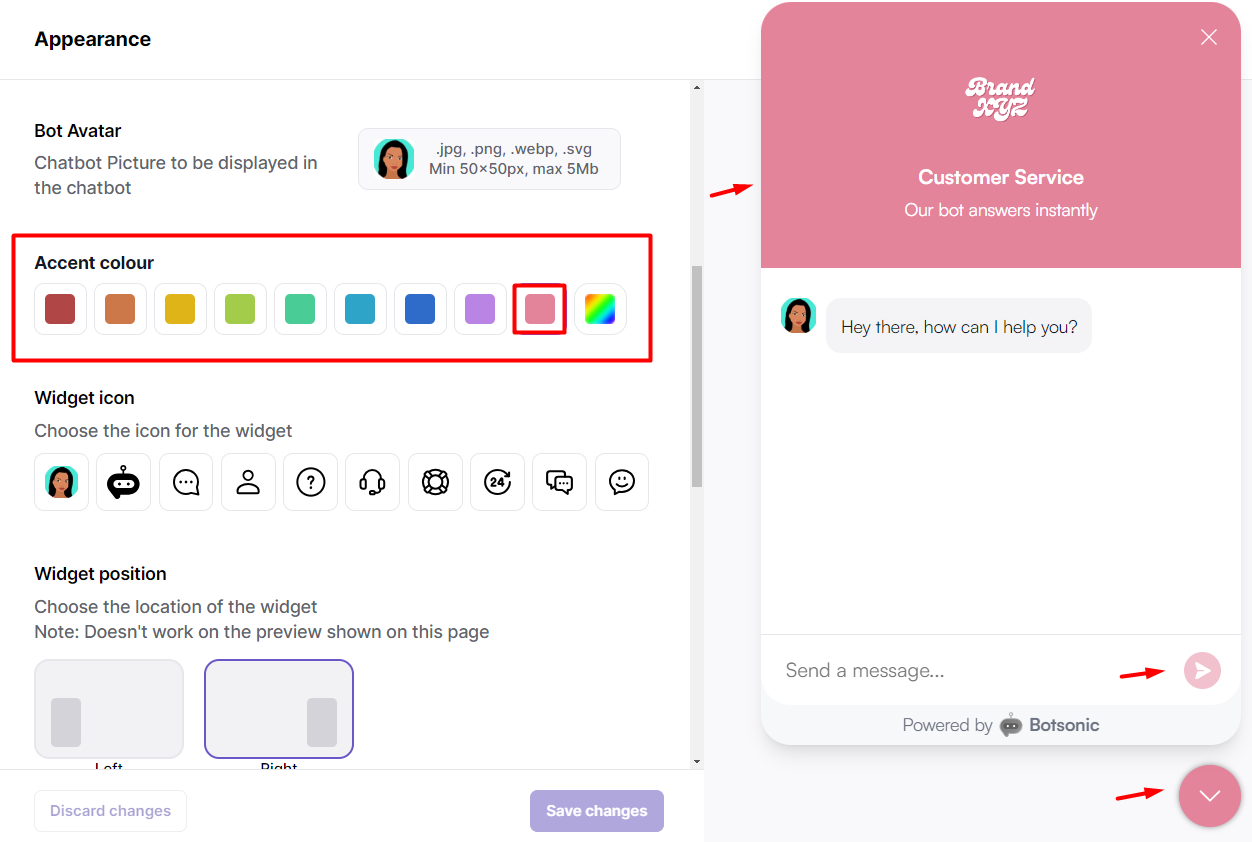
Accent Color
Select an accent color
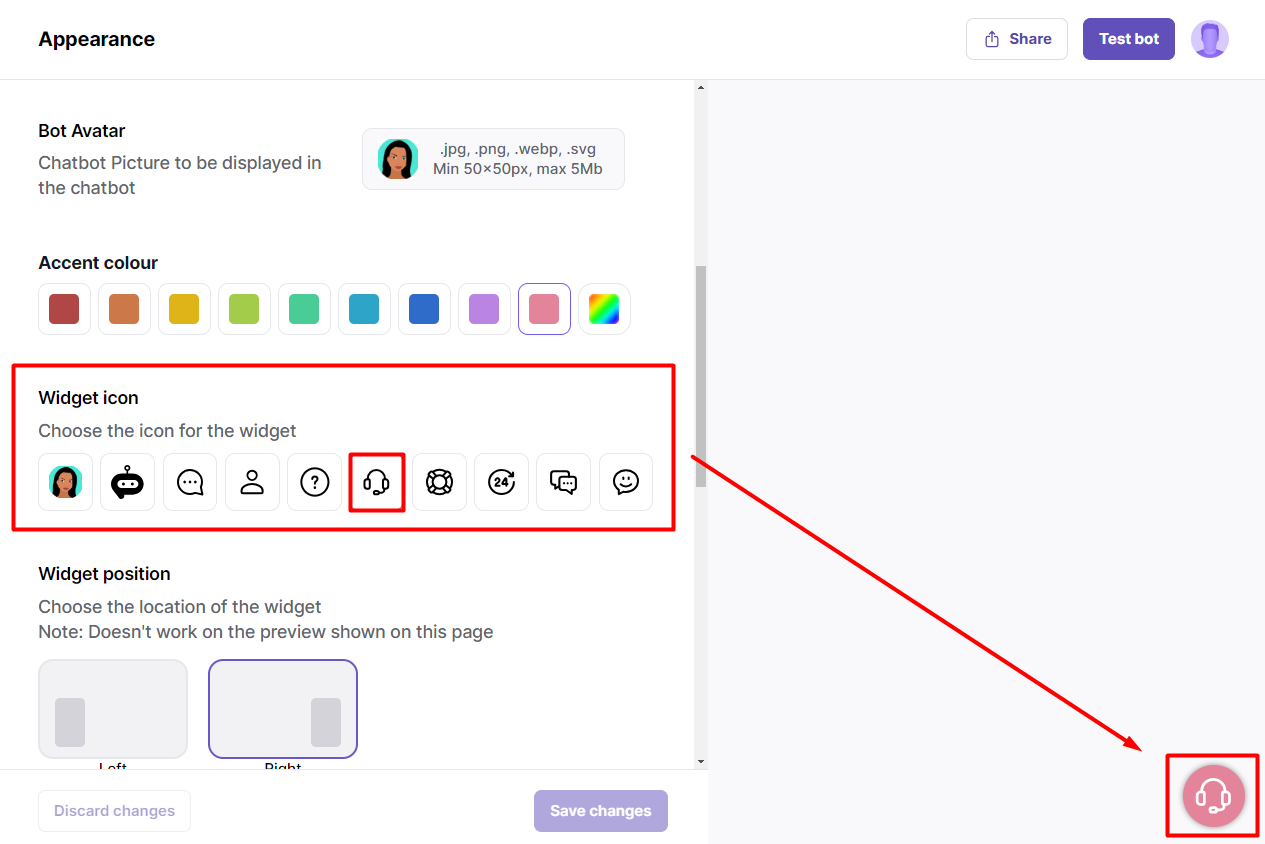
Widget icon
Select an icon for the chat widget
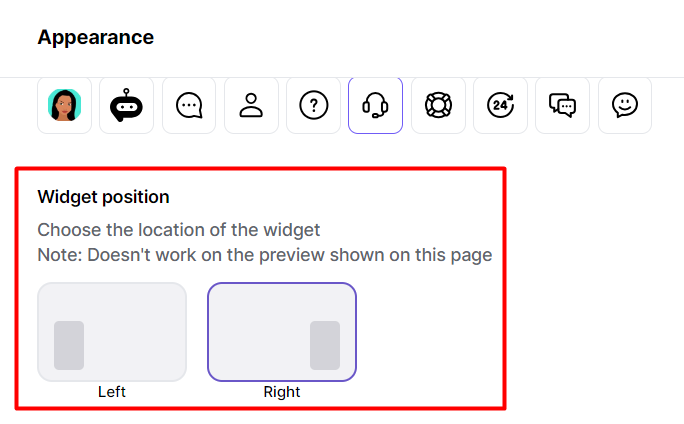
Widget Position
Select left or right for the widget position on your website's screen
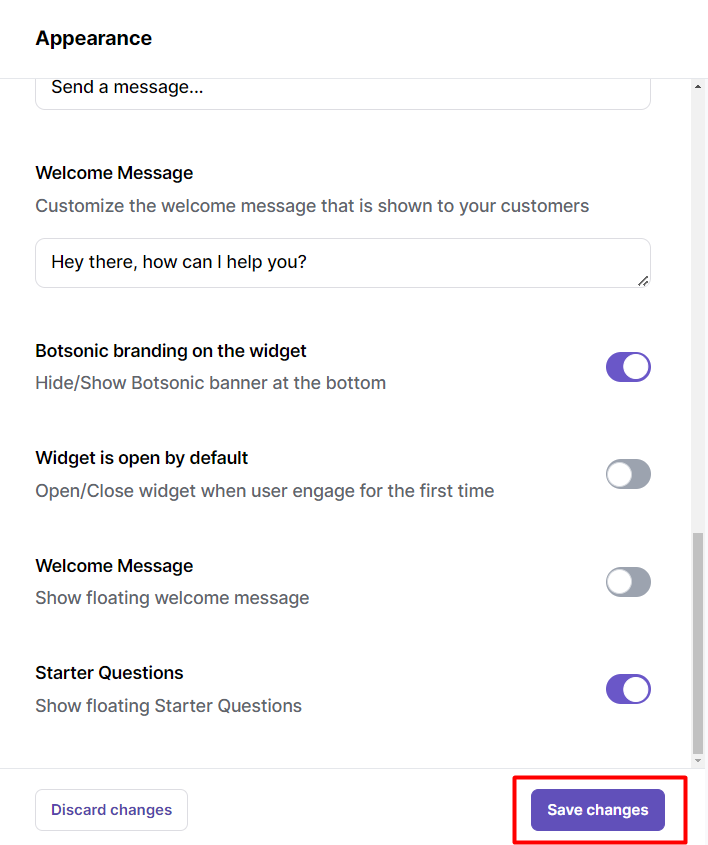
Widget is Open by Default
Select a setting to open/close the widget by default
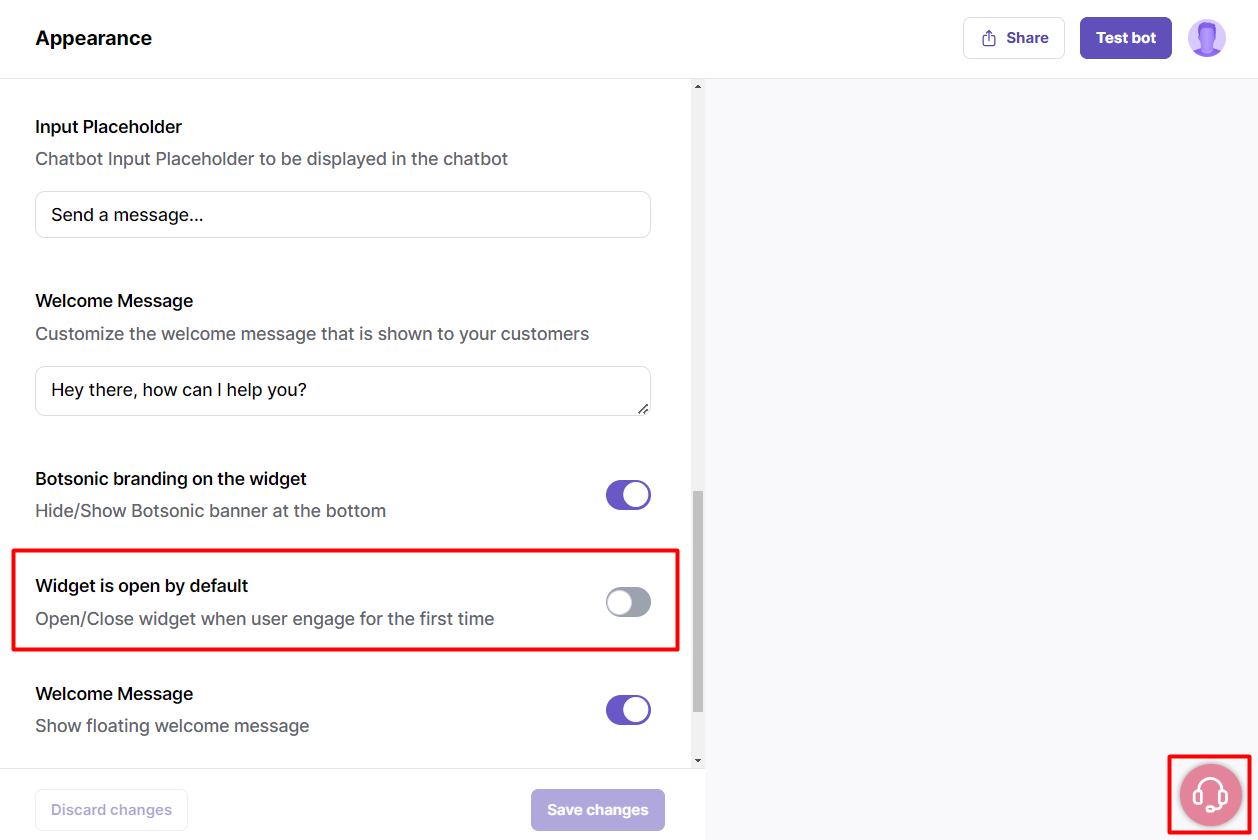
Don't forget to SAVE your changes!
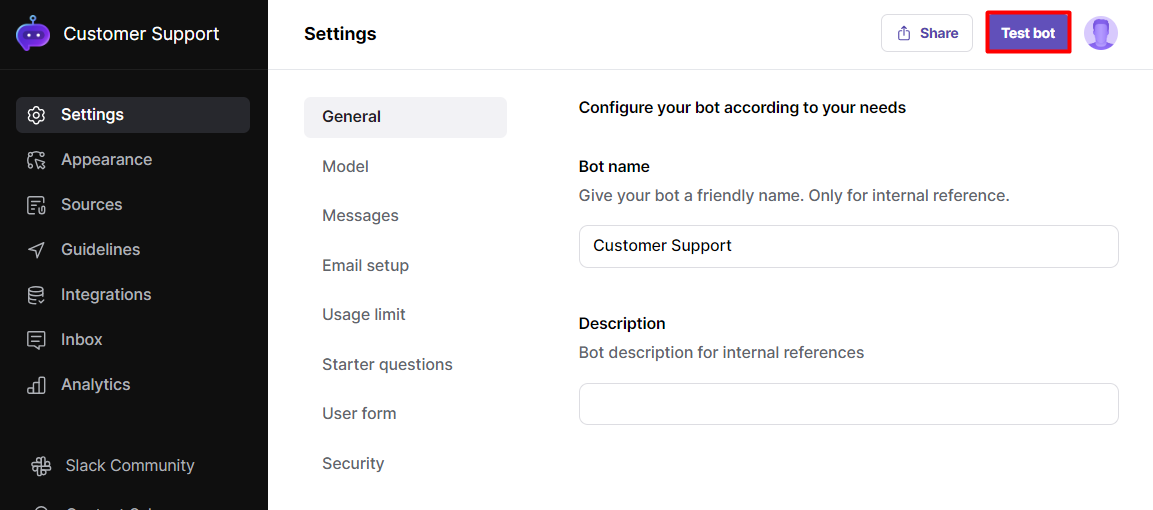
Step 3 - Test your bot
Note: Make sure your Bot has been trained with the question/message you're posting.
-
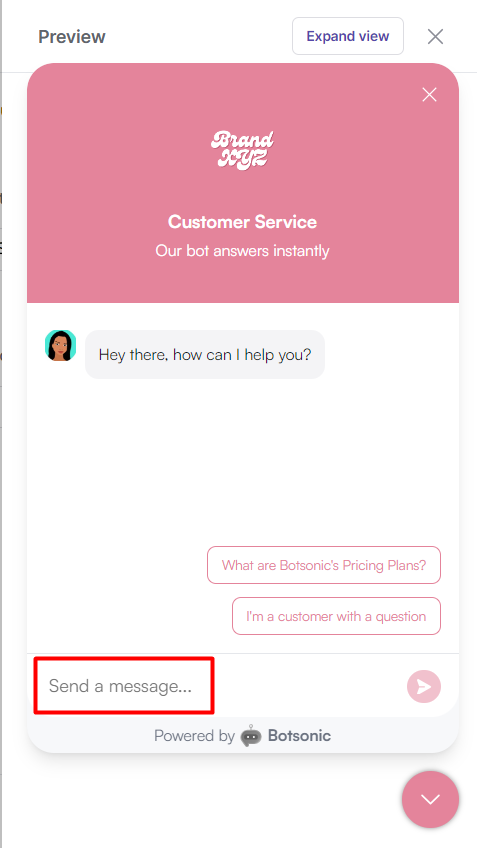
Click [Test bot] from the top left corner of the page to open the [preview pane]
-
Enter a question, make sure the answer can be found on all the files and/or links you've uploaded
-
Enter a couple of more questions to thoroughly test your bot's responses.
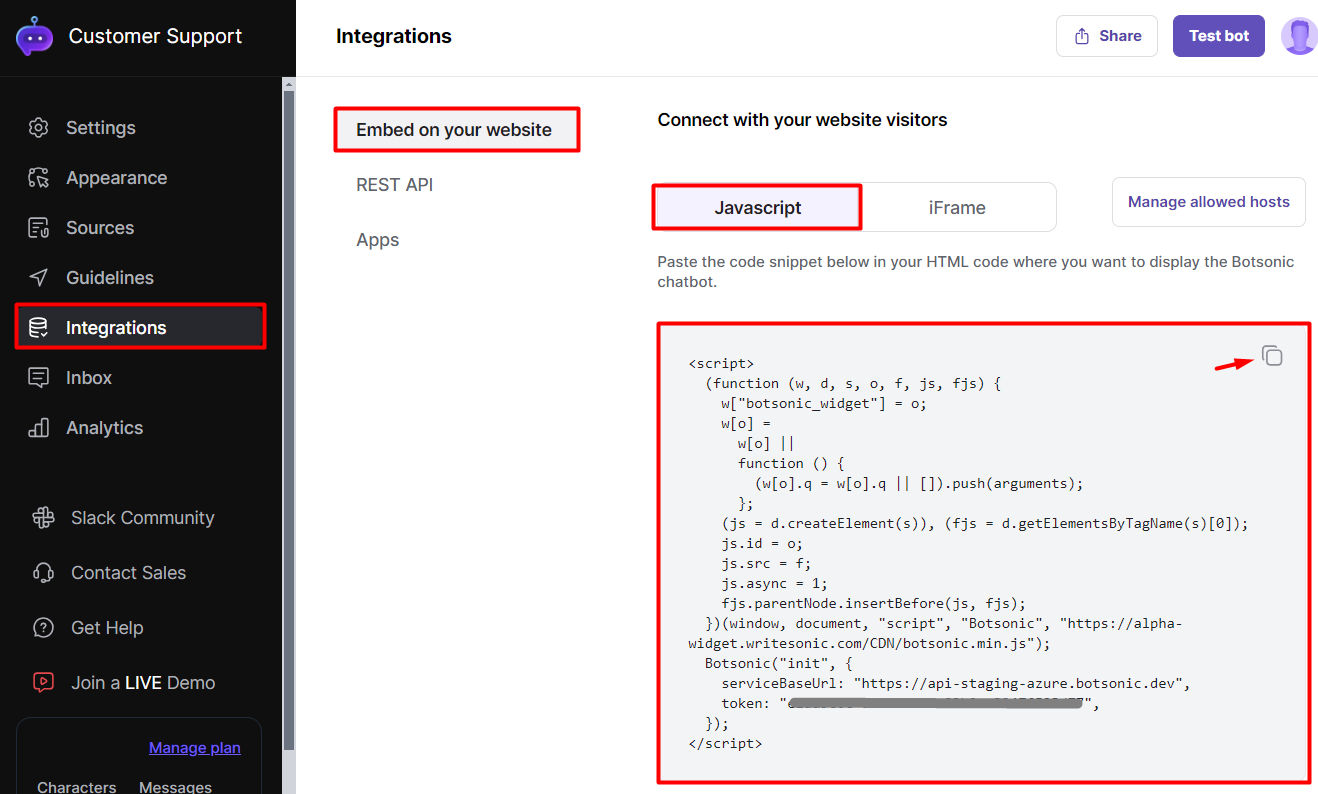
Step 4 - Embed the bot on your website!
- Click the [Integrations] tab
- Select [Embed on your website], then click [Javascript]
- Copy the embed code (click the copy icon to easily copy the code to your clipboard)
- Paste the code into your website's HTML code where you want to display the chatbot.
Want to start configuring your Bot?Read this step by step guide on How to Configure Your BOT SETTINGS
Updated 8 months ago