Calendly Integration
Learn how to enable the Bot to schedule appointments for your users through your Calendly account
This integration allows the Bot to provide your users the ability to seamlessly set up an appointment through your Calendly account within the chat interface.
Step 1 - Connect & Install
-
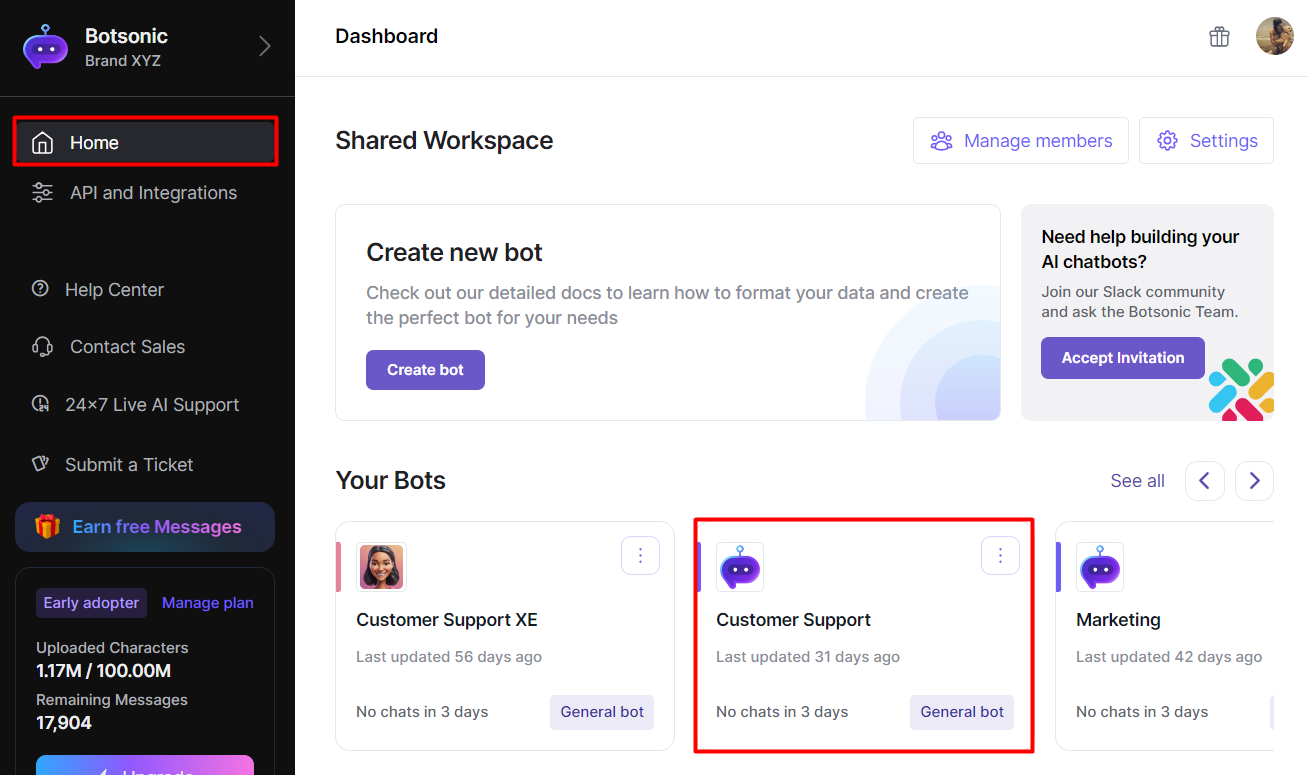
Navigate to your Botsonic Dashboard by clicking on [Home] from the left hand side menu. Then click and open the Bot you want to connect. If you haven't created a Bot yet, read thisQuick Start Guide.
-
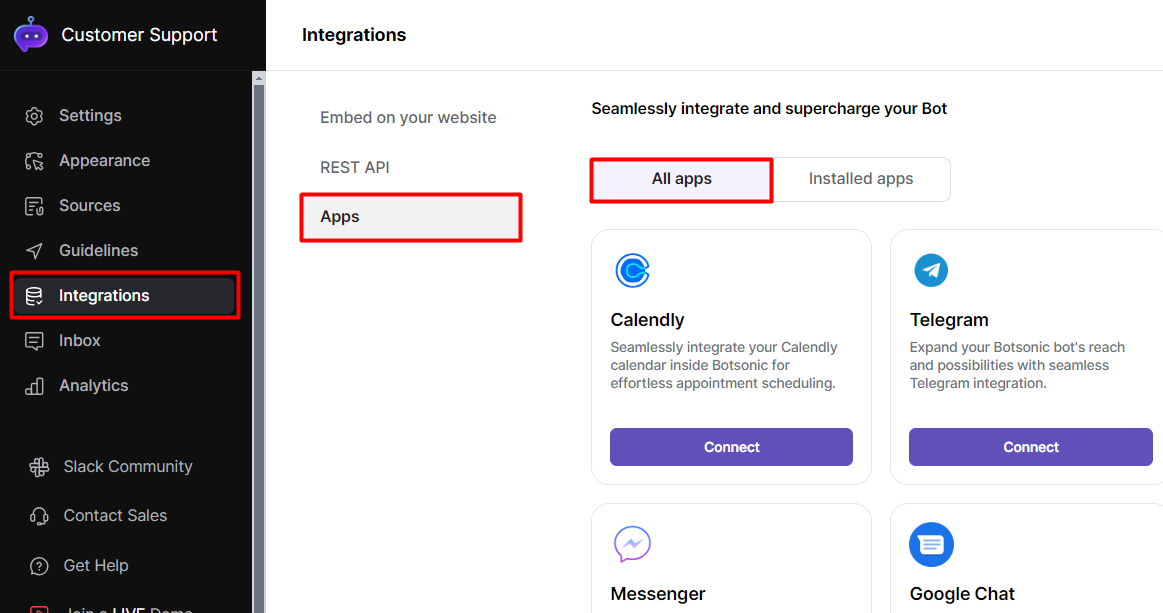
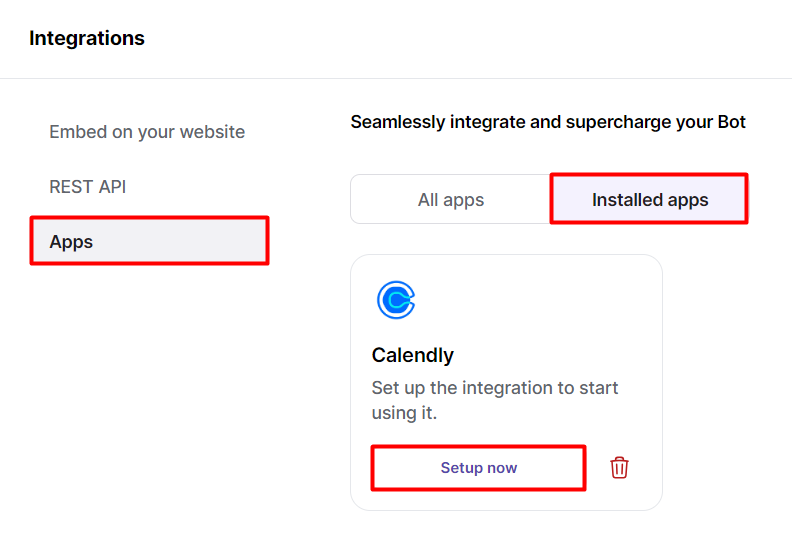
Click [Integrations] from the left hand side menu, then click [Apps]
-
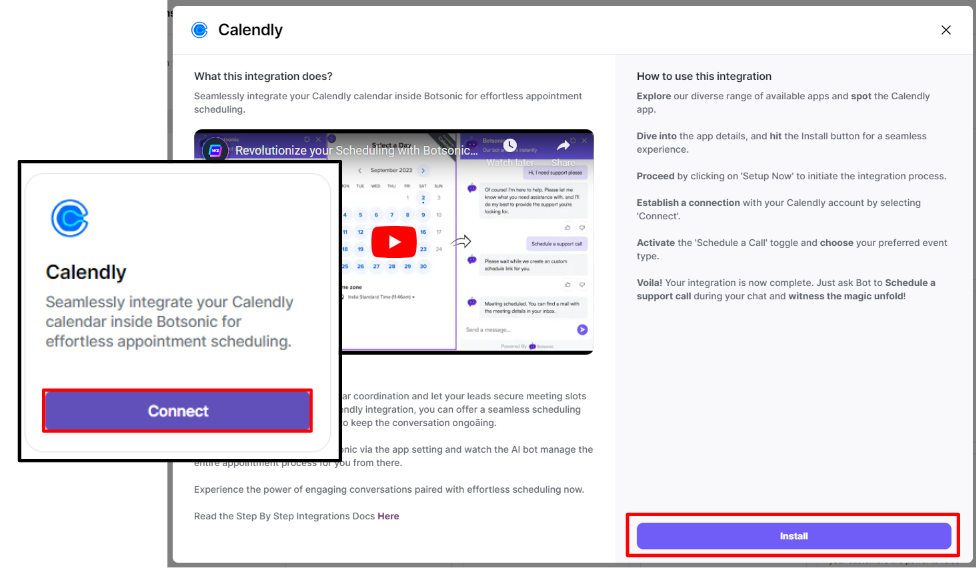
Look for the [Calendly] integration. Click [View], then click [Install]
-
Go to [Installed apps], look for the [Calendly] integration. Click [Connect], then click [Install].
-
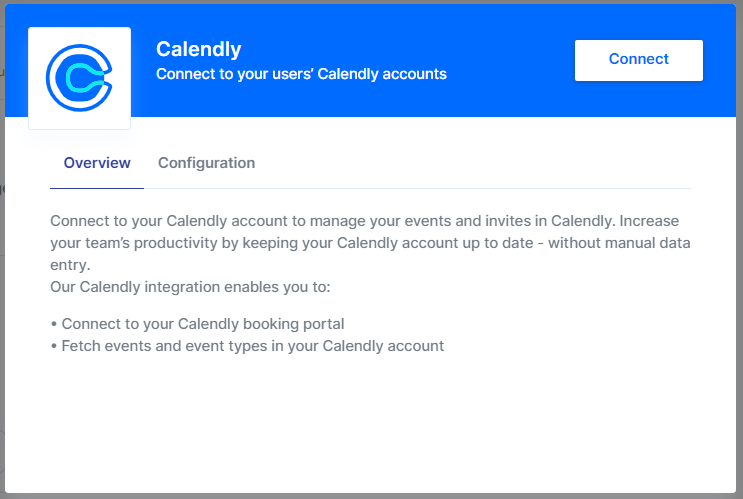
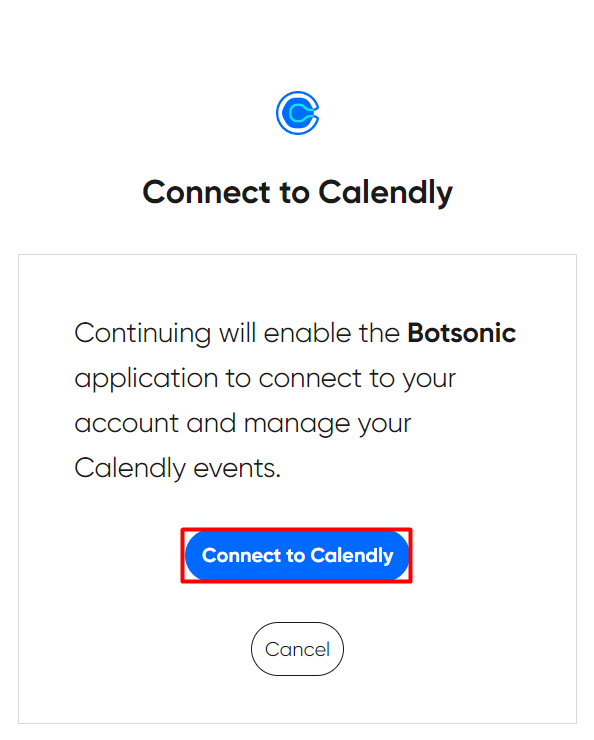
Click [Connect] on the Slack dialogue box (this may take a few seconds), then click [Connect to Calendly
-
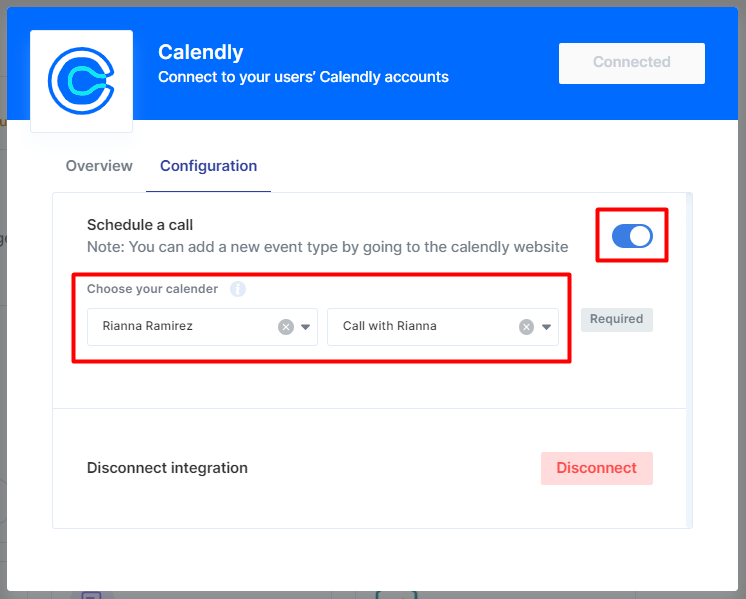
Turn ON the [Schedule a call] toggle and select your calendar event type.
Step 2 - Test the integration
- Interact with the Bot.
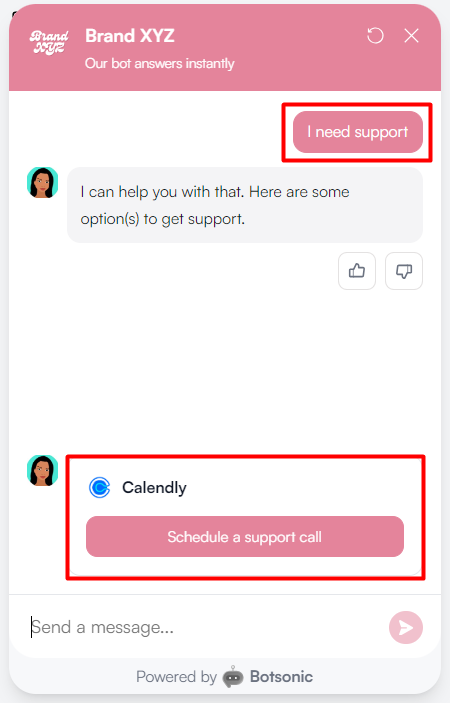
- Type in your message, eg "I need support." The Bot will provide an option to schedule a support call.
- Click the [Schedule a support call] button
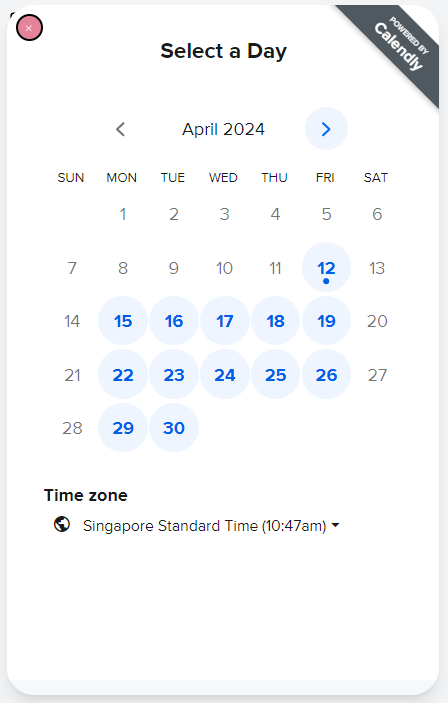
- Select a desired time slot for the support call. The time slots are directly fetched from your Calendly account.
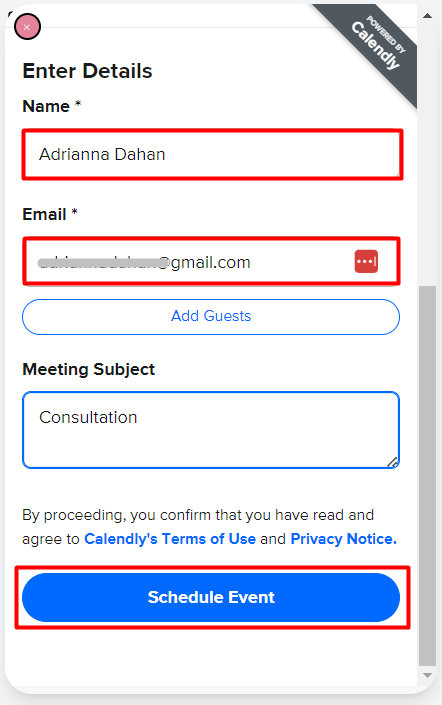
- Enter the details requested for the meeting, then click [Schedule Event]
-
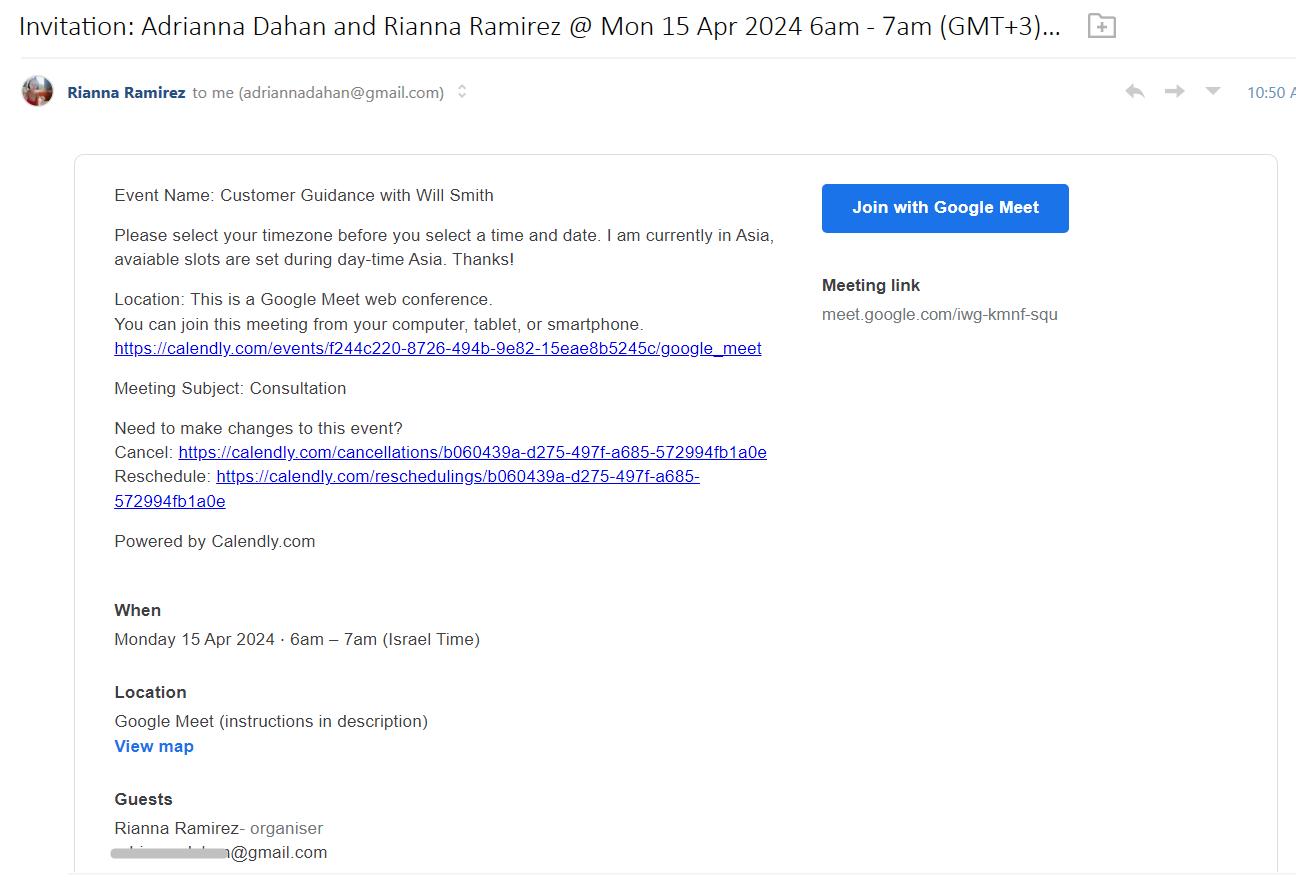
Go to your email inbox to see the confirmation email from Calendly.
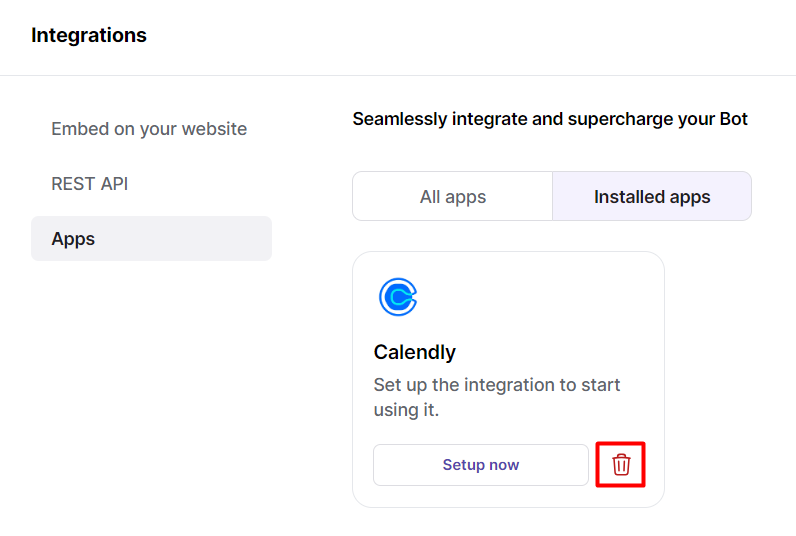
To delete or remove the Calendly integrationClick on the [trash icon] on the Calendly integration box
Updated 3 months ago

