Zendesk Support Integration
Learn how to enable your chatbot to submit a ticket to your Zendesk account
This integration allows your users to submit a ticket to your Zendesk account through your Botsonic chatbot
Step 1 - Connect and Install
-
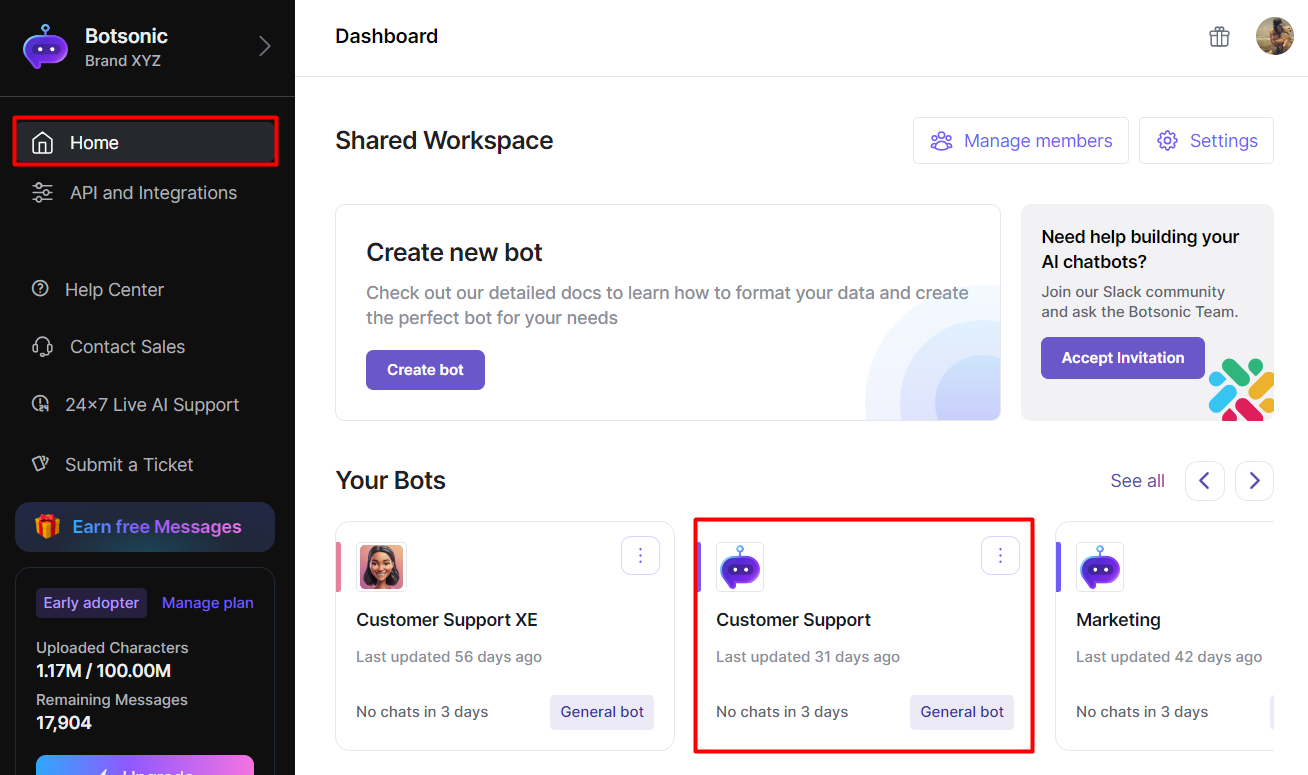
Navigate to your Botsonic Dashboard by clicking on [Home] from the left hand side menu. Then click and open the Bot you want to connect. If you haven't created a Bot yet, read thisQuick Start Guide.
-
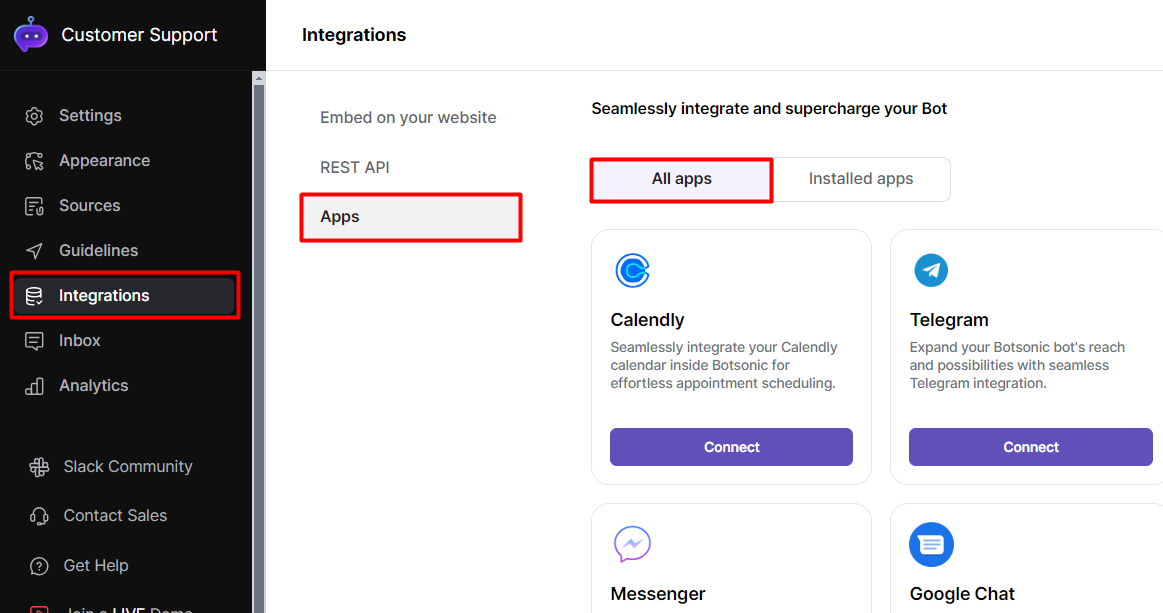
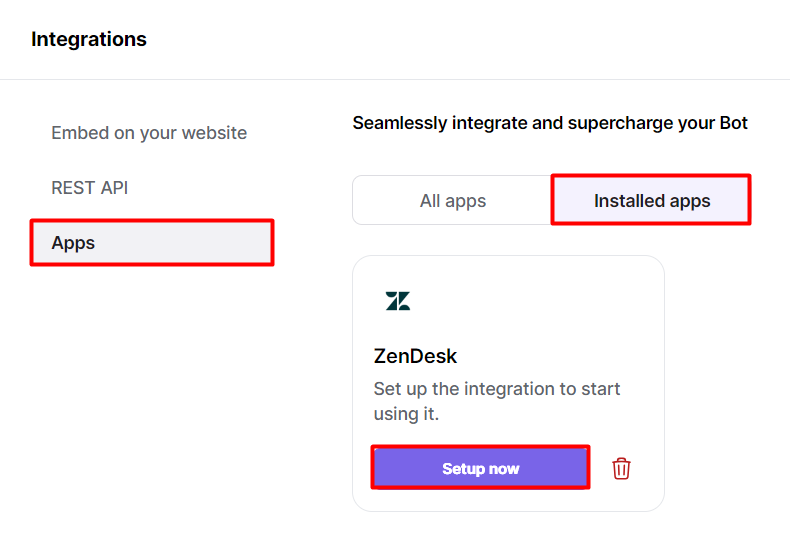
Click [Integrations] from the left hand side menu, then click [Apps]
-
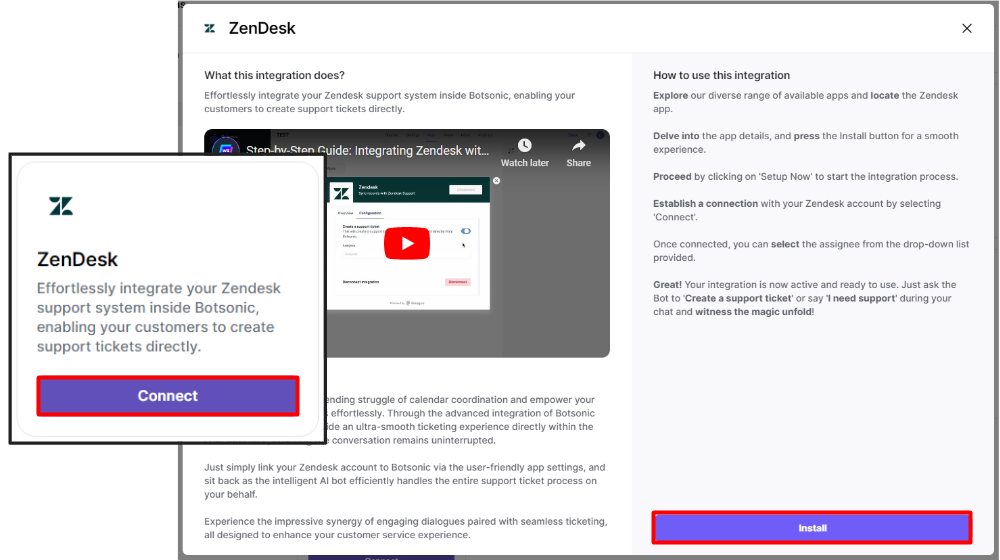
Look for the [Zendesk] integration. Click [Connect], then click [Install]
-
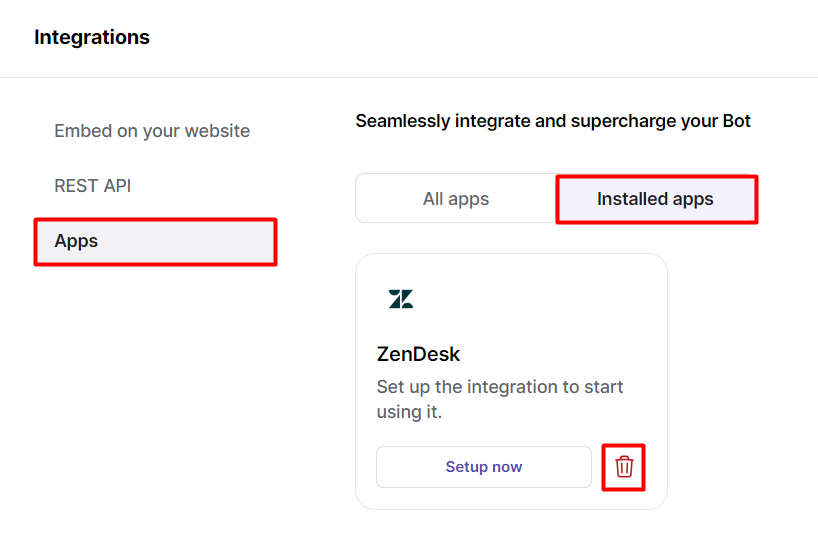
Go to [Installed apps], then click [Setup Now] on the Zendesk integration
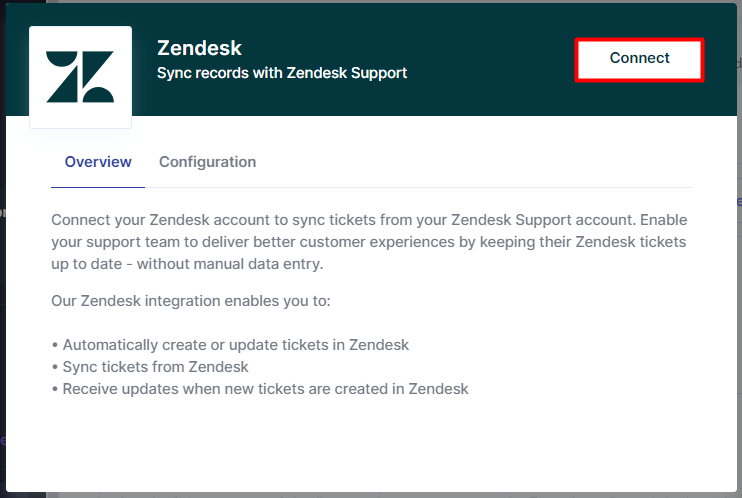
- Click [Connect] on the Zendesk dialogue box
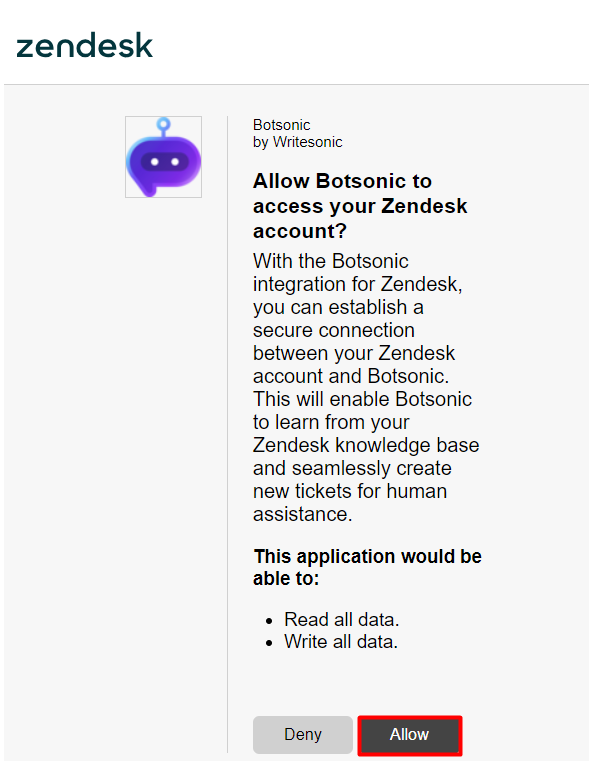
- Then click [Allow]
-
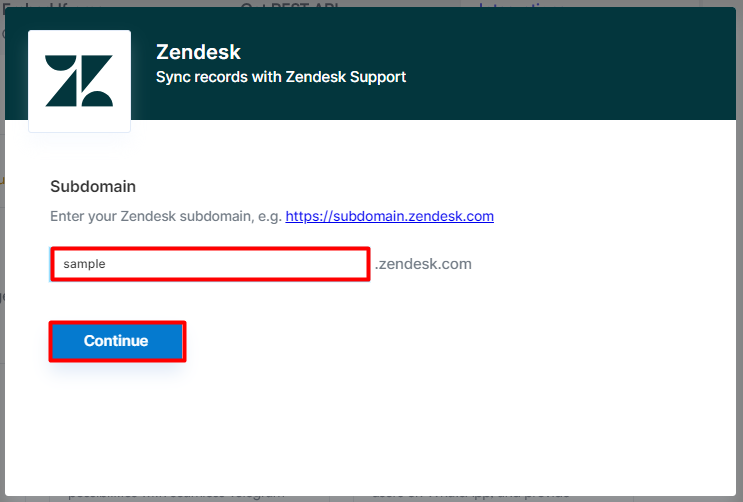
Enter your zendesk subdomain, then click [Continue]
-
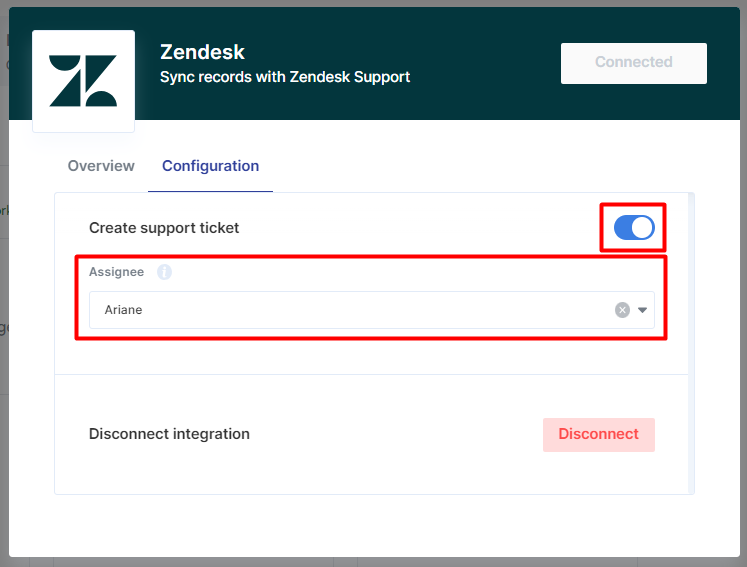
Enable the [Create support ticket] toggle, then select an [Assignee] from the dropdown list.
Step 2 - Test the Integration
Note: Make sure your Botsonic chatbot is trained with an uploaded file or FAQ that answers the question/message that you're posting
-
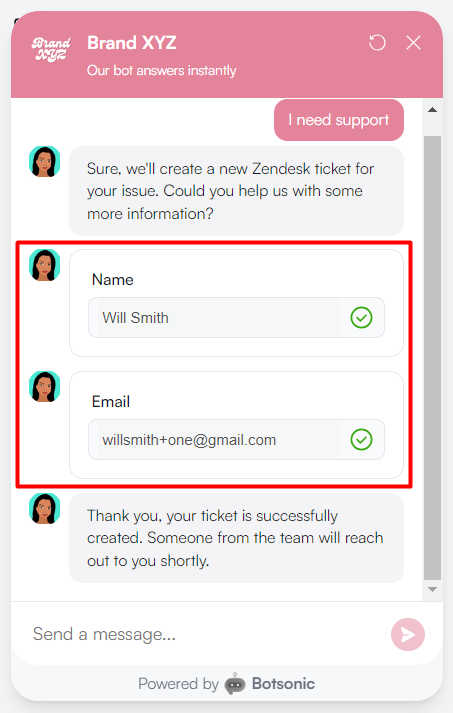
Engage with your Botsonic chatbot, eg. "I need support," then click the [Create a support ticket] button.

-
The chatbot will ask you to provide your name and email address.
-
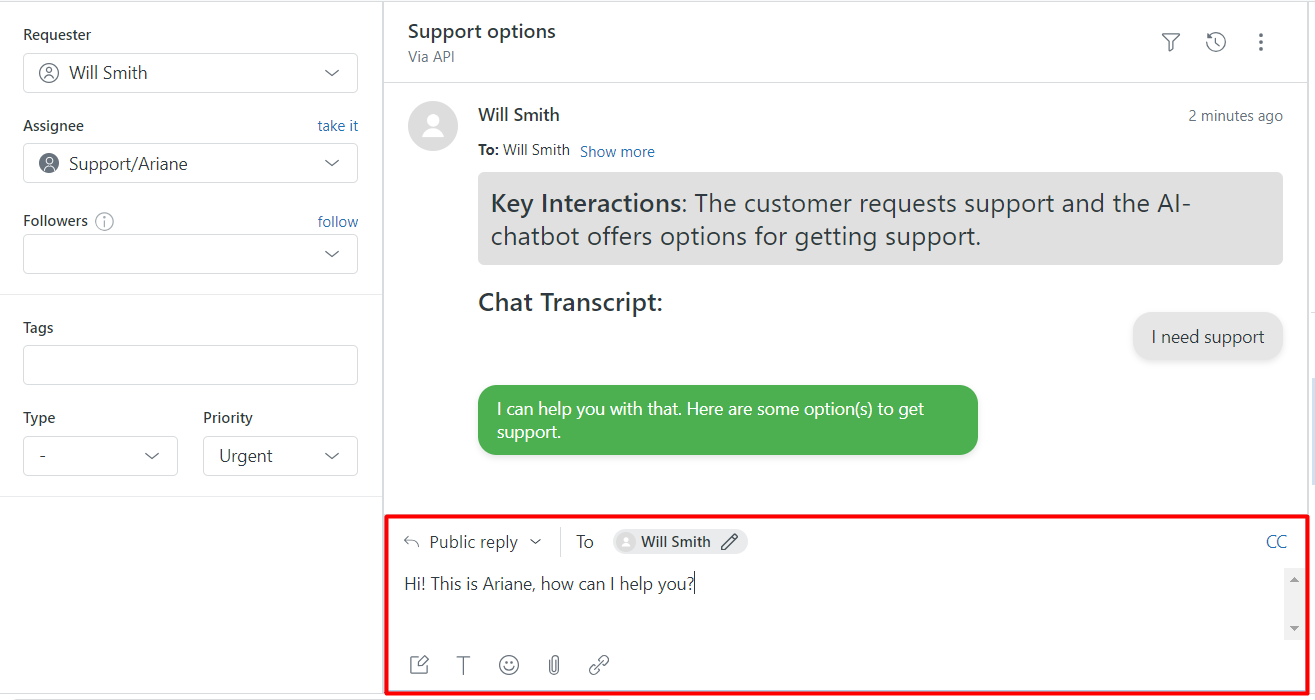
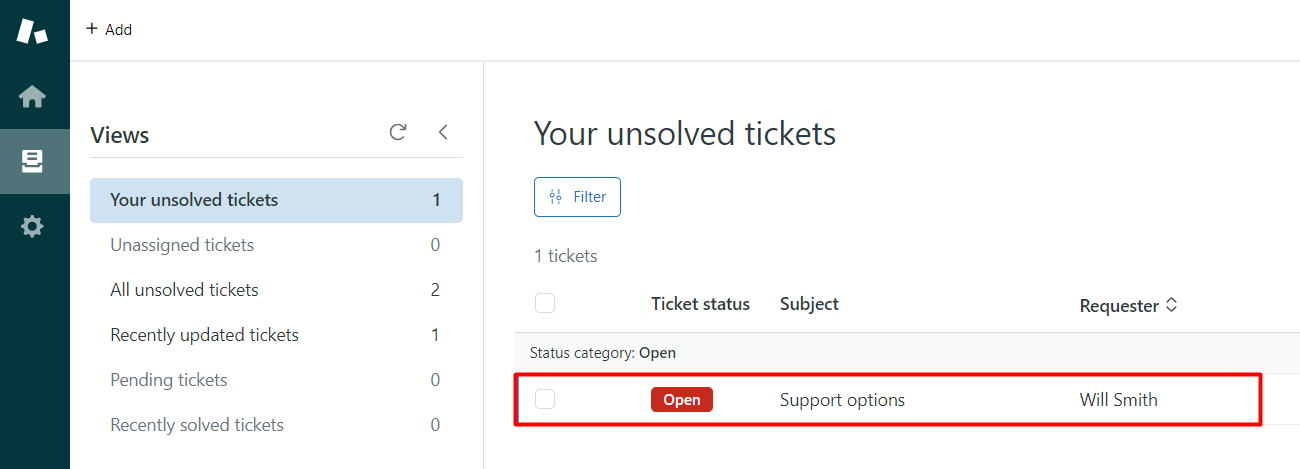
Go to your Zendesk account and search for the newly created ticket
-
Open and respond to the ticket.