
How to Collect Data with a USER FORM
User forms provide a structured way for the chatbot to collect information from users. Instead of relying on free-form text input, user forms guide users to provide specific details in a predefined format.

Here are some use case examples where user forms may be used:
- Customer Support - for reporting issues or bugs or to seek assistance.
- Lead Generation - for capturing lead information, include name, contact details, company name, and specific details about the user's interest or needs.
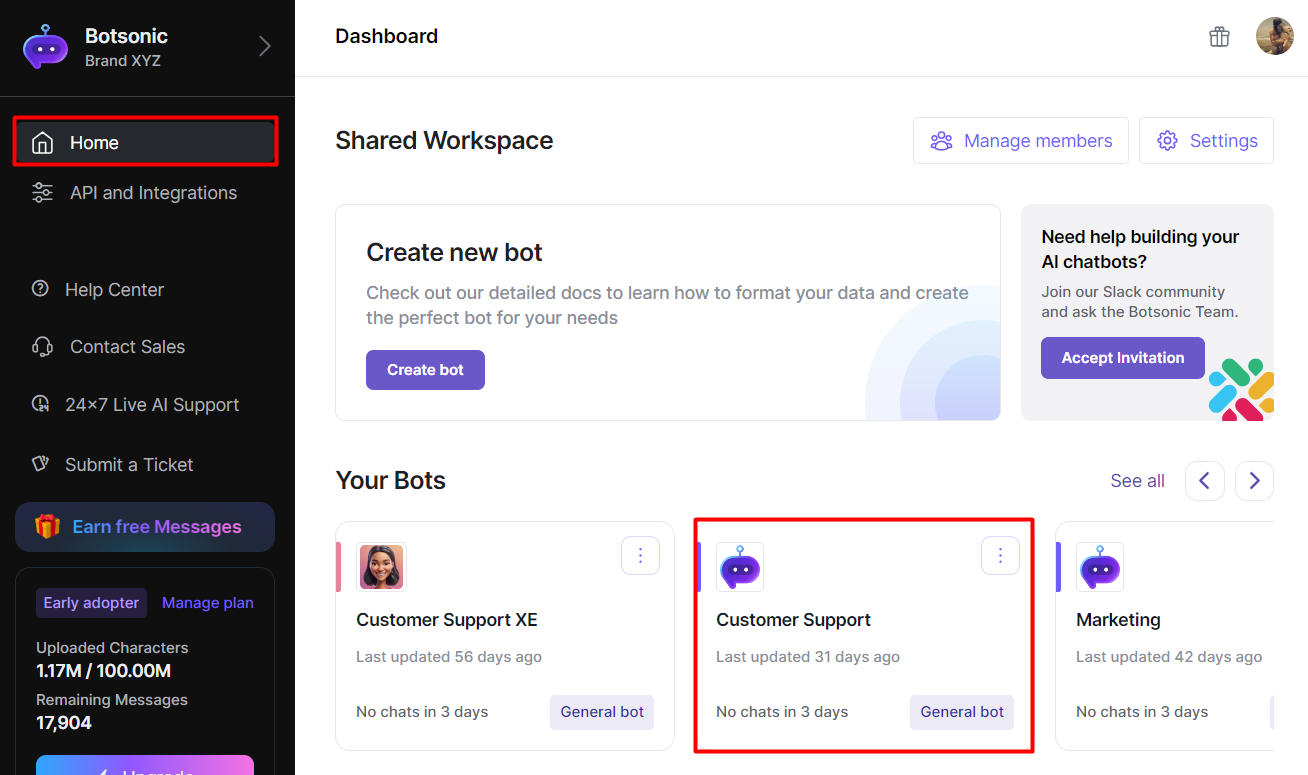
Step 1 - View the Bot Settings
Navigate to your Botsonic Dashboard by clicking on [Home] from the left hand side menu. Then click and open the Bot you want to connect. If you haven't created a Bot yet, read thisQuick Start Guide.
Access to this feature varies based on the specific plan you have chosen.
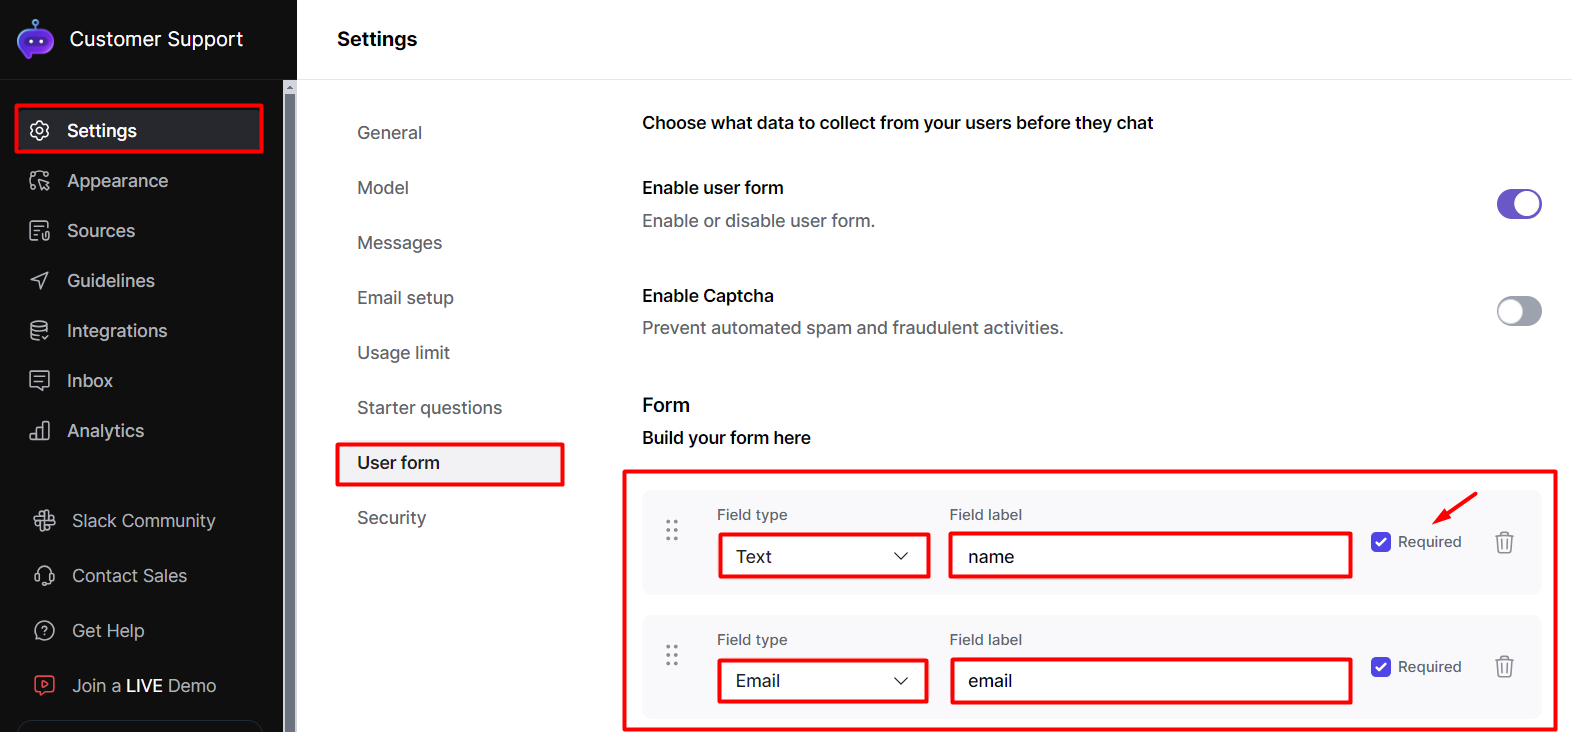
Step 2 - Customize the form fields
- Go to [Settings], then click [User form]
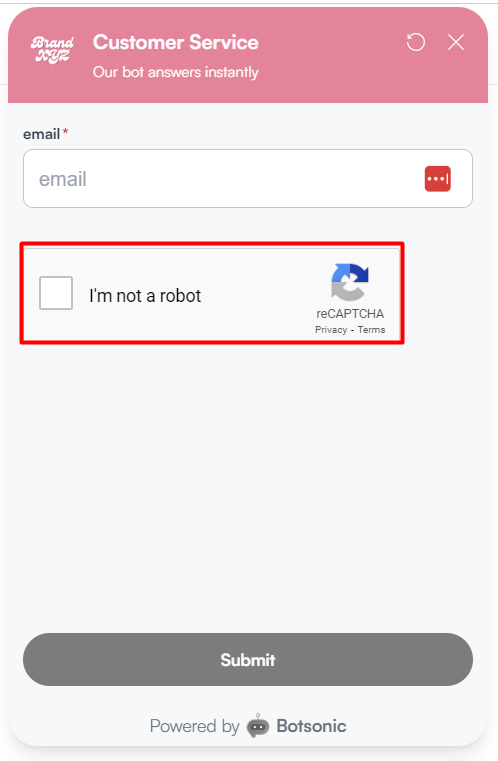
- By default, a name and an email field is pre-set with the chatbot.
- Check/uncheck the box to make the field mandatory
- Edit the [field label] to customize the text displayed on the chatbot
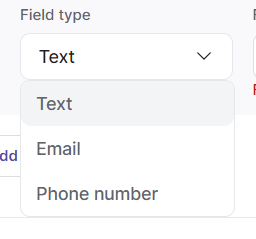
-
Click [Add new] to add additional fields (email ID, phone number, text)

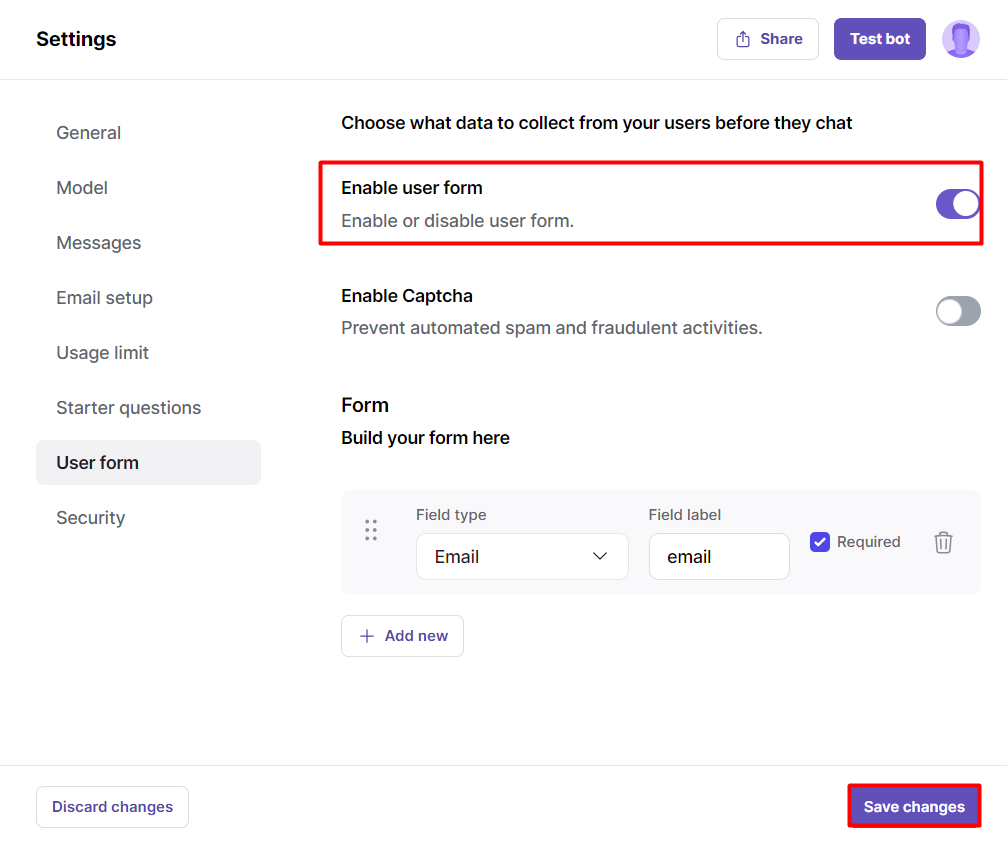
Step 3 - Save and show the form on the chatbot
- Click [SAVE] for any changes you've made.
- Toggle ON, then [SAVE]

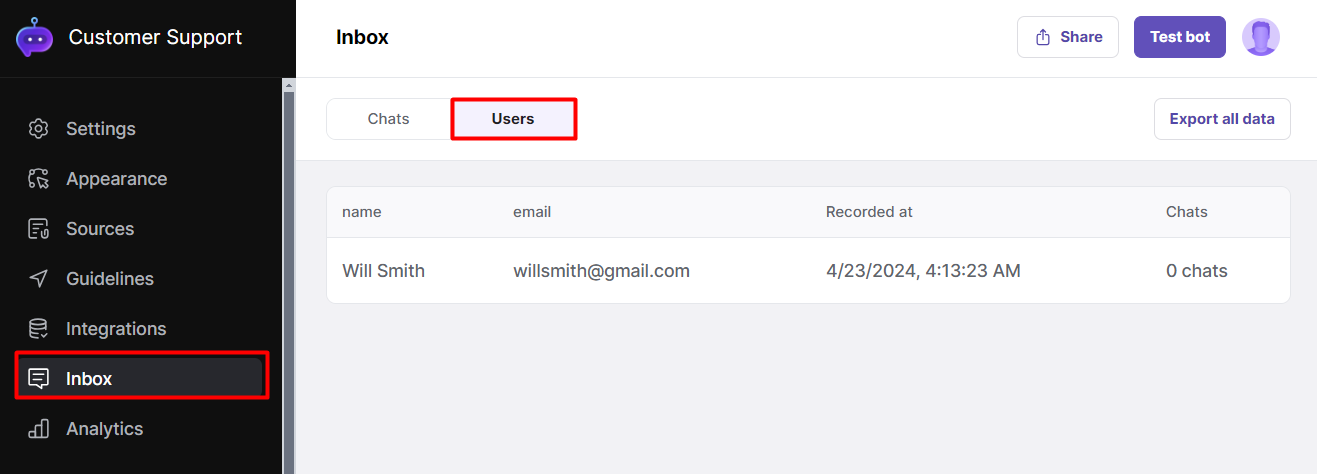
User Form Responses
You can view and download user form responses from the chatbot's [Inbox]. Read this step by step guide on how to View User Form Responses
Updated 9 months ago