
Messenger Integration
Learn how to set up the Bot to answer and engage with Facebook users through the Messenger app
This integration allows your Bot to respond and answer queries sent through the Messenger app.
Step 1- Create an App and Generate a Token from the Meta for Business Suite
-
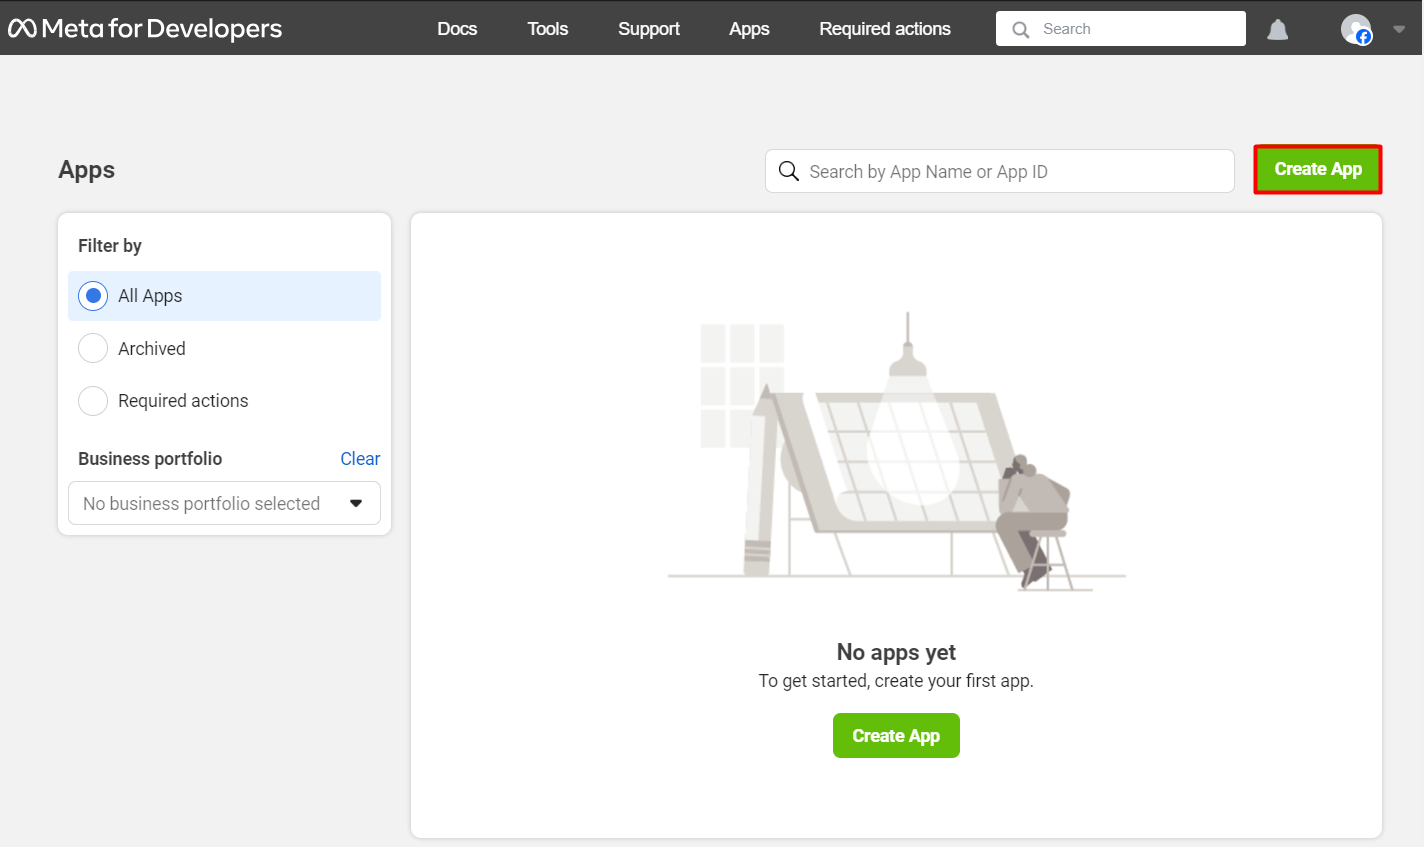
Visit https://developers.facebook.com/apps
- Click the [Create App] button
- NOTE: You need to register yourself as a Meta Developer, if you haven't done this yet, read this step by step guide to Register as a Meta Developer
-
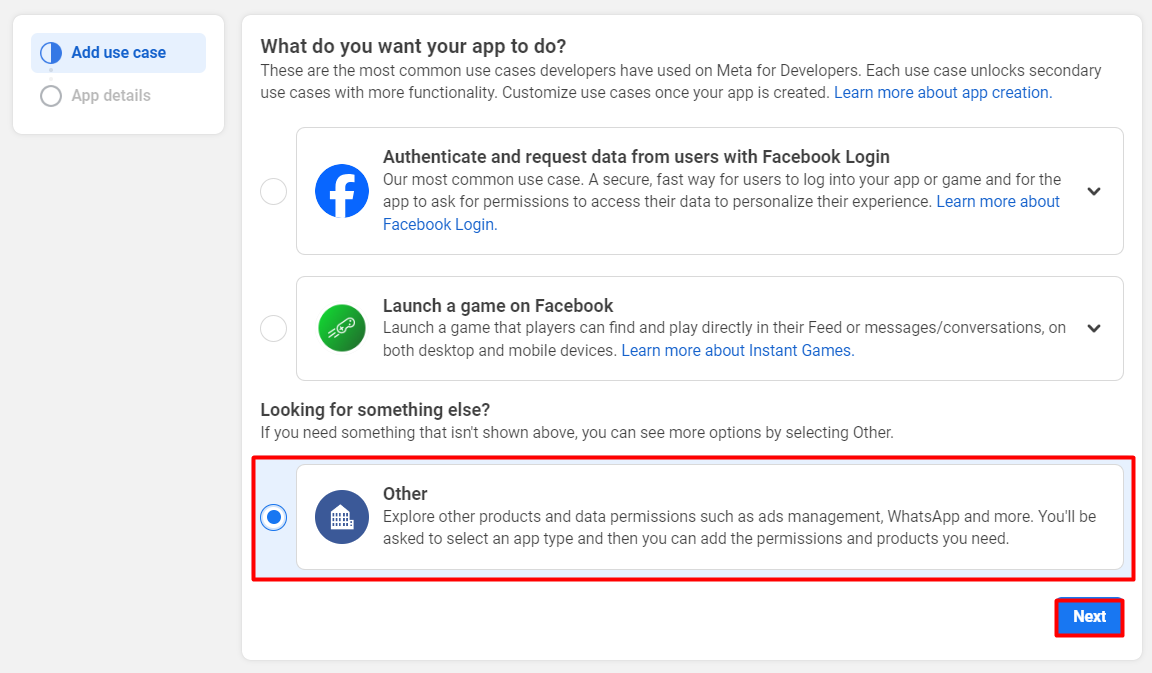
What do you want your app to do? Select [Other], then click [Next]
-
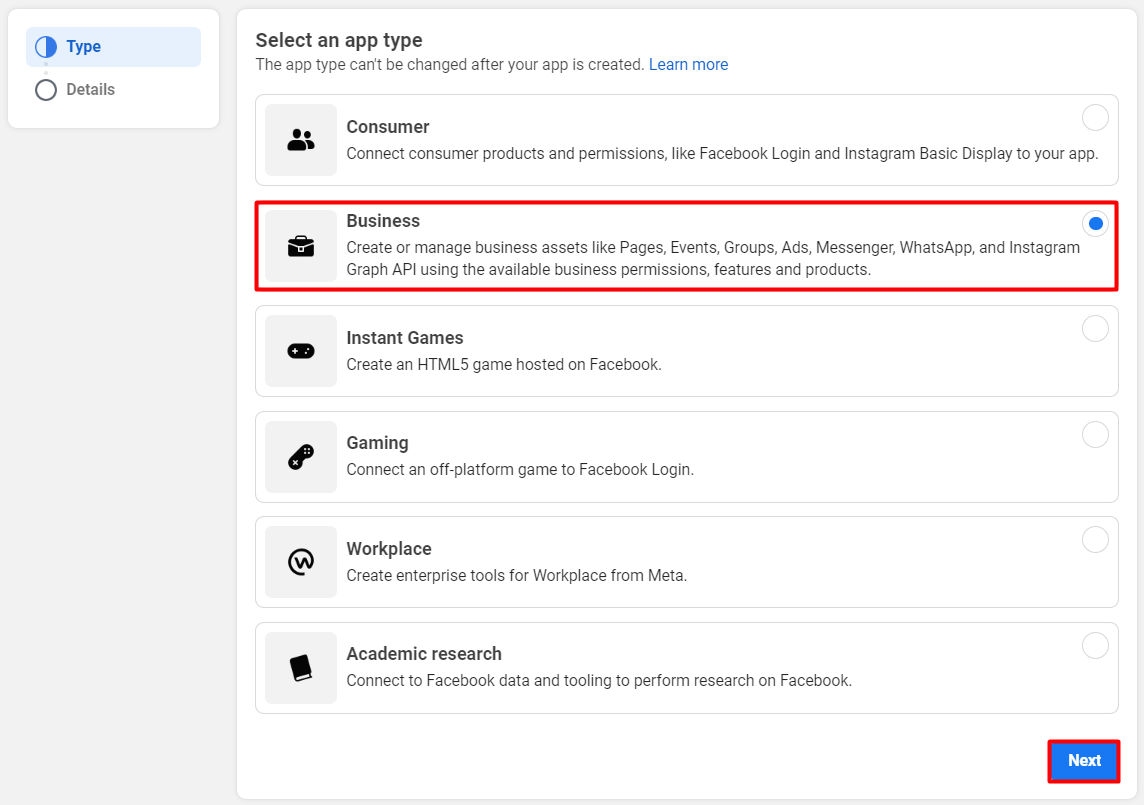
Select an app type. Select [Business], then click [Next]
-
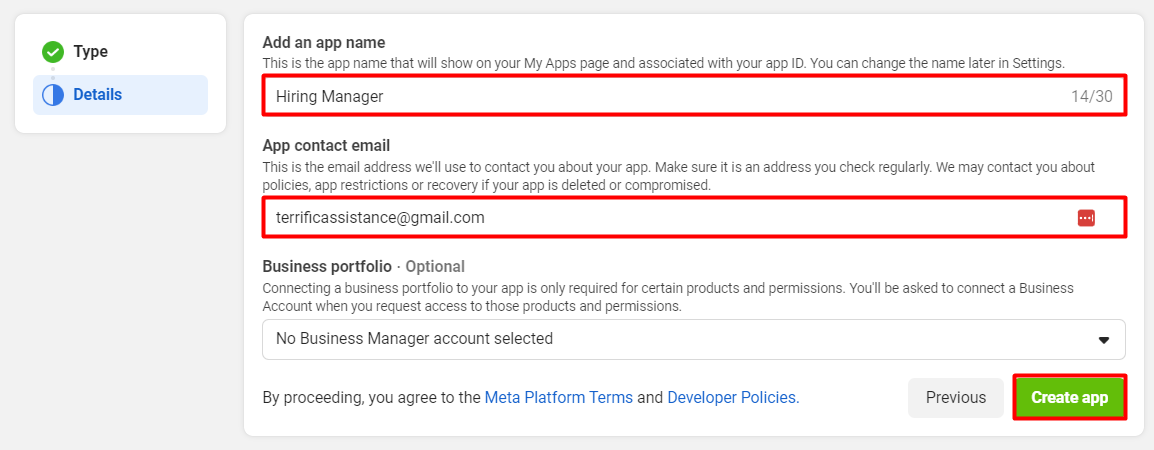
Add the following details:
- App Name
- App Contact Email
-
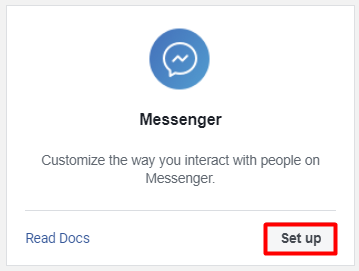
Search for [Messenger] then click [Set up]
-
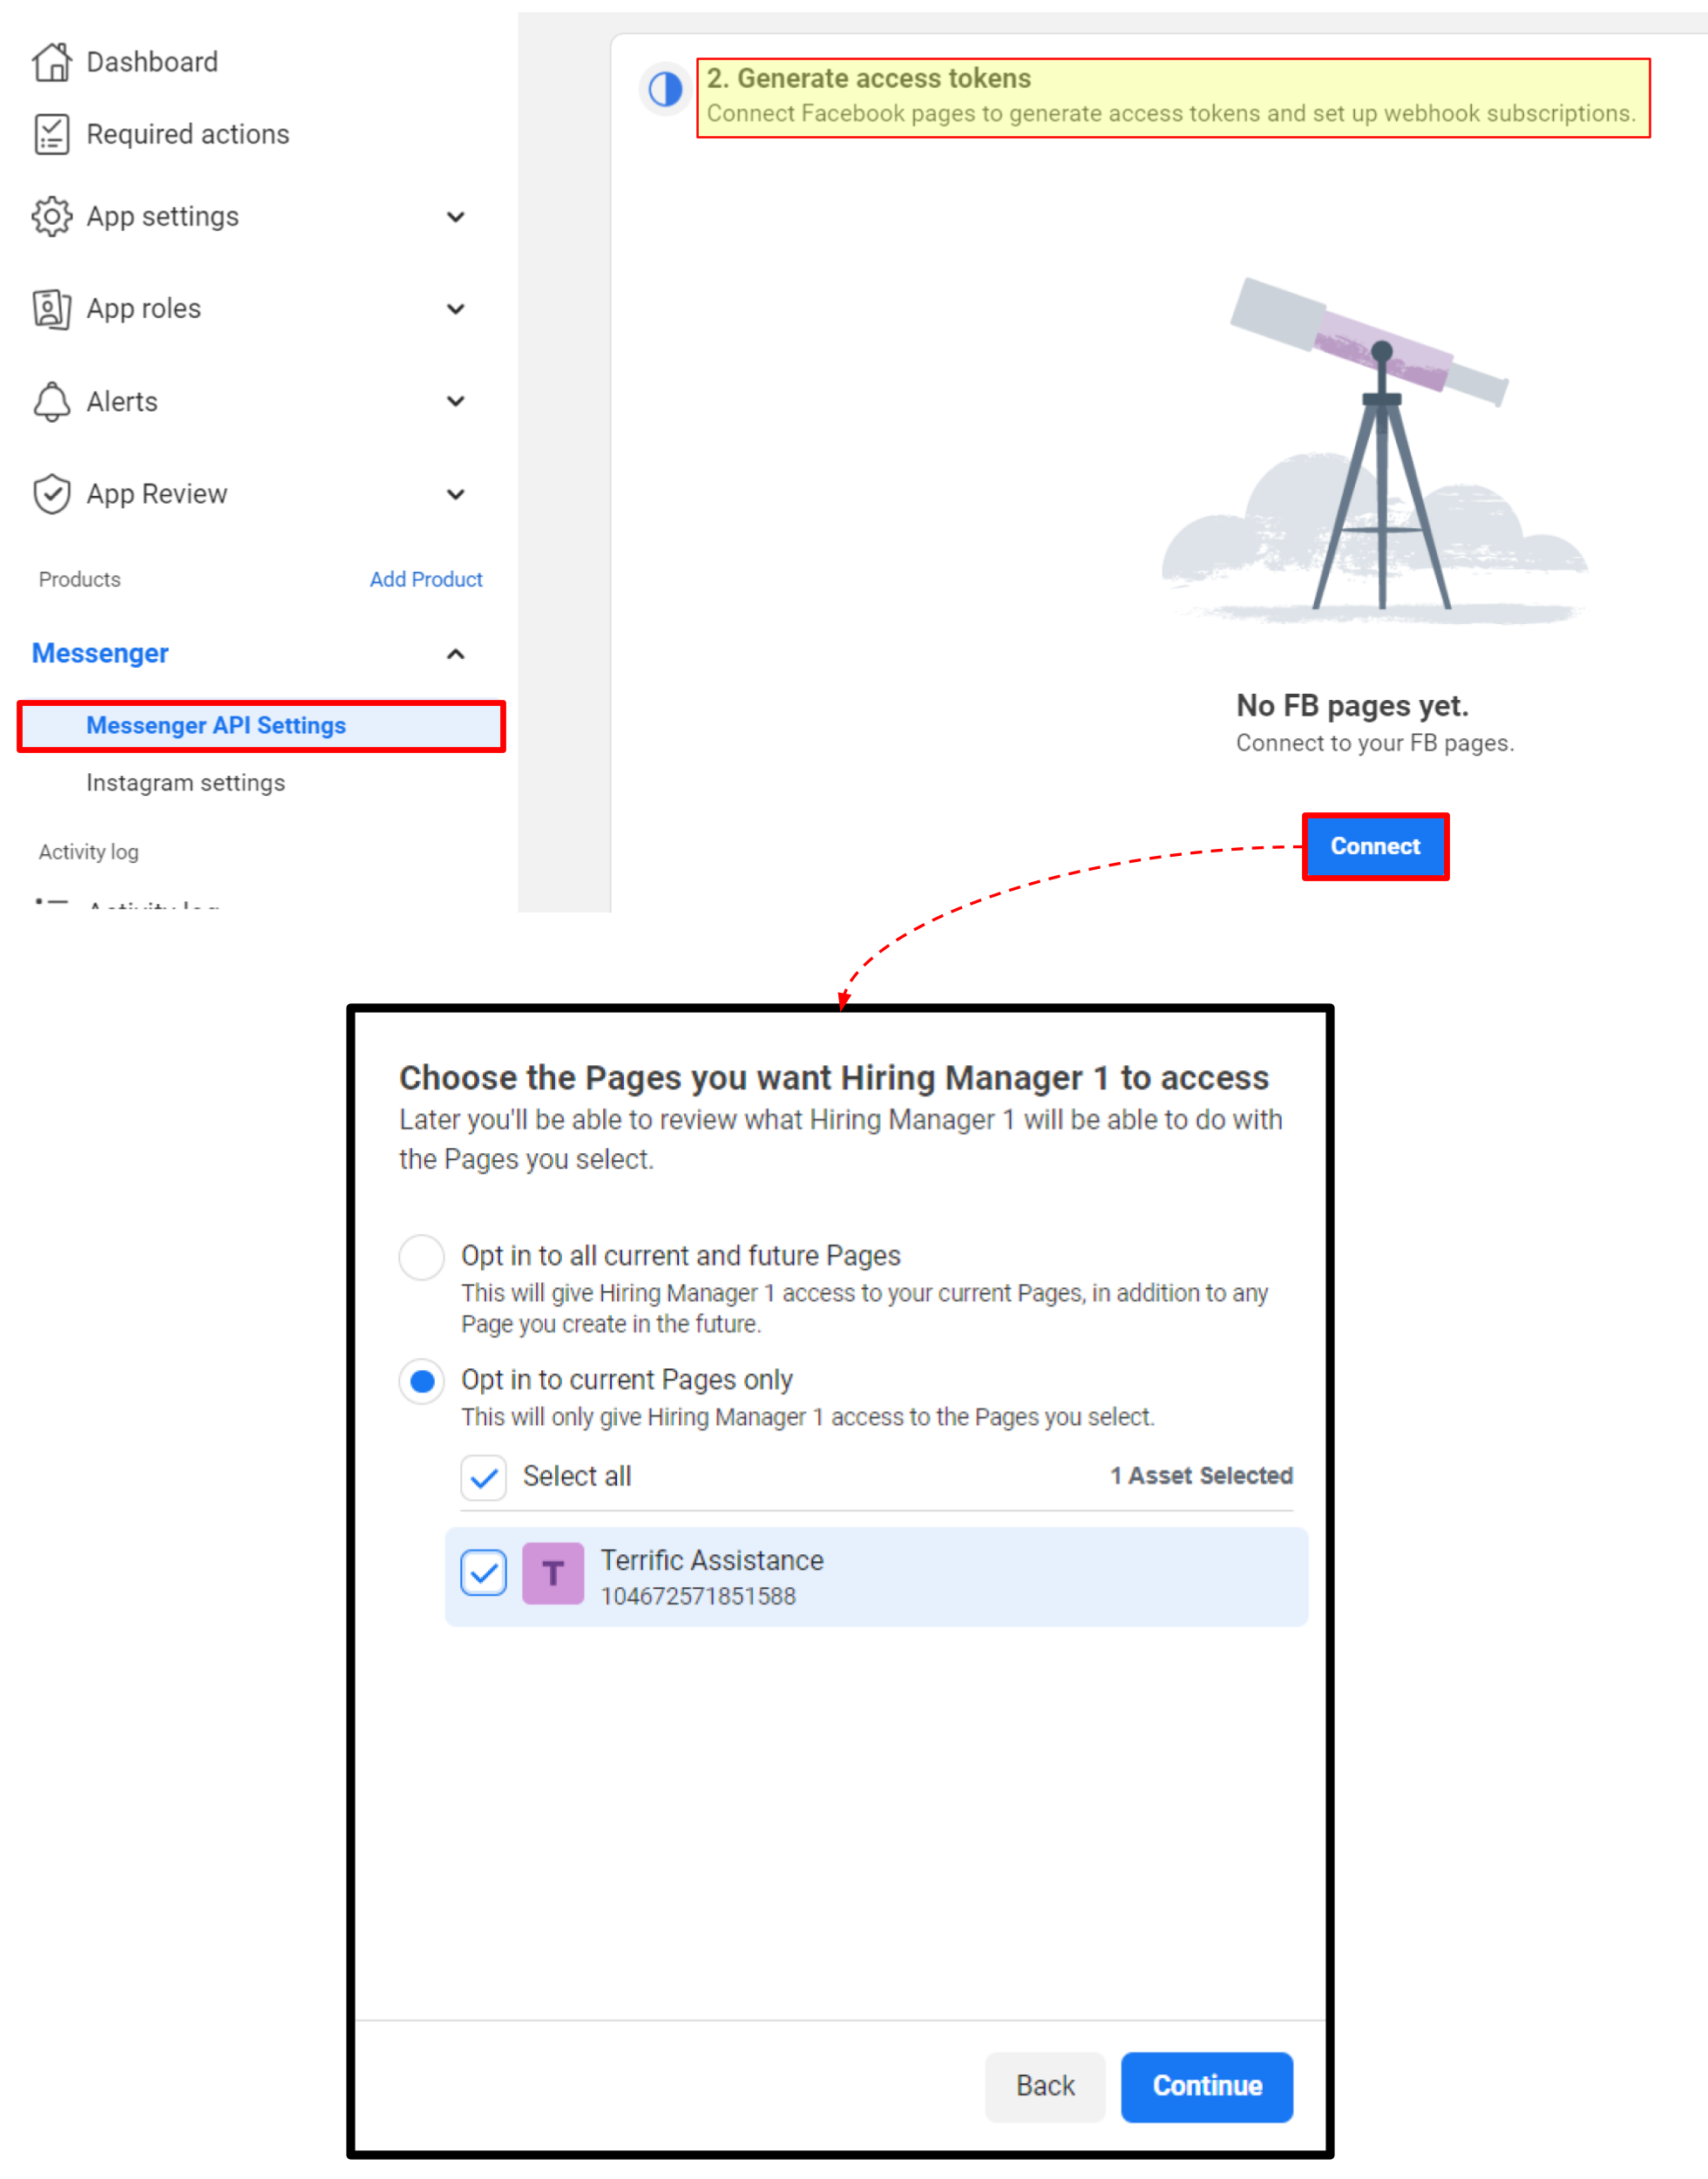
Generate access tokens.
-
Click [Messenger API Settings] from the left hand side menu
-
Click [connect], select an option for pages to connect, then click [Continue]
-
Click [Generate], then copy the token to your clipboard. NOTE: Save the token somewhere where you can copy it, if it gets lost, you'll need to create a new one.

-
Step 2 - Connect & Install
-
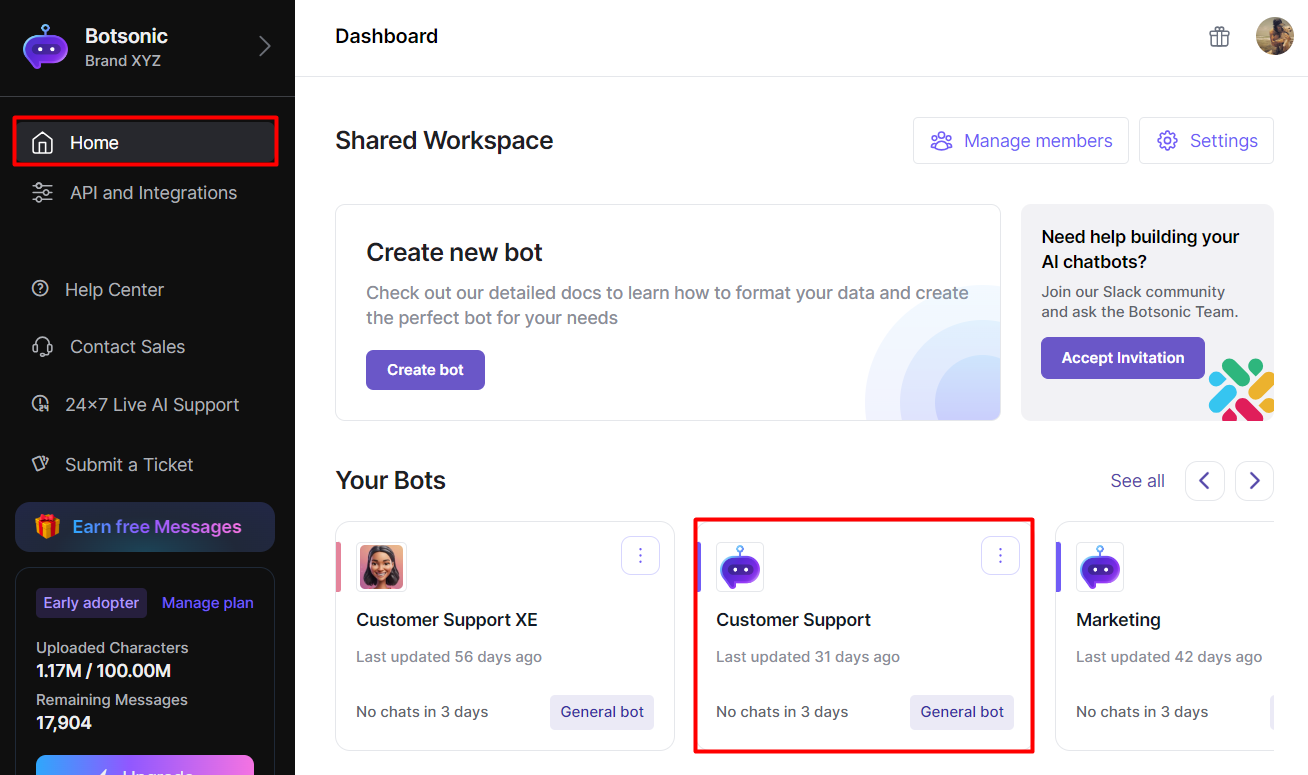
Navigate to your Botsonic Dashboard by clicking on [Home] from the left hand side menu. Then click and open the Bot you want to connect. If you haven't created a Bot yet, read thisQuick Start Guide.
-
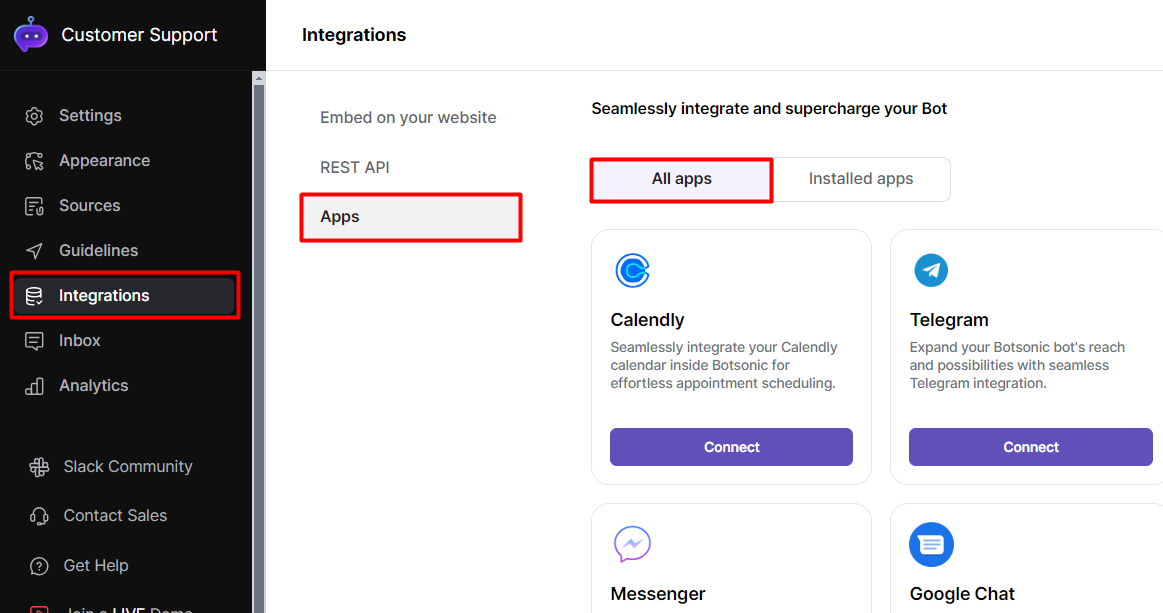
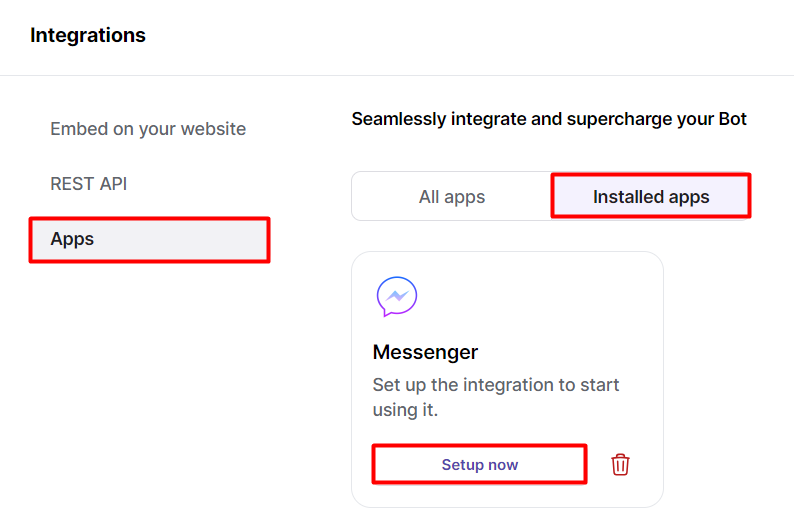
Click [Integrations] from the left hand side menu, then click [Apps]
-
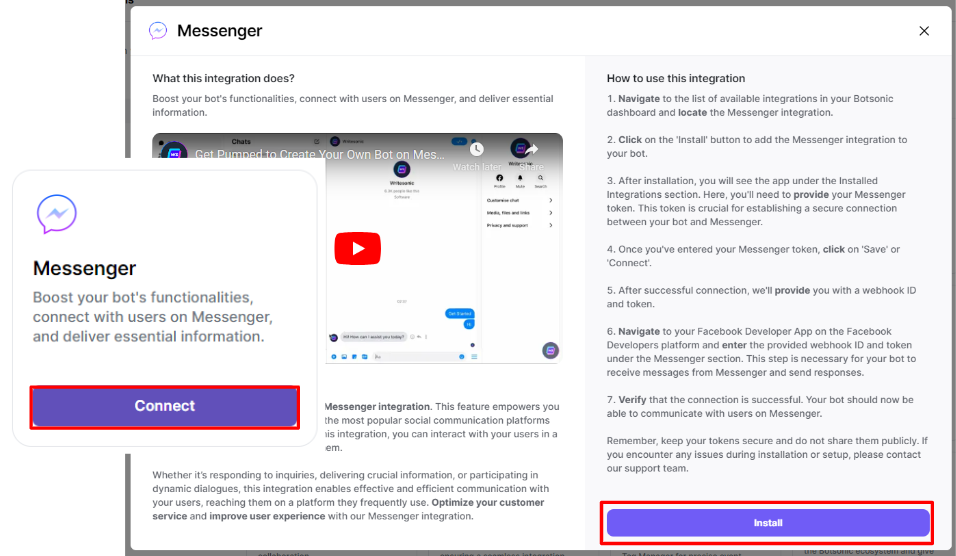
Look for the [Messenger] integration. Click [Connect], then click [Install]
-
Go to [Installed apps], then click [Setup Now] on the Messenger intergration box
- Paste in the Facebook App Token that you generated;
- Then click [Save]
-
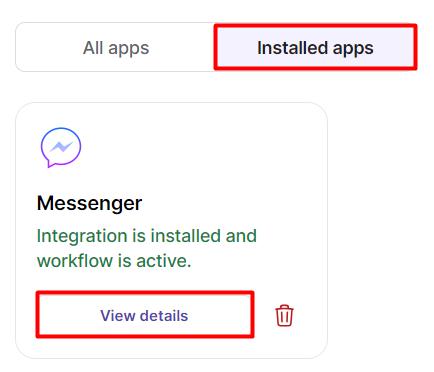
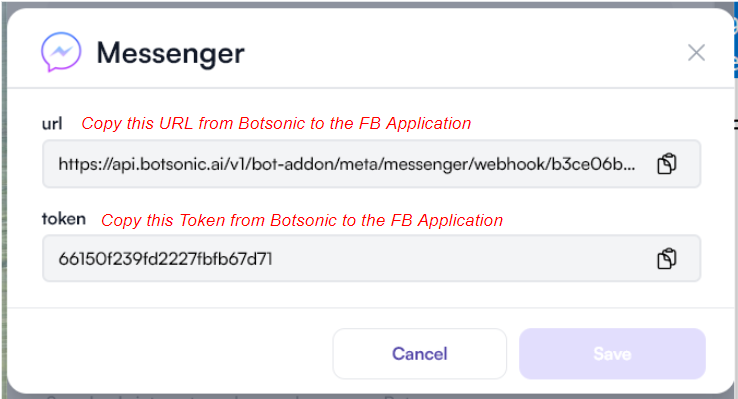
Click [View Details] on the Messenger integration box to view the Botsonic Webhook URL and Token. You will be asked to copy these into your Facebook application settings page in the next steps.
-
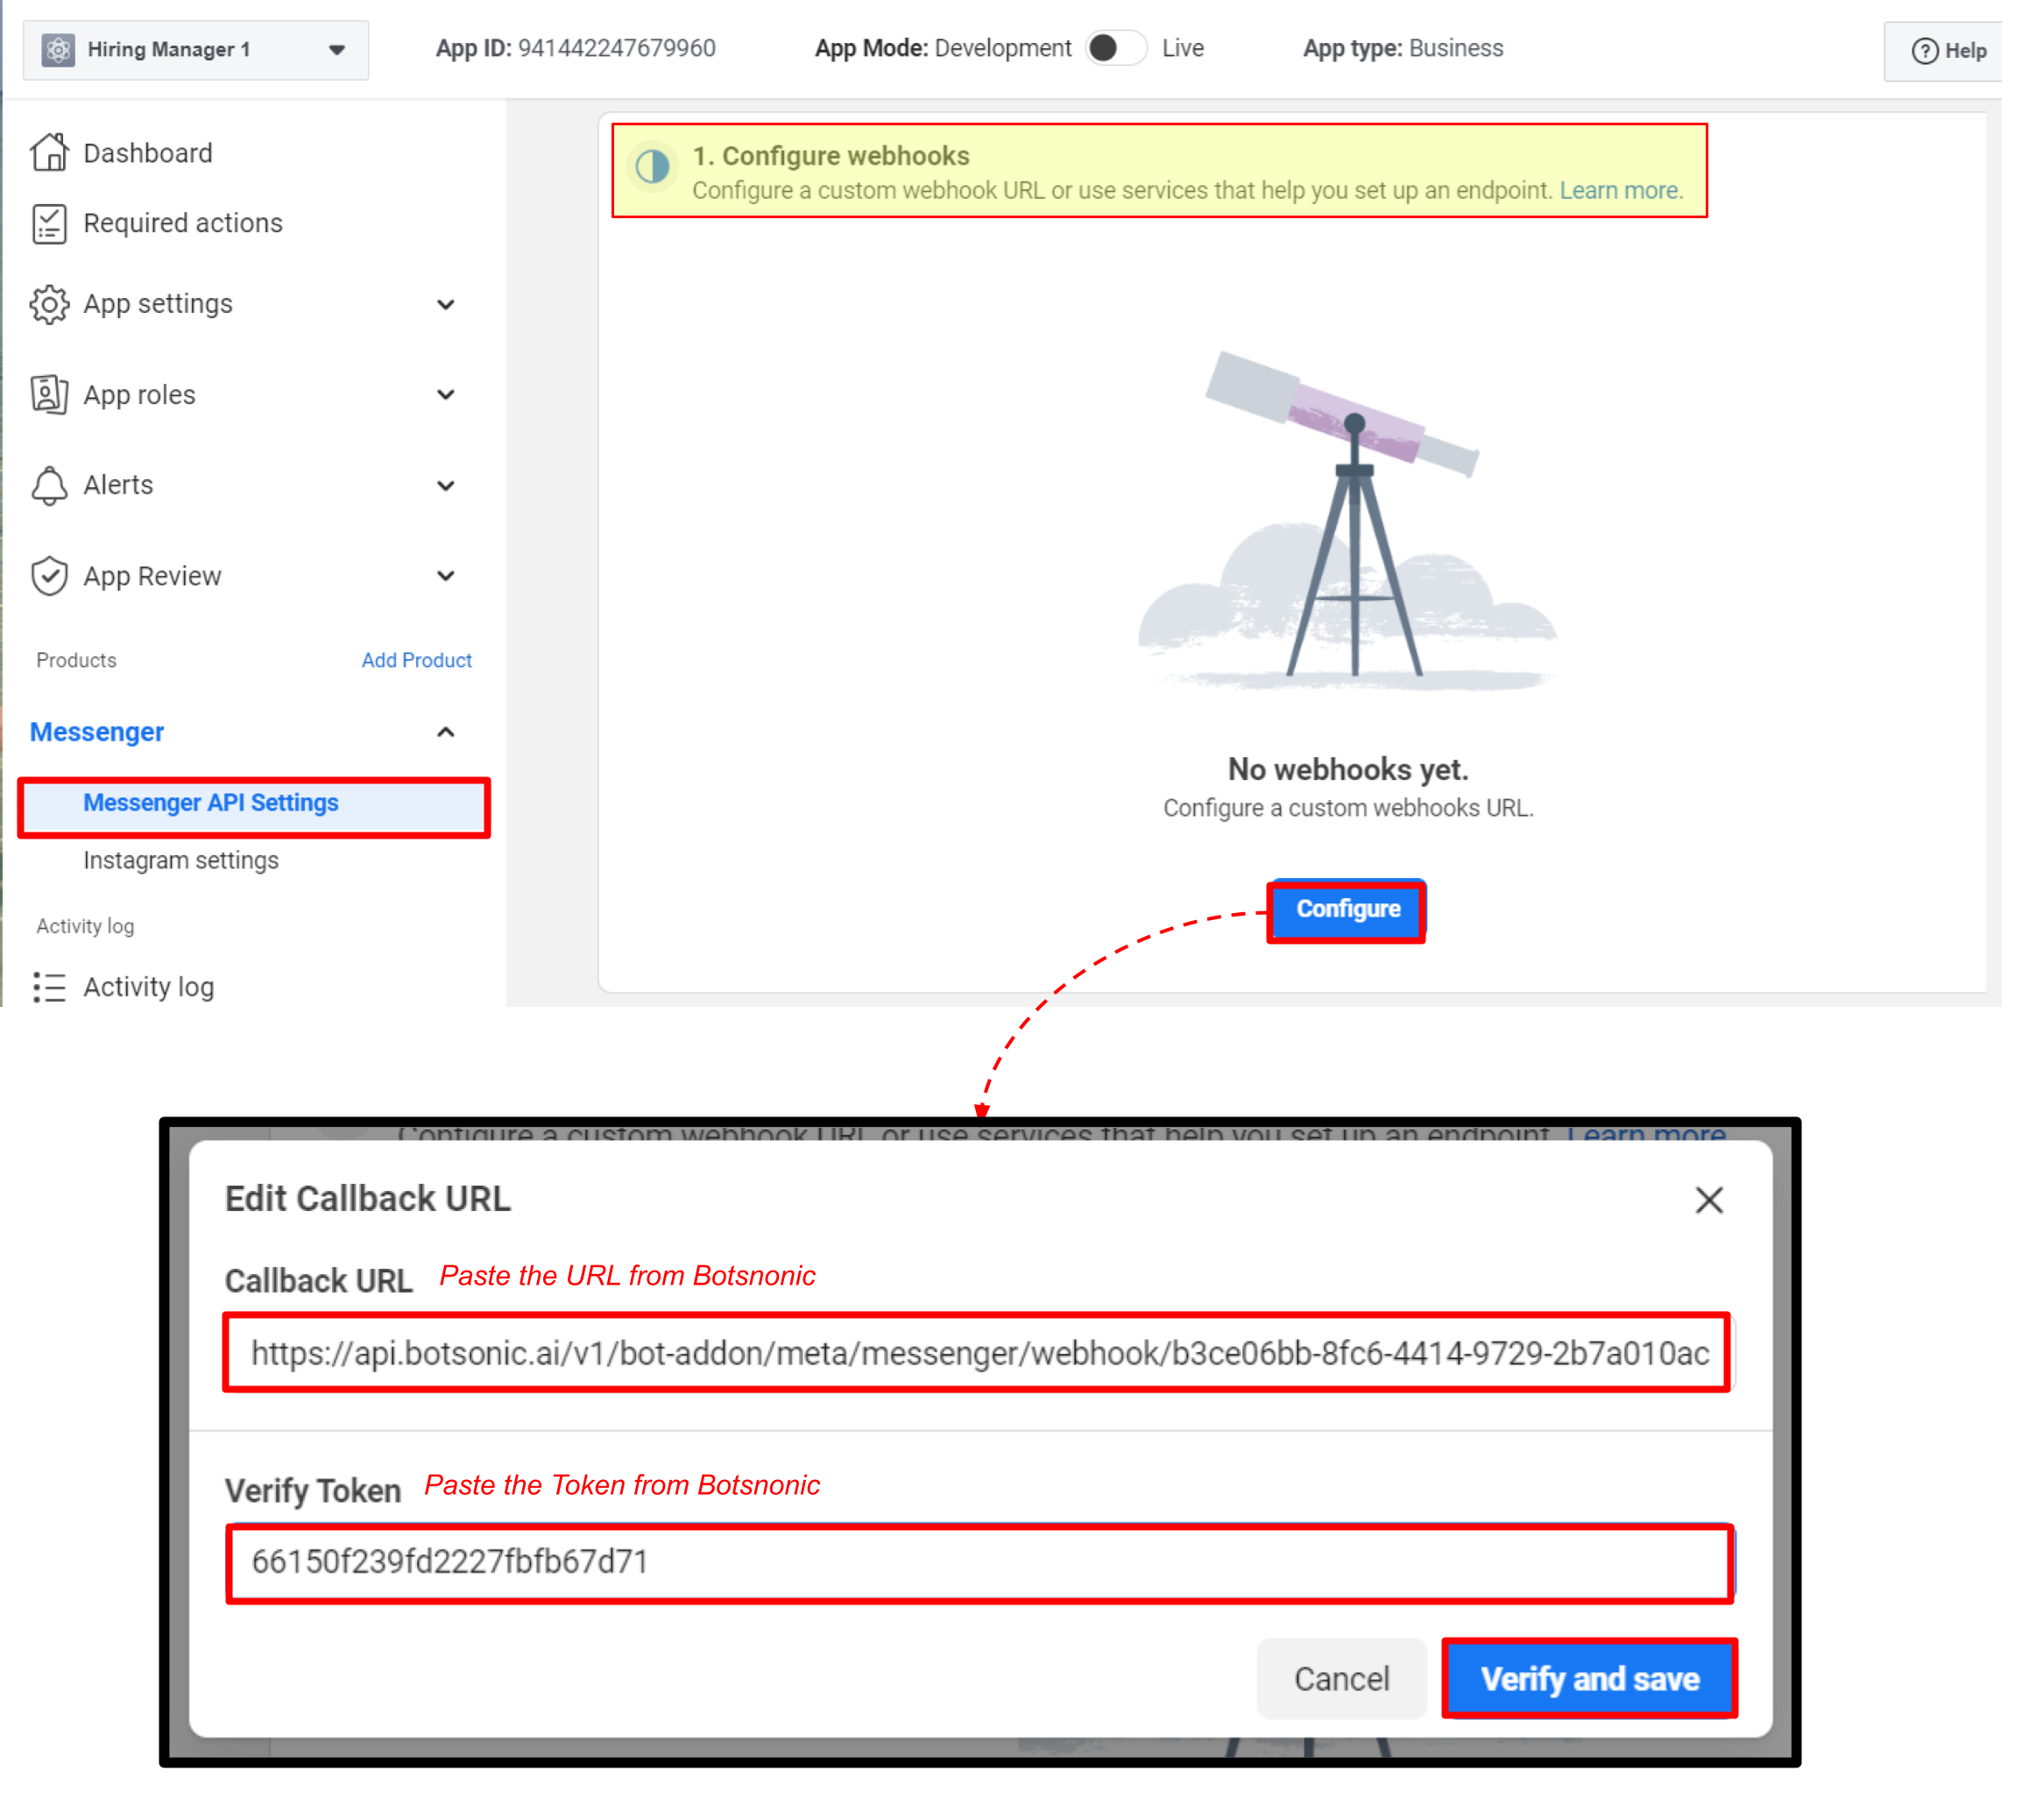
Configure the webhooks for your Facebook App
- Go back to your Facebook App Settings Page > Configure Webhooks section
- Click the [Configure] button
- Paste in the [Webhook URL] from Botsonic into the [Callback URL] space
- Paste in the [Token] from Botsonic into the [Verify Token] space
- Click [Verify and save]\
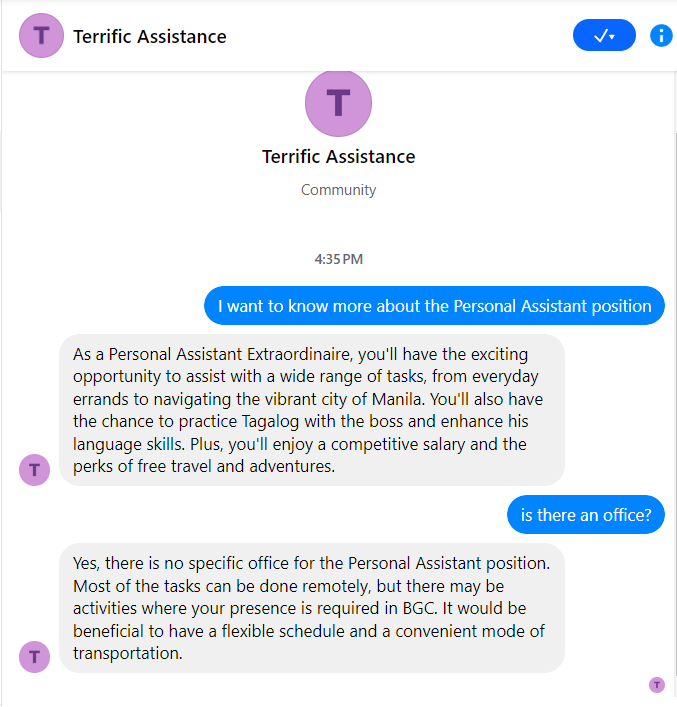
Step 3 - Test the integration
Before you start testing
- Make sure you are logged as an Admin of the Facebook account
- Make sure sending messages on Facebook page you've connected is enabled. Read this guide on how toturn messaging on or off on your Facebook page.
- Make sure your Botsonic chatbot is trained with an uploaded file or FAQ that answers the question/message that you're posting
Go to the Facebook Page you've connected, then start engaging with the chatbot through the messenger app
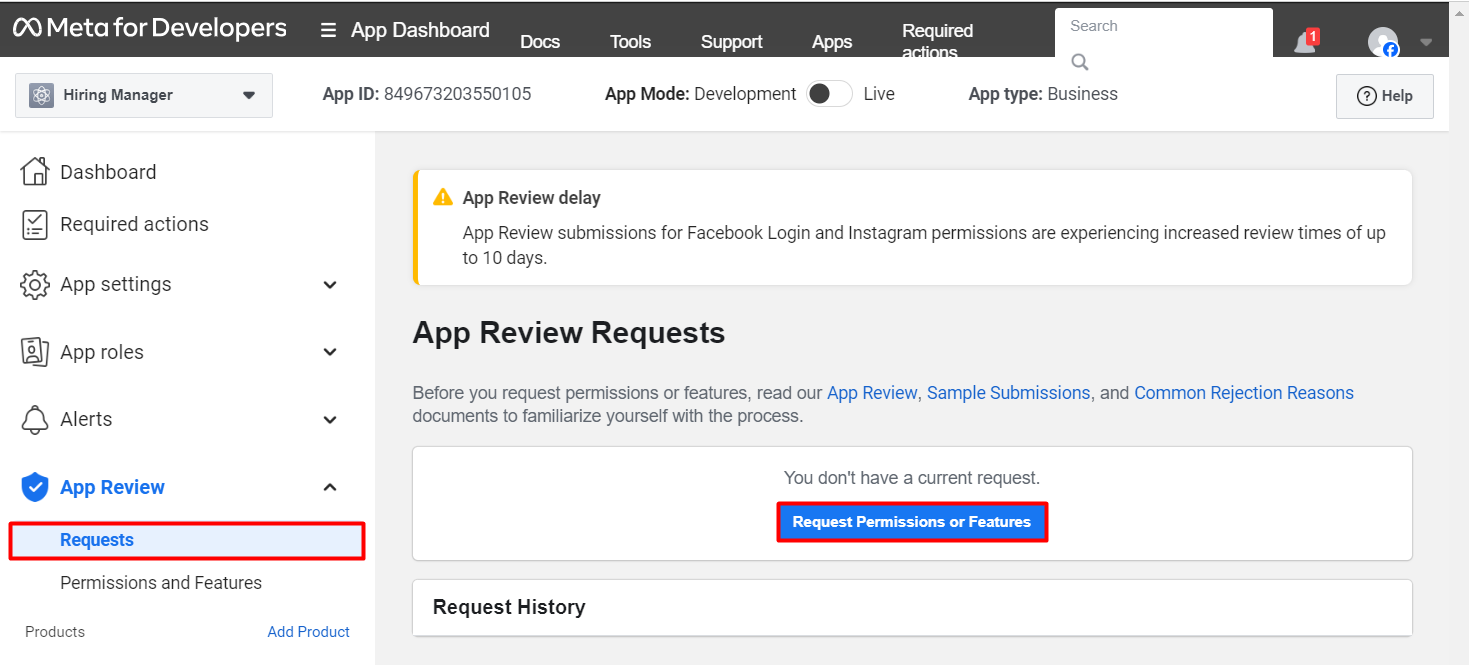
Step 4 - Submit Facebook App for Review
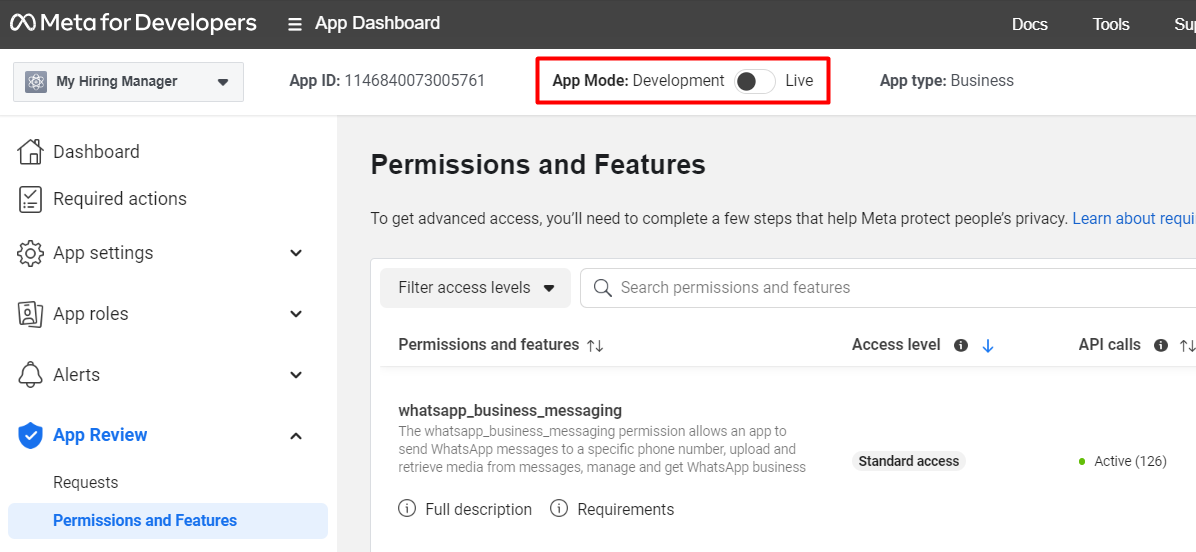
- Go to your Facebook App settings page > App Review > Requests
- Click [Request Permissions or Features]
- Select and submit request/s for advanced access for required features.
Guidelines for Submitting the App for Review
-
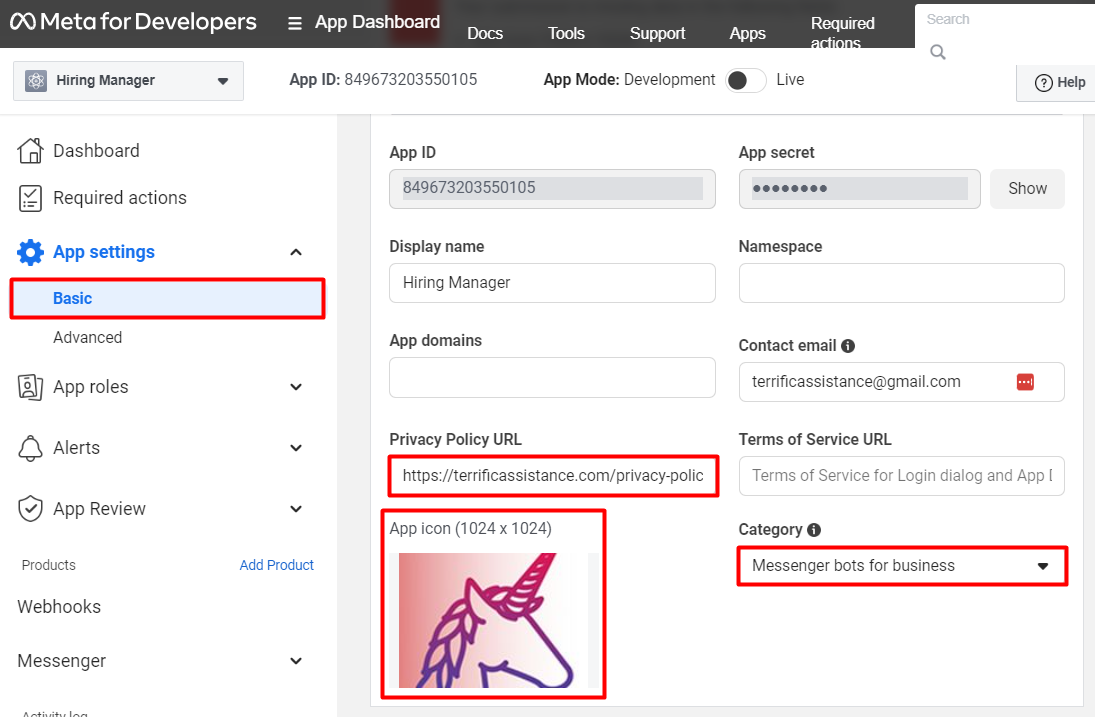
Update the App's Basic Settings. Click [Basic] from the [App settings] section on the left hand side menu and update the following:
-
App Icon - upload an icon for your app
-
Privacy Policy URL - create and paste the URL of your privacy policy page
-
Category - select "Messenger bots for business
-
-
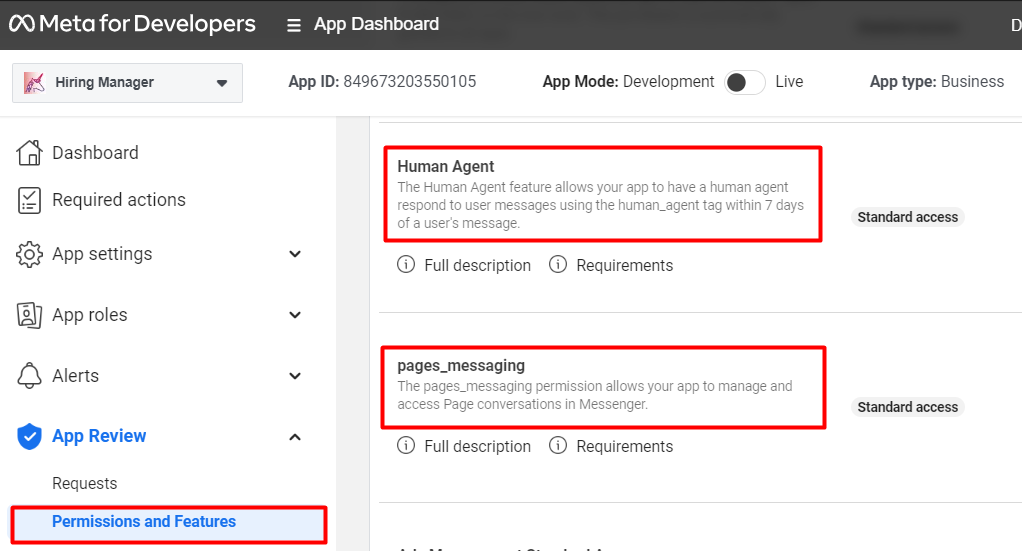
Select Permissions and Features. Click [Permissions and Features] from the [App Review] section. Search and click the [Request Advanced Access] button for [page_messaging] and [Human Agent] features.
-
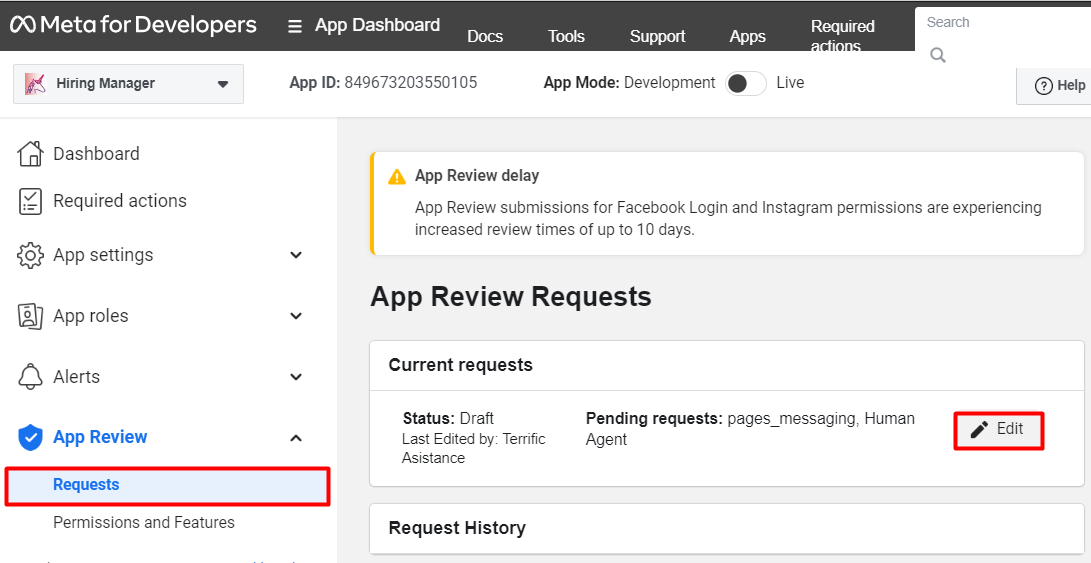
Edit, Review, and Submit the Request
-
Click [Requests] from the [App Review] section, then click the [Edit] button in the [Current Requests] section
-
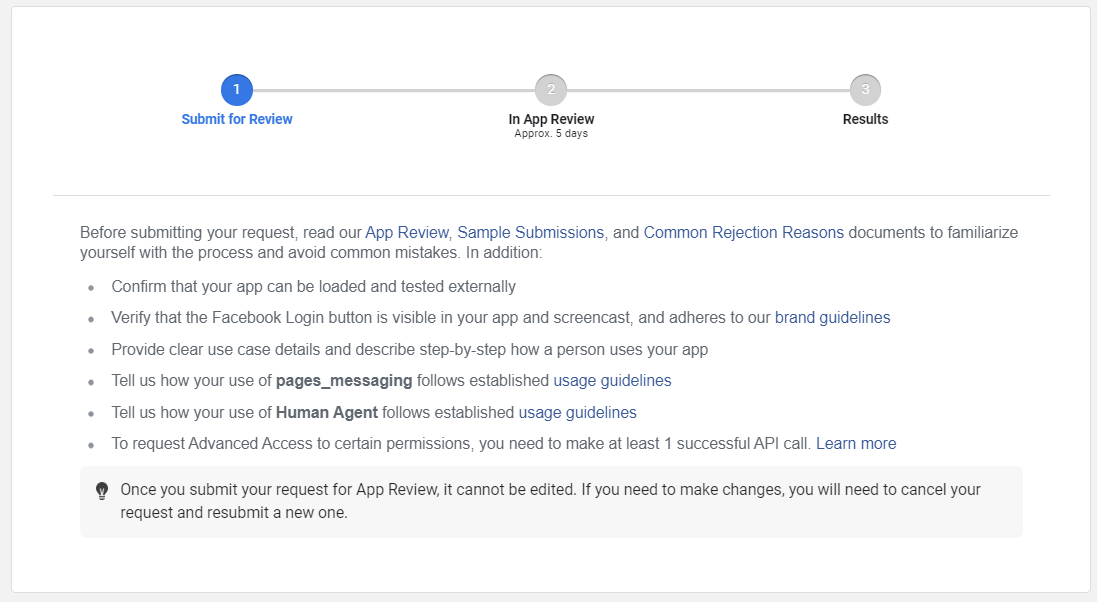
Read and follow the guidelines provided
-
Submit business verification

-
-
Click[Submit for Review] NOTE: You can only proceed to test the integration once the review has been approved.
Updated 8 months ago