
View Chat Messages and Post Feedback
Learn how to view chat conversations, filter positive and negative feedback, add an FAQ directly from a chat message, block IP addresses, export chat data and data captured from user forms
Step 1 - View the Bot Settings
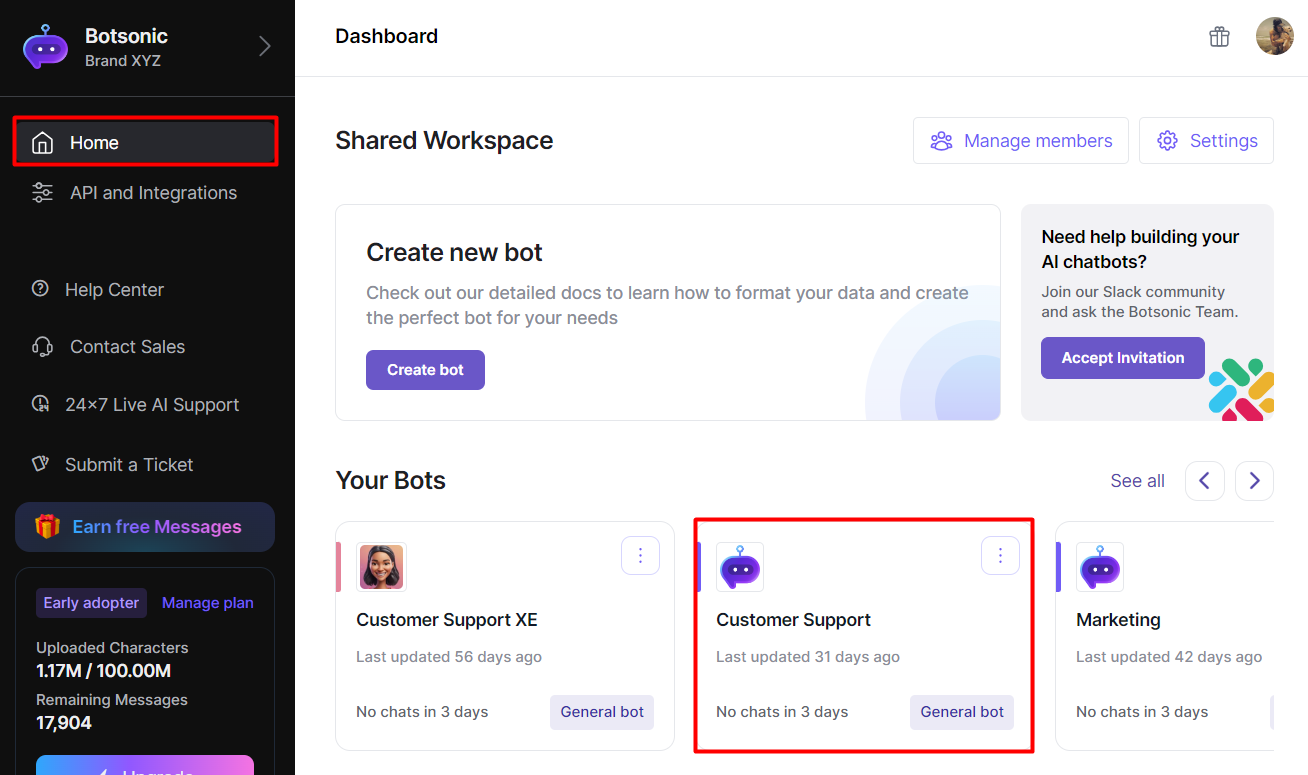
Navigate to your Botsonic Dashboard by clicking on [Home] from the left hand side menu. Then click and open the Bot you want to connect. If you haven't created a Bot yet, read thisQuick Start Guide.
Step 2 -View Chats
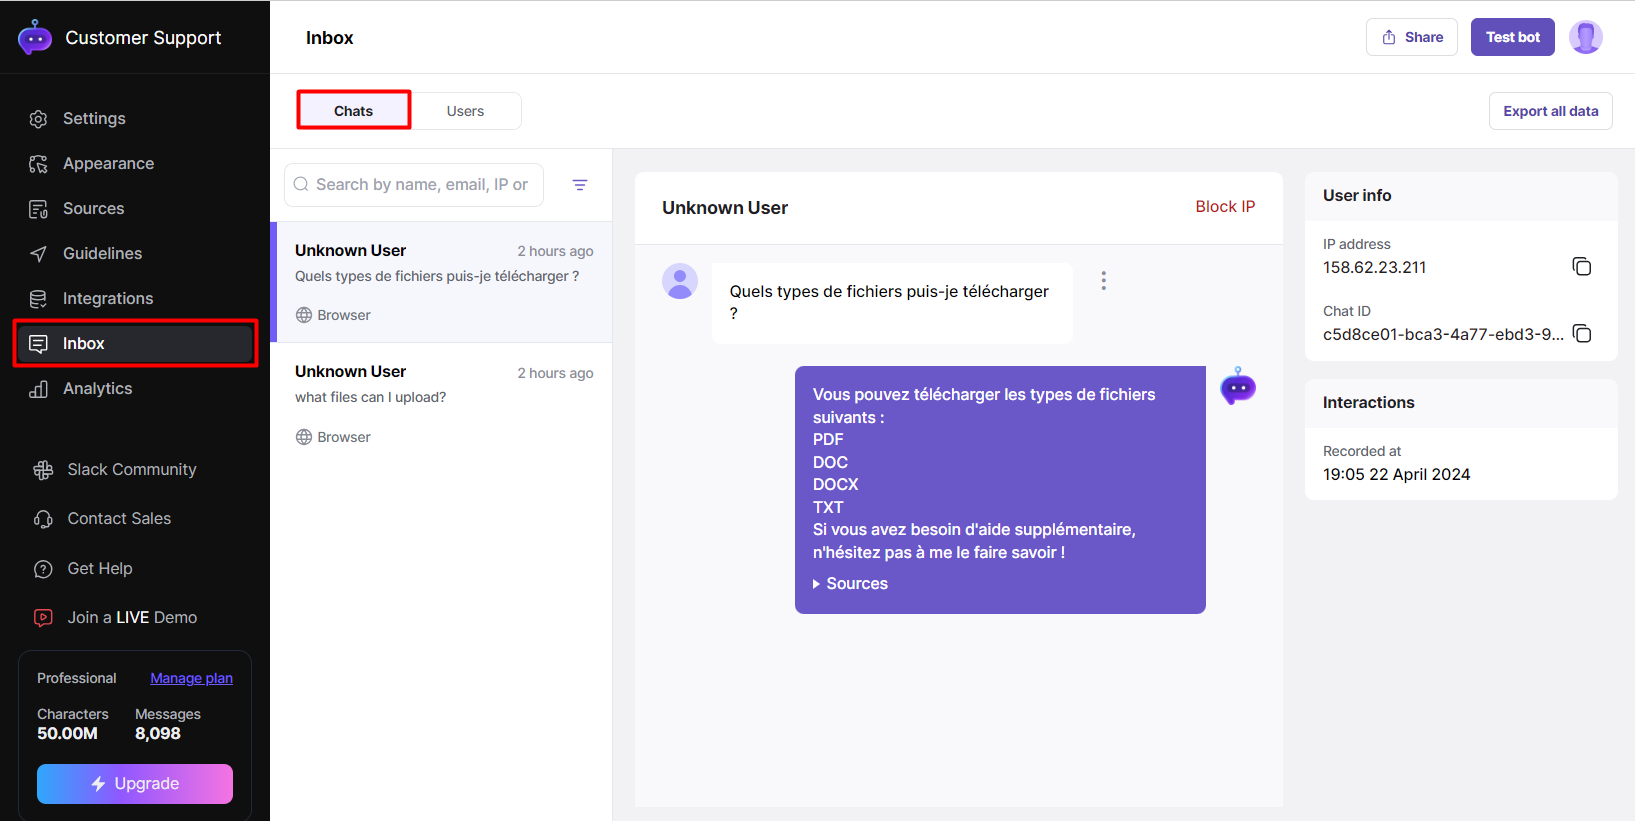
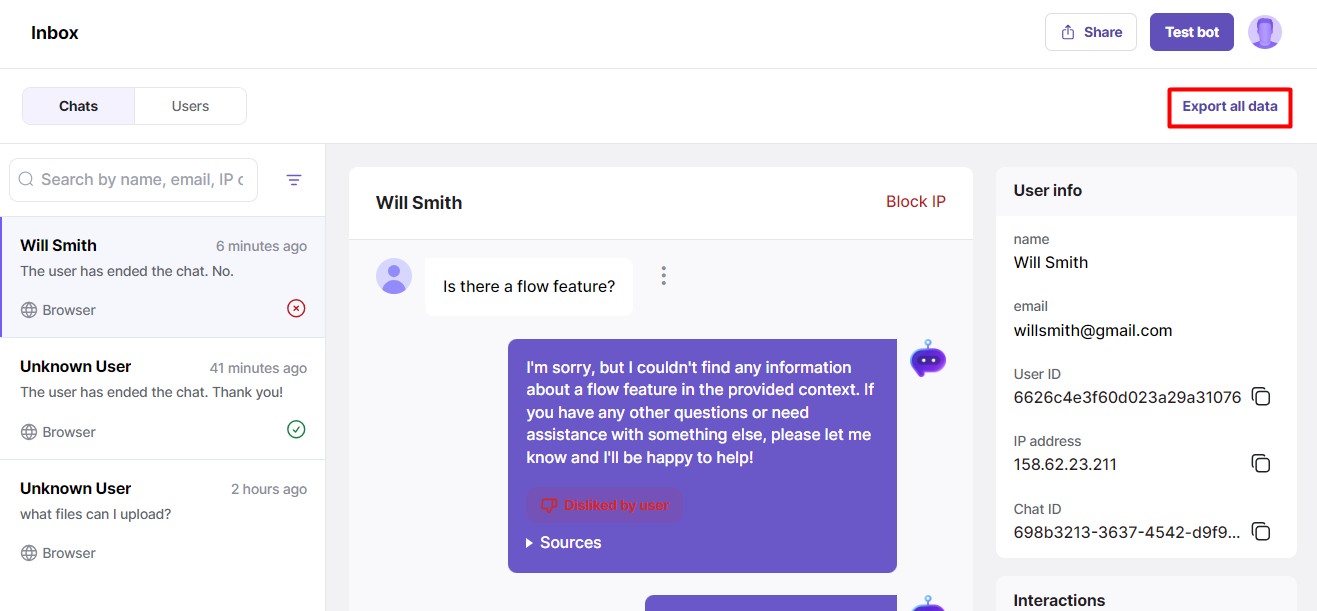
- Go to the [Inbox], then click [Chats]
- You'll see the list of chats listed vertically on the left side of the page, tap one and you'll see the entire chat conversation.
Filter Chats
-
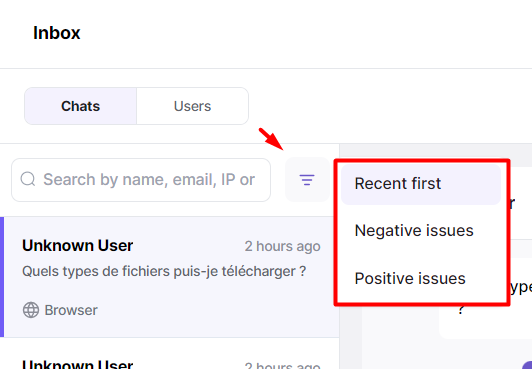
Click the [filter] icon and select from the filter options
-
You can filter chats by recent first, negative issues, or positive issues
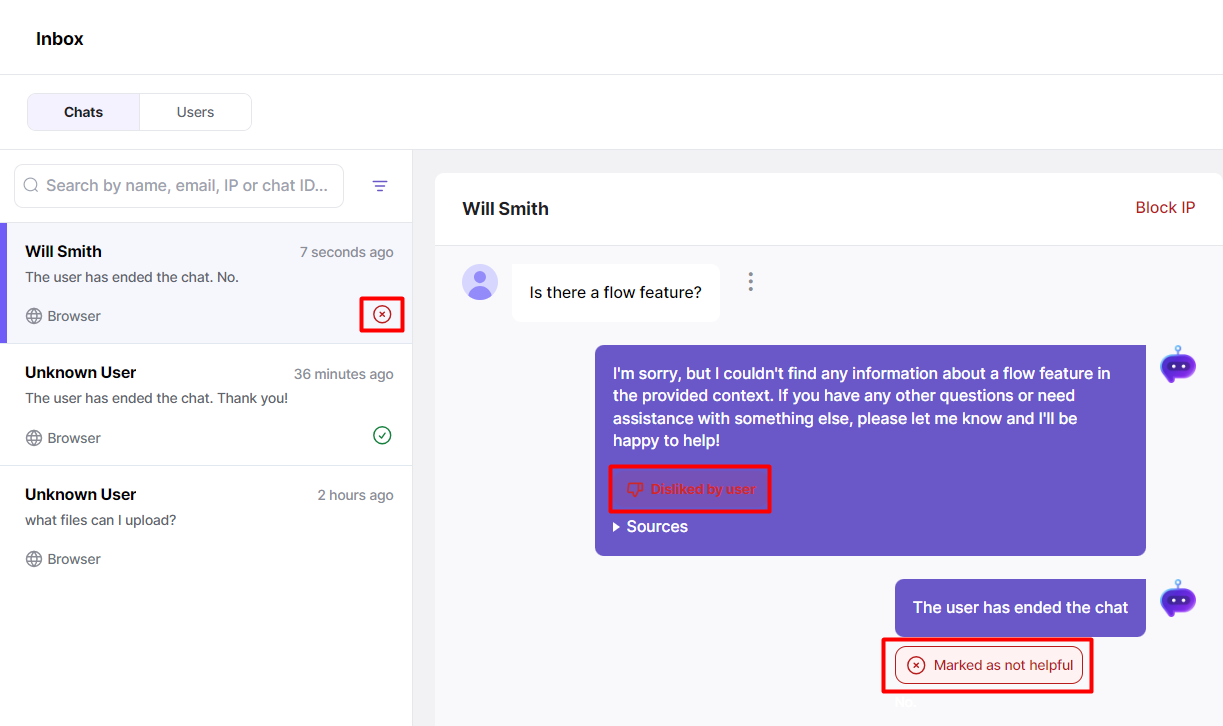
View Positive and Negative Feedback
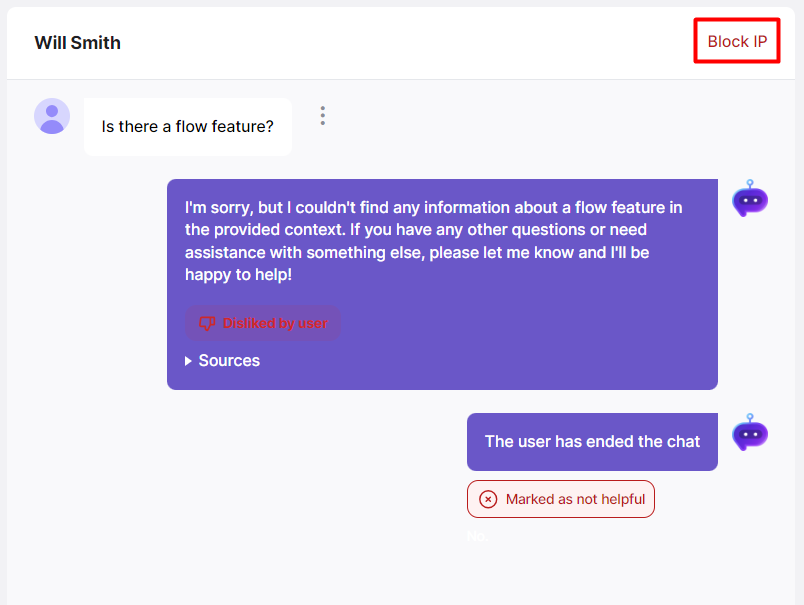
- Users can give thumbs up/down on any response from the chatbot or when they end the chat conversation.
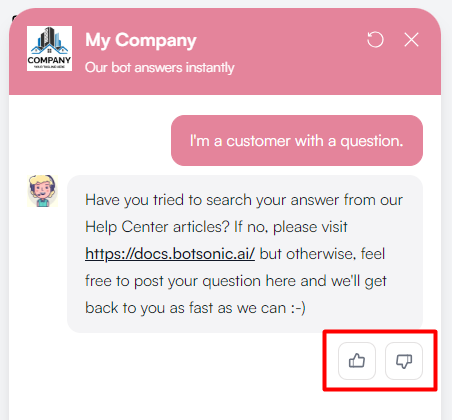

- Positive feedback will show a [green check] on the chat
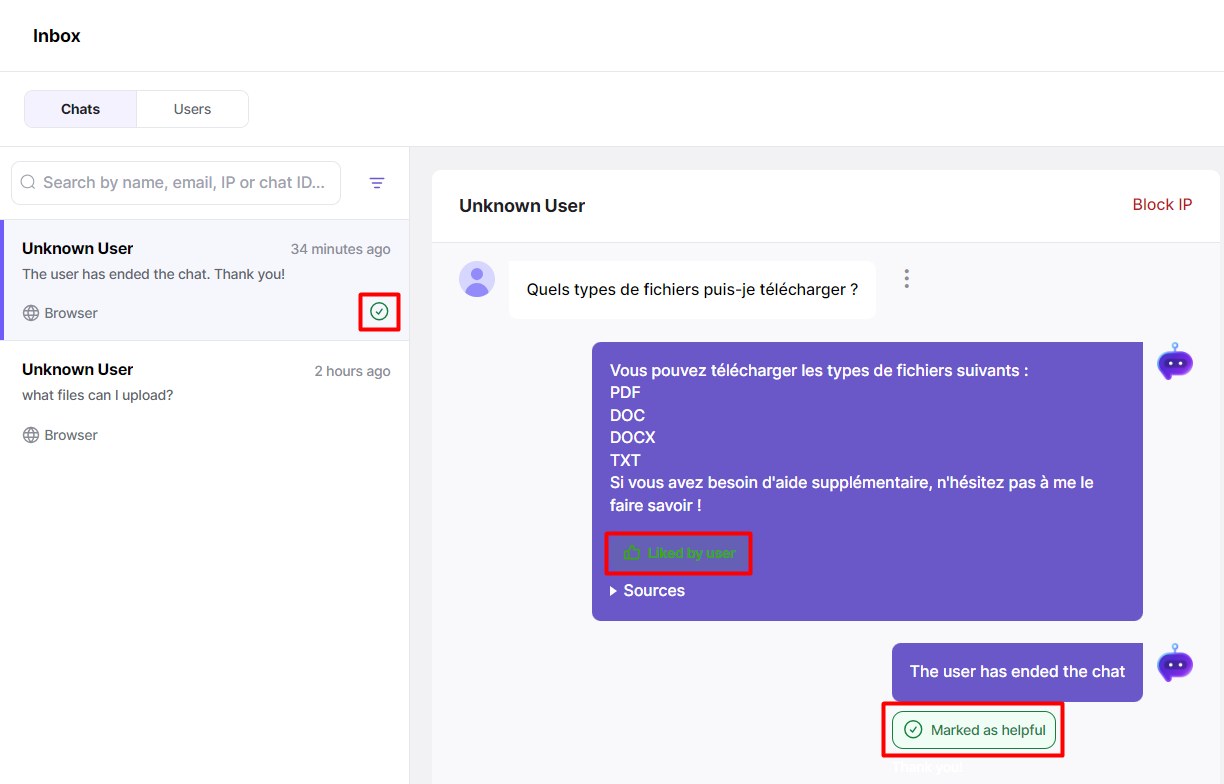
- Negative feedback will show a [red x] on the chat
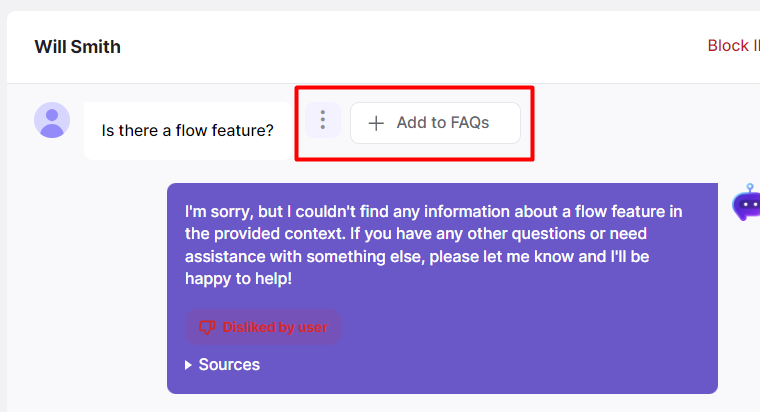
Create an FAQ from a Chat Message
- If you encouter a conversation where the chatbot may have provided insufficient information, you can either update or add SOURCES, or you can create an FAQ directly from the chat message.
- Frequently Asked Questions or FAQs are designed to address common questions and are typically presented in a question-and-answer format. Read this article to learn more about Uploading FAQs
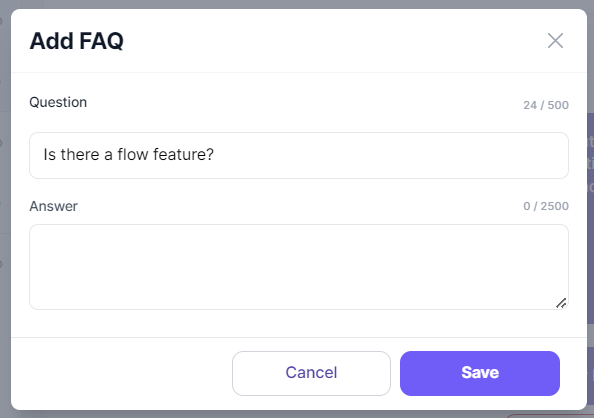
- Click the [3-dot] icon, the click [Add to FAQs]
- Enter the answer, then click [SAVE]
Block an IP Address
If a user should be blocked from submitting any new chats and interacting with your chatbot, click [Block IP] from the conversation panel in the Inbox > Chats.
Export chat data
-
Click [Export all data] from the top right corner of the page
-
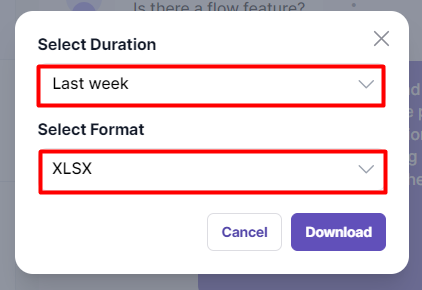
You can select a period or duration (today, yesterday, last week, last month) and your preferred format (xlsx, csv, json)
Step 3 - View Users
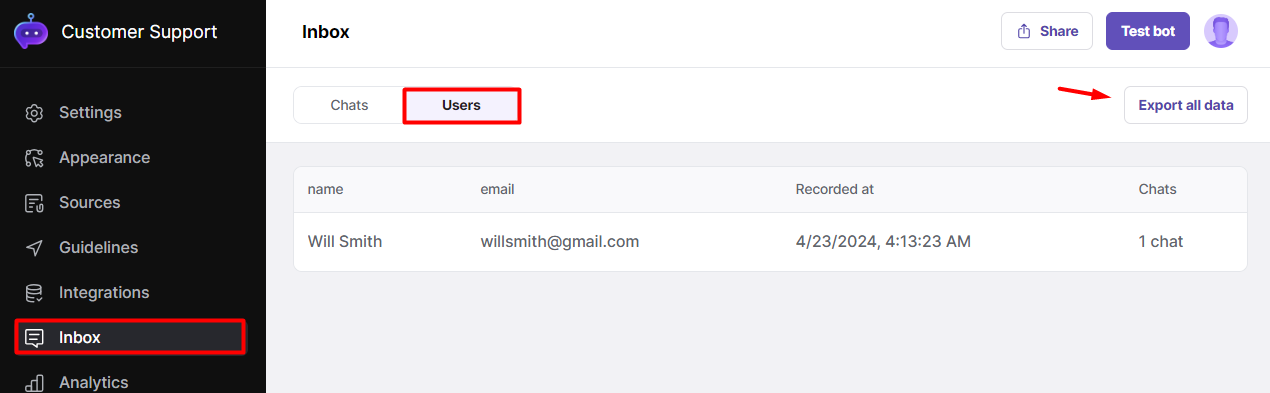
- Go to [Inbox], then click [Users]
- These are form responses captured from the built-in user form. Read this article about How to Collect Data with a USER FORM
- You can also export all the responses into an CSV file.
Updated 8 months ago