
Embed the Chatbot on a Website
Learn how to embed the chatbot directly into your website's interface
Instead of redirecting users to a separate platform or page for interacting with the chatbot, you can easily embed the chatbot into any website interface so that visitors who visit the website can interact and with the chatbot without leaving the website.
Step 1 - View the Bot Settings
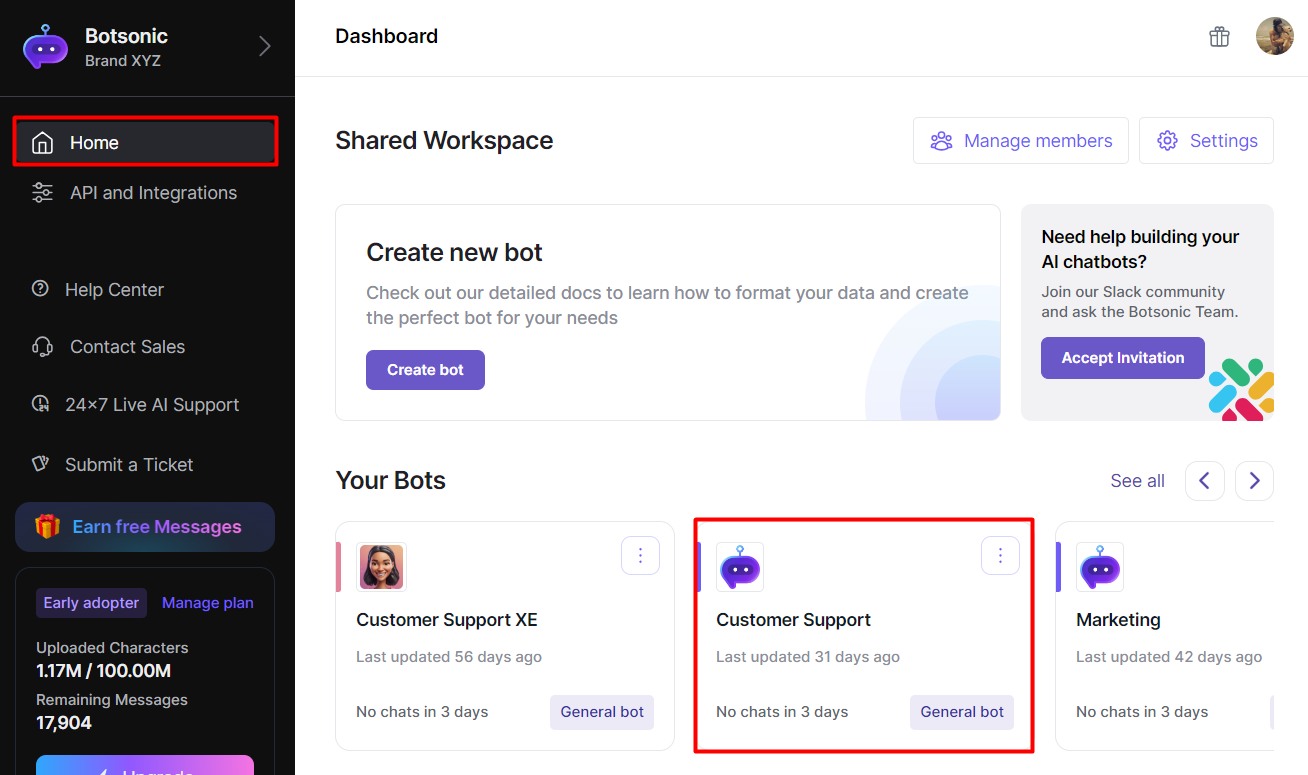
Click [Home] from the left hand side menu to access your [Dashboard]. Click to open a bot from the the "Your Bots" section. If you haven't created a Bot yet, read thisQuick Start Guide.
Step 2 - Add Allowed Domains
For security purposes, the chatbot will only work on domains you add. You can add multiple domain names if you have multiple websites.
-
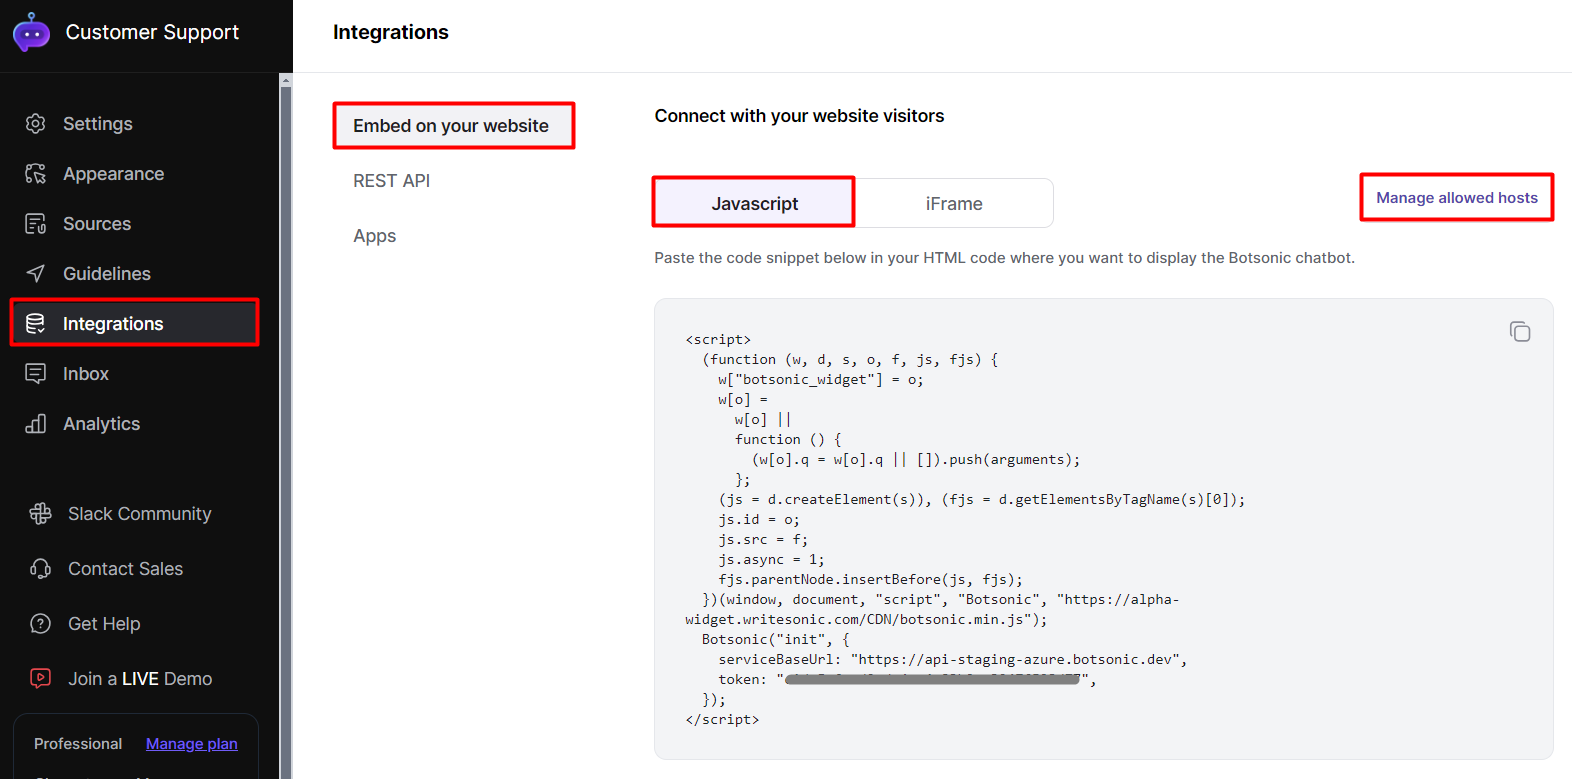
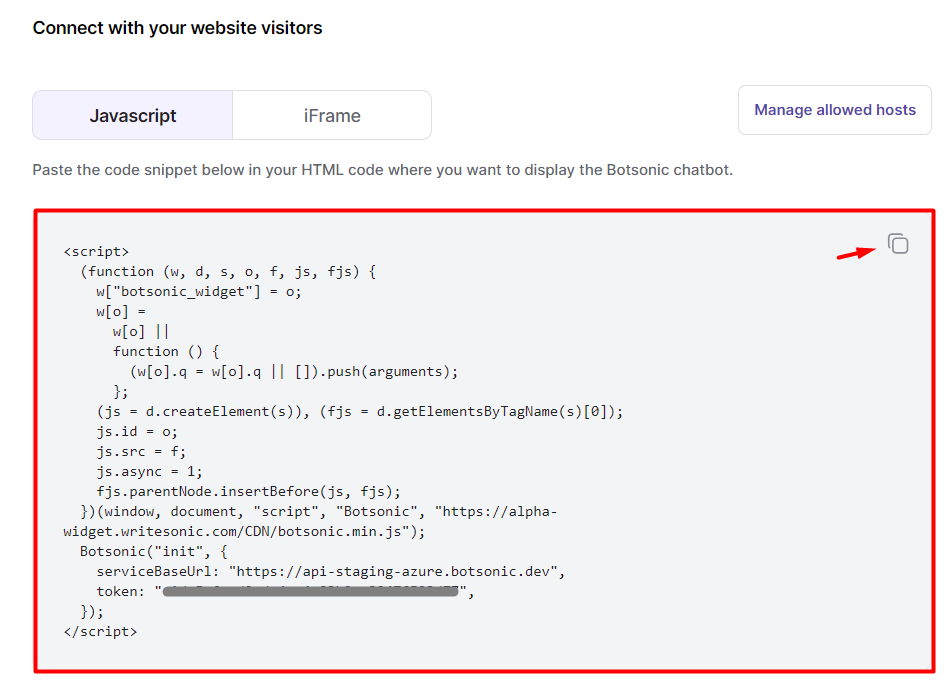
Click [Integrations] on the left hand side menu, then click [Embed on your website]
-
Click [Javacript], then click [Manage allowed hosts]
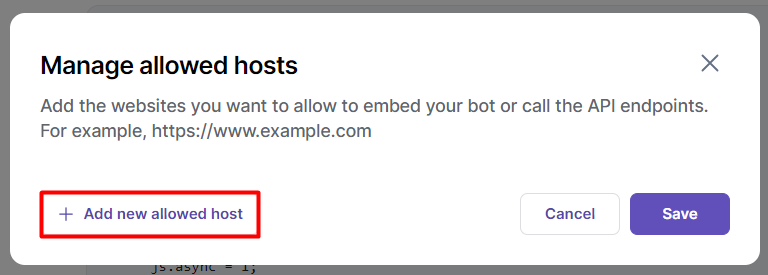
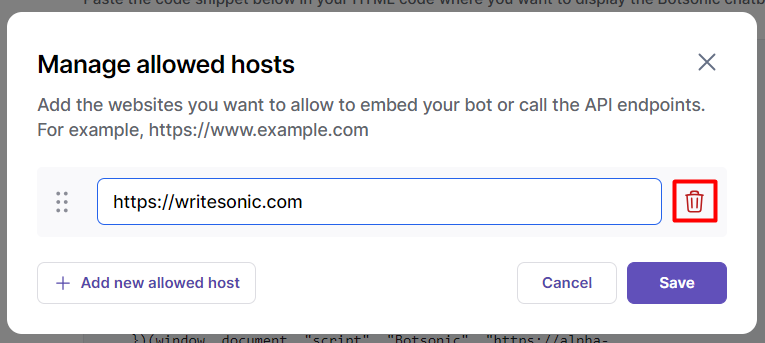
- Click [Add new allowed host]
-
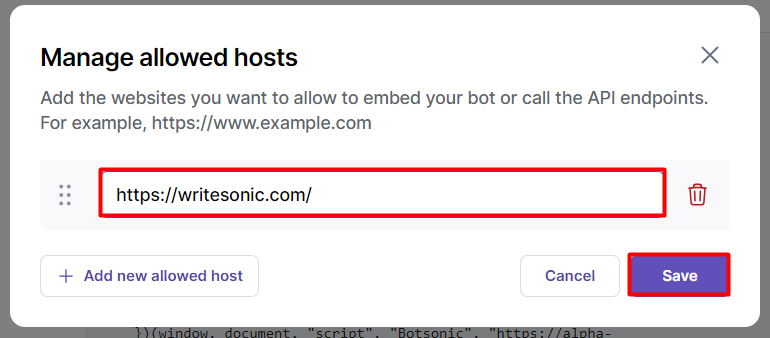
Enter the website domain that you allow the chatbot to be displayed on, then click [SAVE]
Step 3 - Copy and embed the code on your website
-
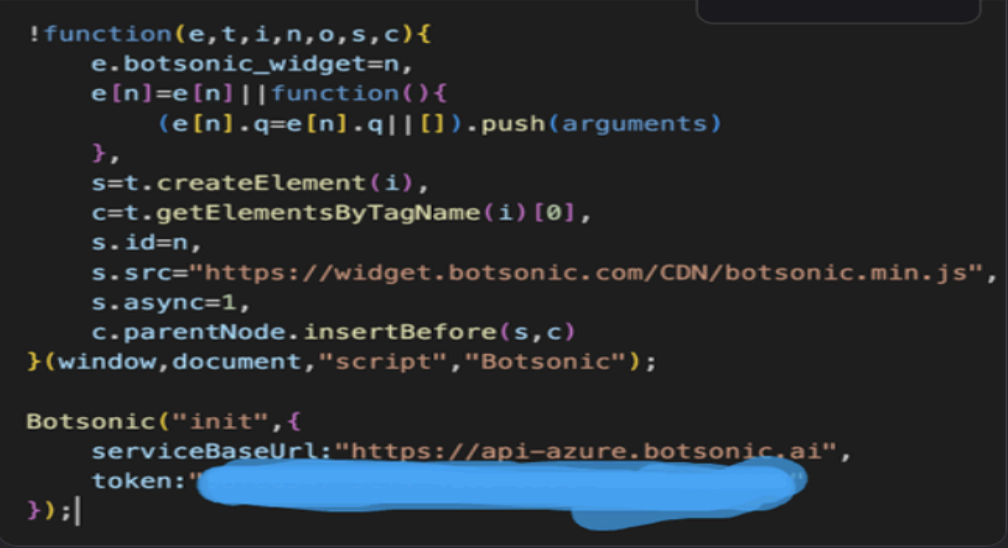
Click the [copy] icon to copy the embed code to your clipboard
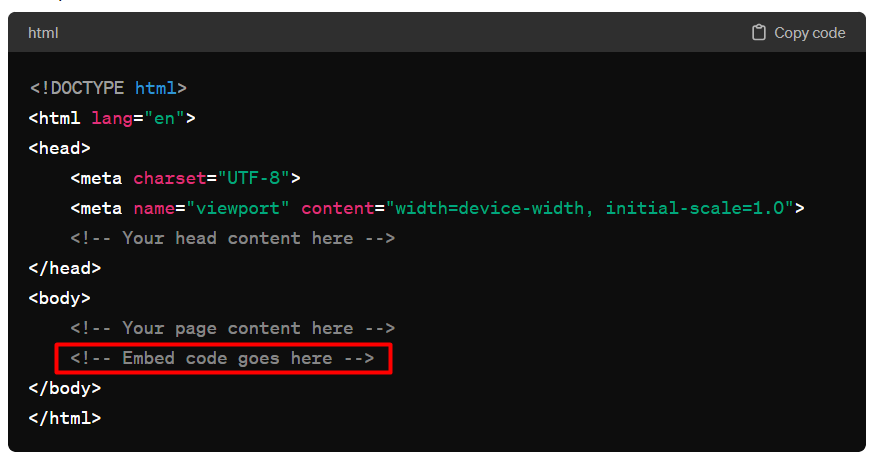
- Paste the embed code on your website
Embed on HTML Website
Place the embed code within the HTML of your webpage near the closing tag.
Embed on WordPress
- If you are using WordPress, you can usually place the embed code within the HTML editor of a post or a page.
- Switch to the "Text" editor rather than the "Visual" editor, and paste the embed code where you want it to appear.
Embed on Blogging Platforms (eg. Medium, Blogger)
- Follow the platform-specific instructions for embedding content.
- There may be a specific "Embed" or "HTML" option where you can insert your code.
Embed on Content Management Systems (eg. Joomla, Drupal)
- Consult the documentation of your CMS for guidelines on embedding content.
- It often involves using an HTML or code block within your content.
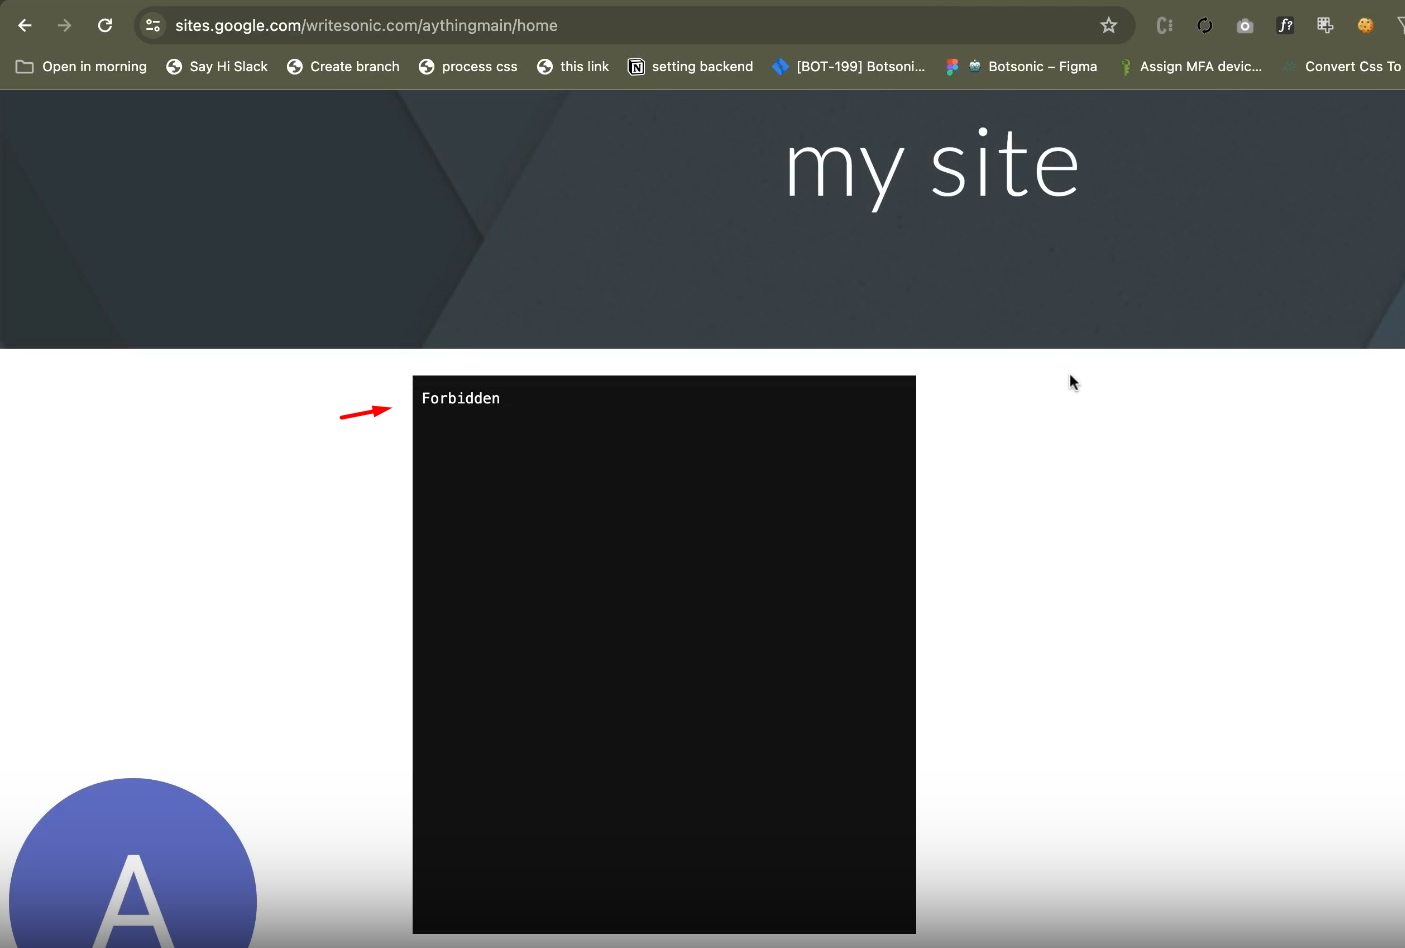
Step 4 - Check for Errors
If you see a "forbidden" message, this means that your website is trying to use a bot or script that hasn't been given permission to run on that site. To fix this, you need to whitelist your website's hostname. Read and follow this step by step guide onHow to Whitelist Hostnames for Embedding Bots on Your Website
Disabling the Chatbot on the Website
Common Issues and Resolutions
Issue #1: Refused to Execute Inline

To resolve:
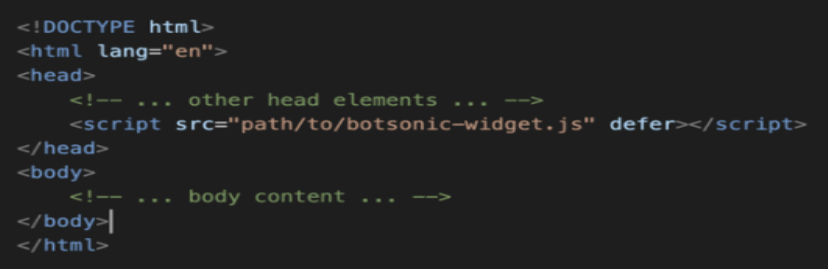
- Create a new JavaScript file, e.g., botsonic-widget.js
- Move the inline script to this new file.
- Update your HTML to reference the new JavaScript file.
Issue #2: No Referrer
Option 1: Add the "strict-origin-when-cross-origin" Referrer Policy
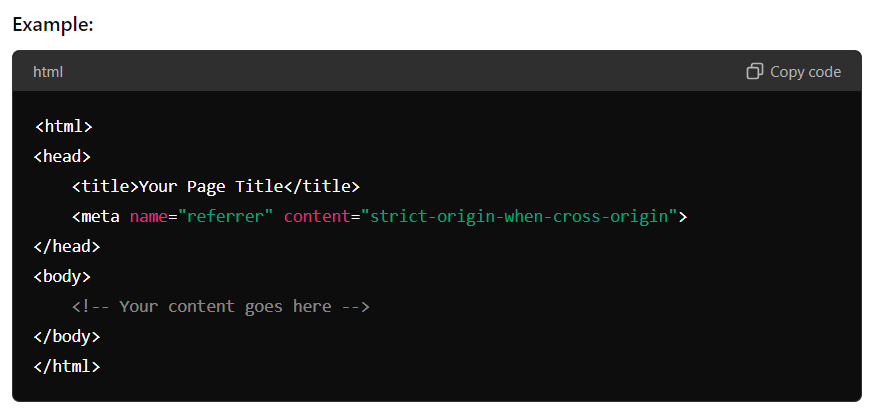
- Set the Referrer Policy in the HTML Header. To enhance privacy and control over referrer information, you need to set the "strict-origin-when-cross-origin" policy. This can be done by adding a specific meta tag to the HTML of your web page.
- Add the Meta Tag to Your HTML File. Place the following meta tag within the section of your HTML document:

Option 2: Configure the Referrer Policy on Your Hosting Server
Alternatively, you can configure the referrer policy at the server level. This method ensures the policy is applied to all pages served by your web server.
For Apache Servers:
Add the following line to your .htaccess file or your server configuration file:

For Nginx Servers:
Add the following line to your server configuration file (usually located at /etc/nginx/nginx.conf or within a server block in your site-specific configuration file):

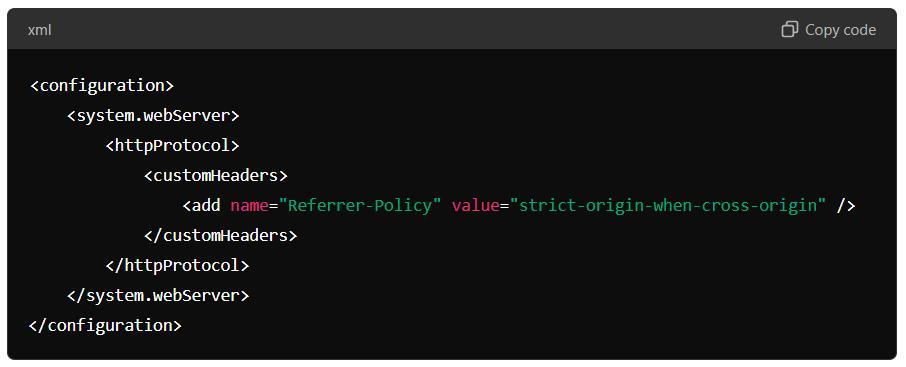
For IIS Servers:
Modify your web.config file to include the referrer policy:
Updated 9 months ago