
Zapier Capture Form
Learn how to create a Zap using Botsonic as a trigger to capture information from the built-in user form and automatically save the captured information on a Google Spreadsheet
This integration allows you capture information submitted on your Bot's built-in user form and automatically save the captured data into a Google Spreadsheet.
Step 1 - Setup the Built-in User Form & Sample Data
-
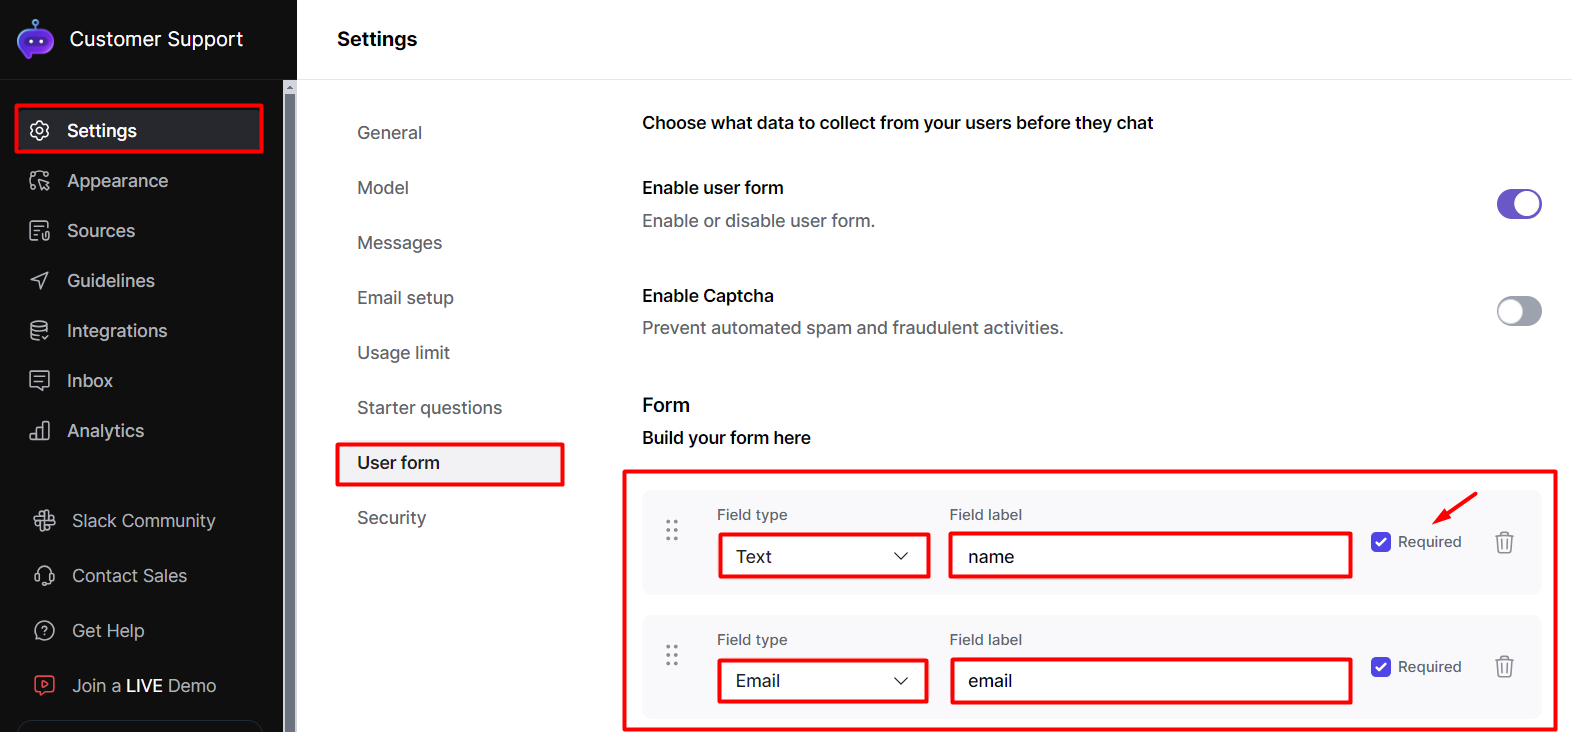
Go to the Bot's SETTINGS > USER FORM page to setup the form fields and enable the form. Read this step by step guide to learnHow to Collect Data with a USER FORM
Step 2 - Prepare the Google Spreadsheet
-
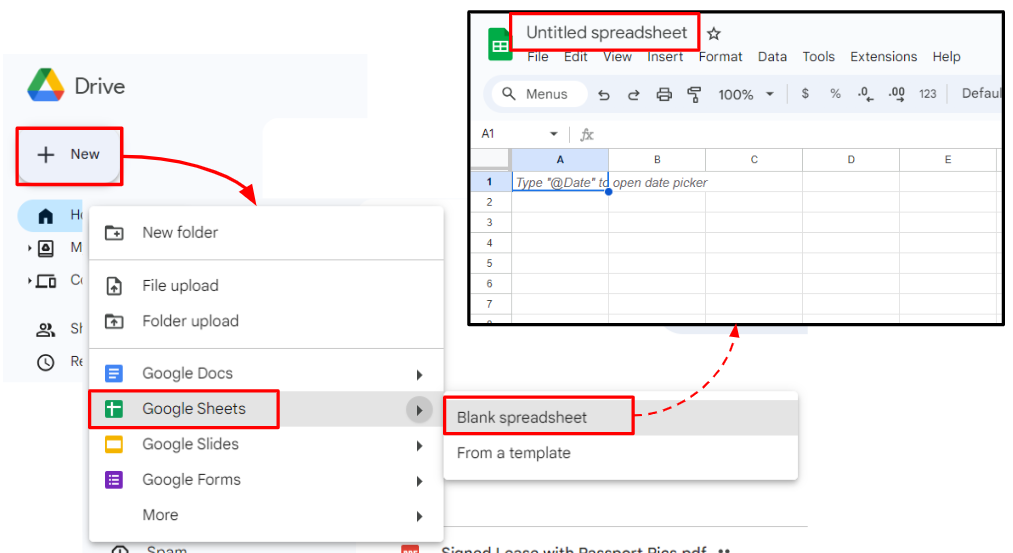
Log in to https://drive.google.com
-
Click the [+ New] button, then create a [Blank Spreadsheet]
-
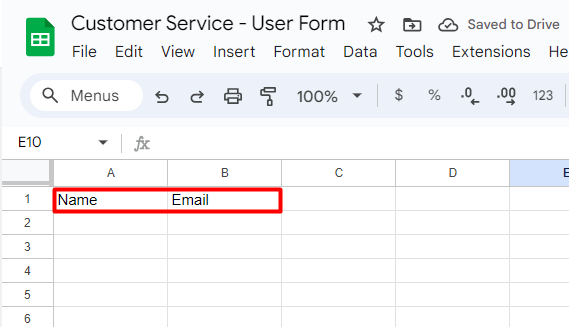
Rename the untitled spreadsheet so you can easily find it in the next steps
-
Add the form field titles on the first row.
Step 3 - Generate a zapier key
-
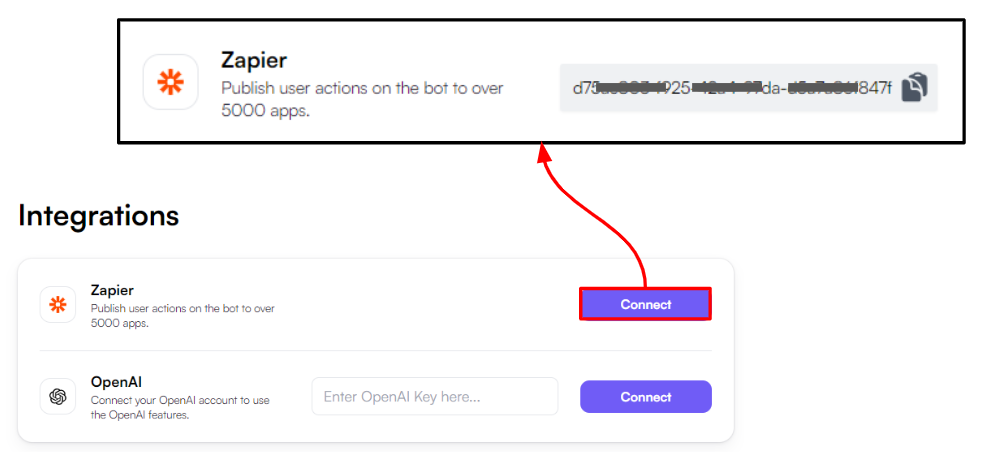
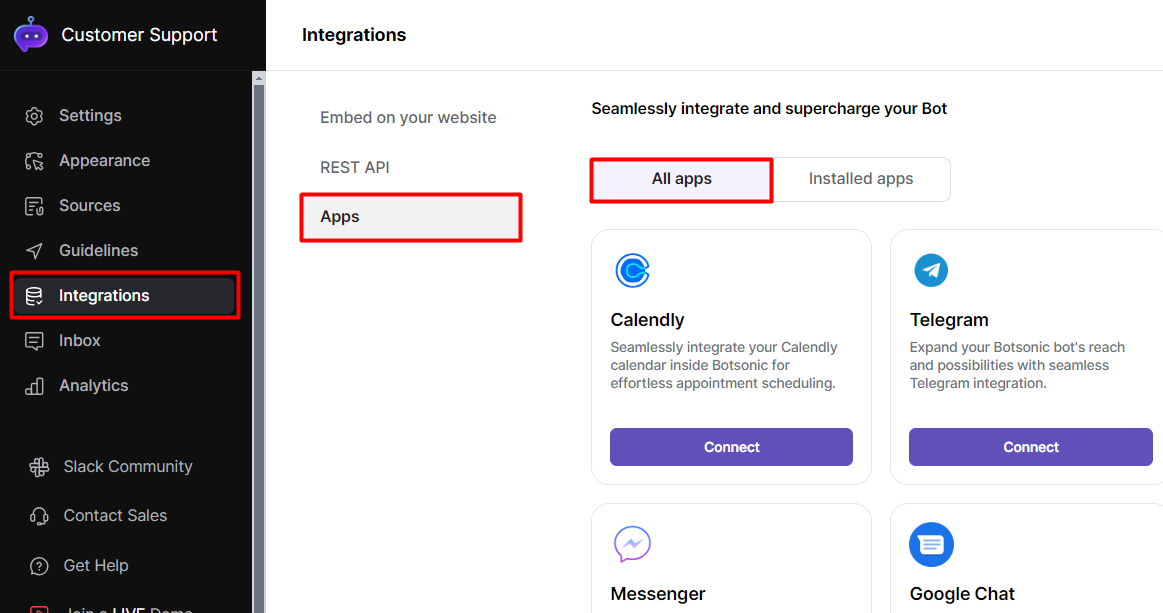
In your Botsonic account, go to your account [Integrations] page. Click [Settings] from the left-hand side bar or select [Integrations] from your Avatar dropdown menu.

-
Click on Zapier's [Connect] button to generate the Zapier Key. Copy the Zapier key to your clipboard, you'll need it in the next steps, but you can always go back to this page to copy it later.
Step 4 - Connect & Install
-
Navigate to your Botsonic Dashboard by clicking on [Home] from the left hand side menu. Then click and open the Bot you want to connect. If you haven't created a Bot yet, read thisQuick Start Guide.

-
Click [Integrations] from the left hand side menu, then click [Apps]
-
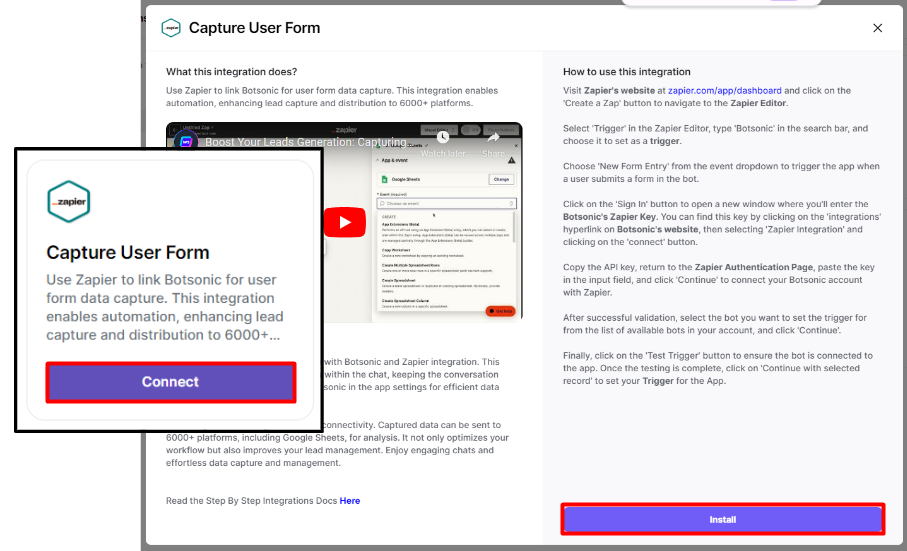
Look for the [Capture User Form] integration. Click [Connect], then click [Install]
-
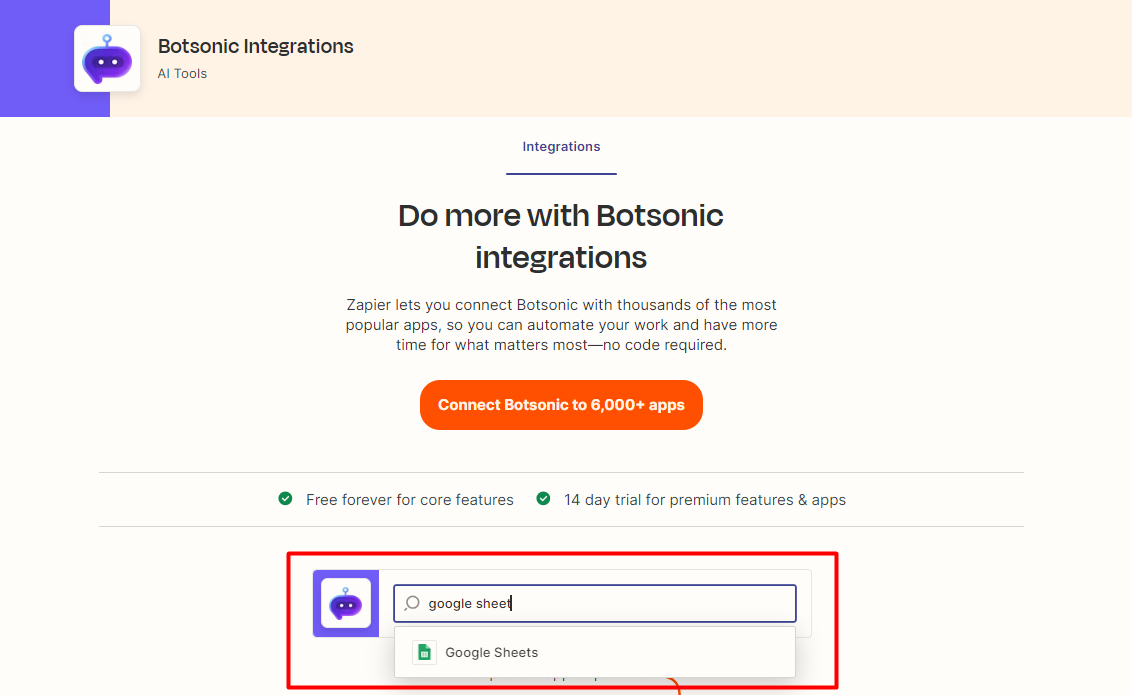
Search and select [Google Sheets] on Zapier's Botsonic integrations page.
-
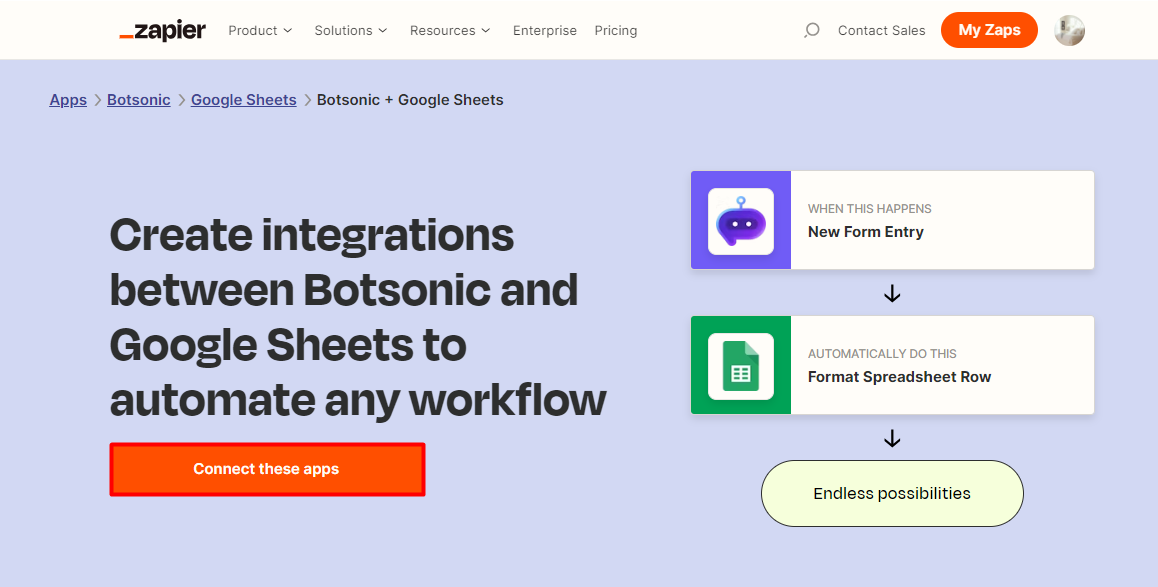
Click [Connect these apps]
Step 5 - Set up the trigger
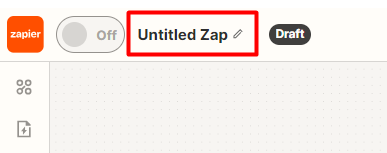
- Give your Zap a name
-
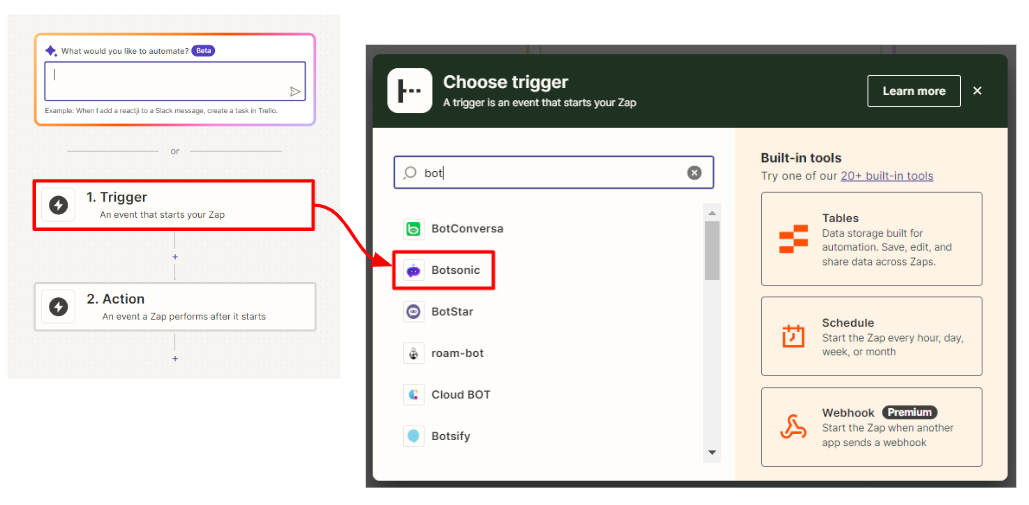
Click the [Trigger] box, then search and select "Botsonic" as the trigger
-
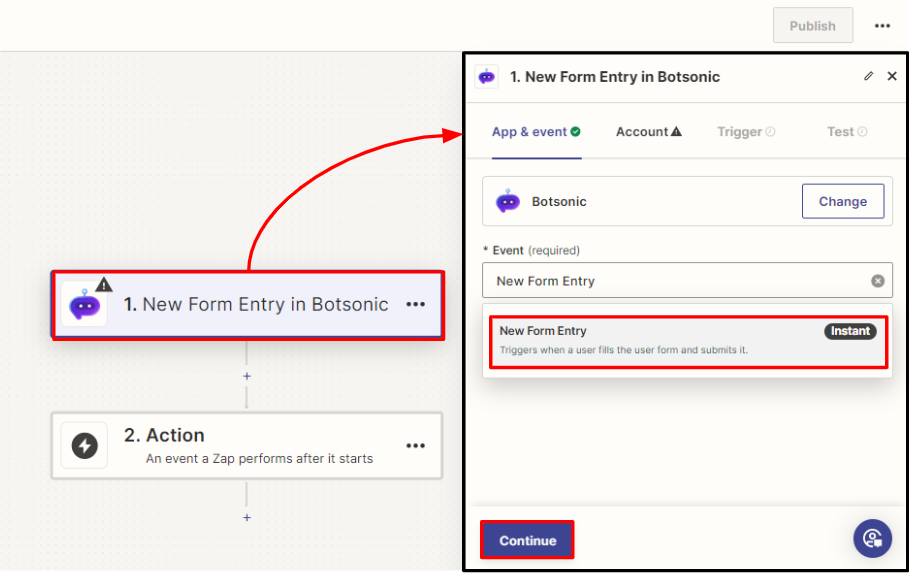
Click the [Botsonic trigger box] to open up the trigger settings. Select "New Form Entry" from the [Event] dropdown] field, then click [Continue]
-
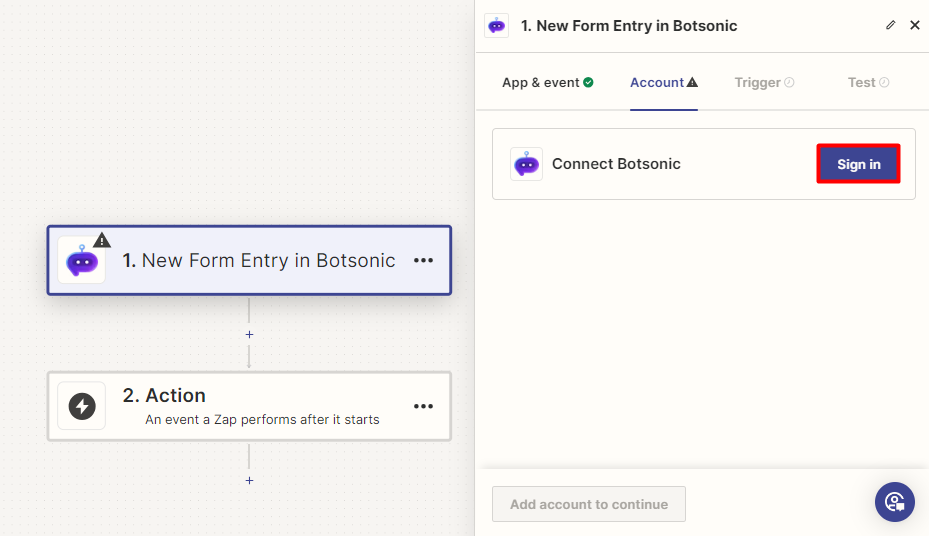
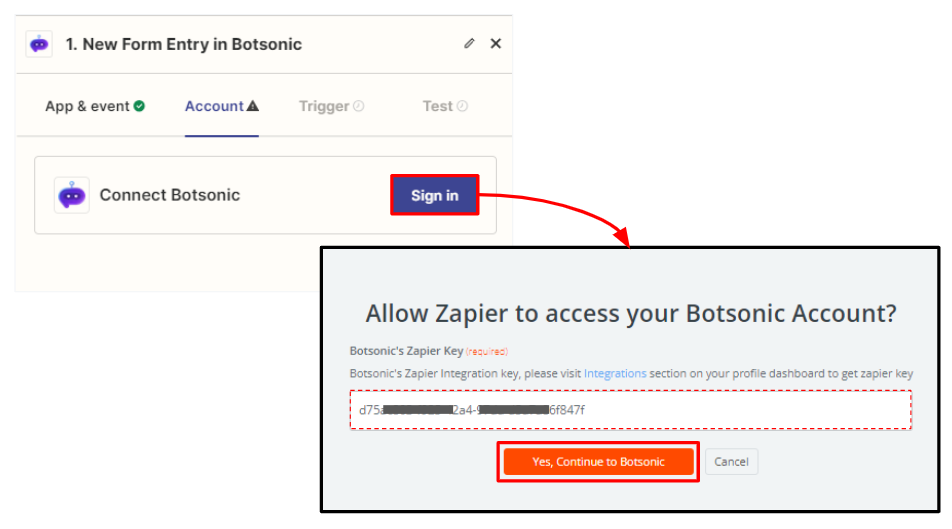
Click [Sign in], then sign-in to your Botsonic account
-
Click the [Sign in] button to open the Zapier dialog box. Enter the Zapier Key, then click [Yes, Continue to Botsonic]
-
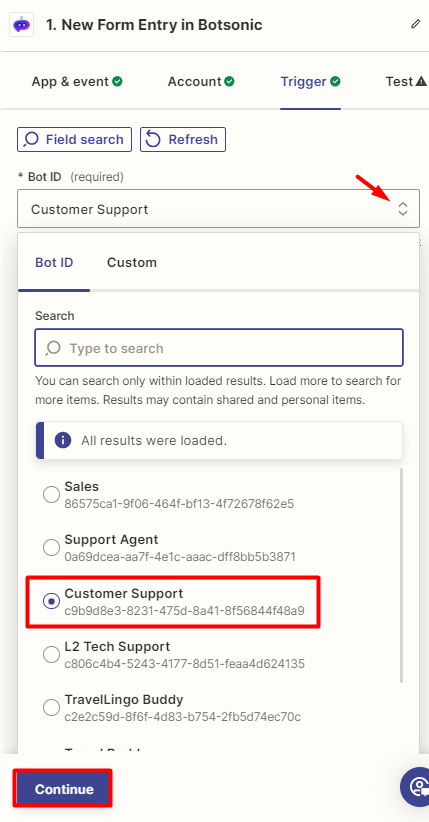
Select the Bot you want to connect from the dropdown options, then click [Continue]
-
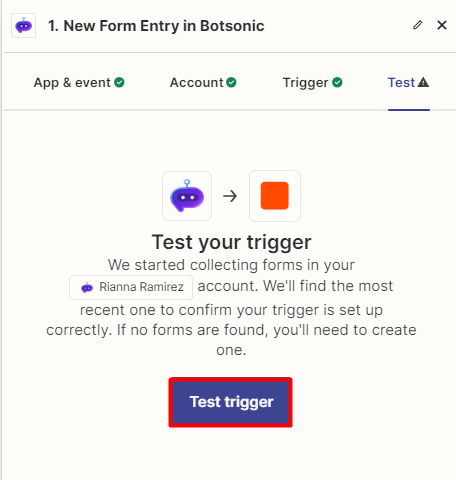
Click [Test trigger]
-
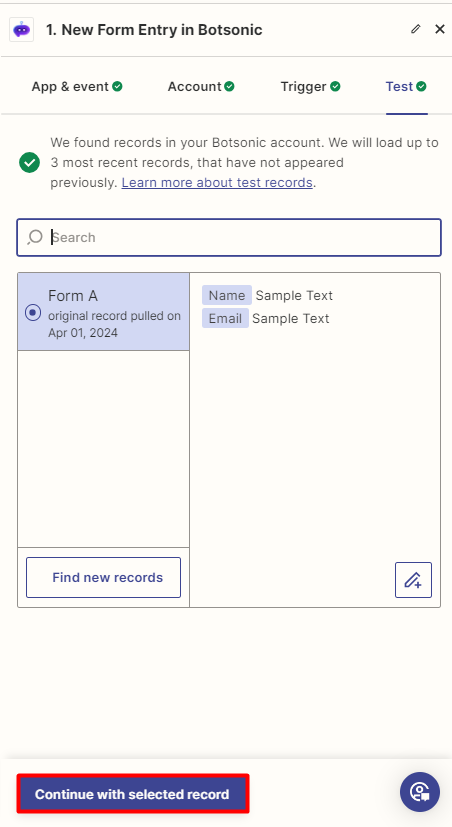
Click [Continue with selected record]
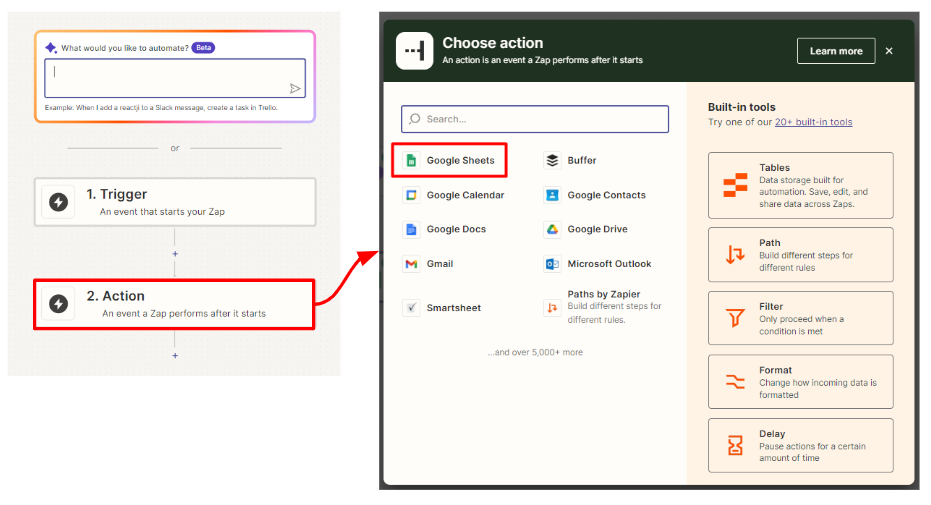
Step 6 - Set up the action
-
Choose an Action. Search and select [Google Sheets]
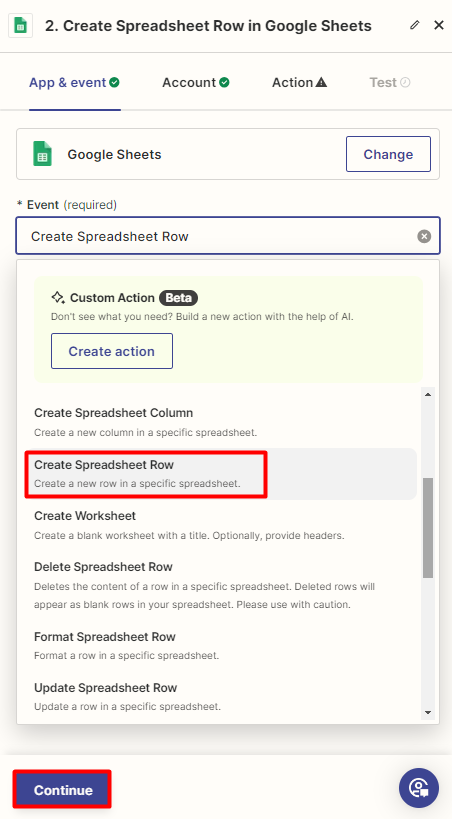
-
Search and select [Create Spreadsheet Row], then click [Continue]
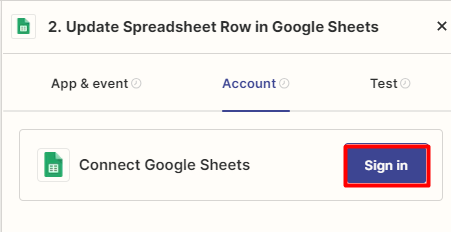
-
Click [Sign in] and log into your Google Account, then click [Continue]
-
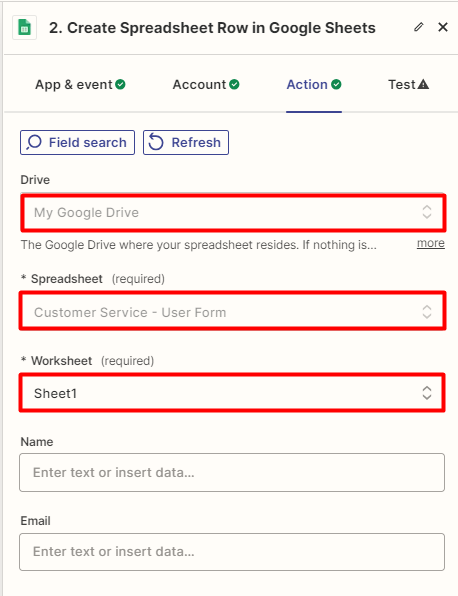
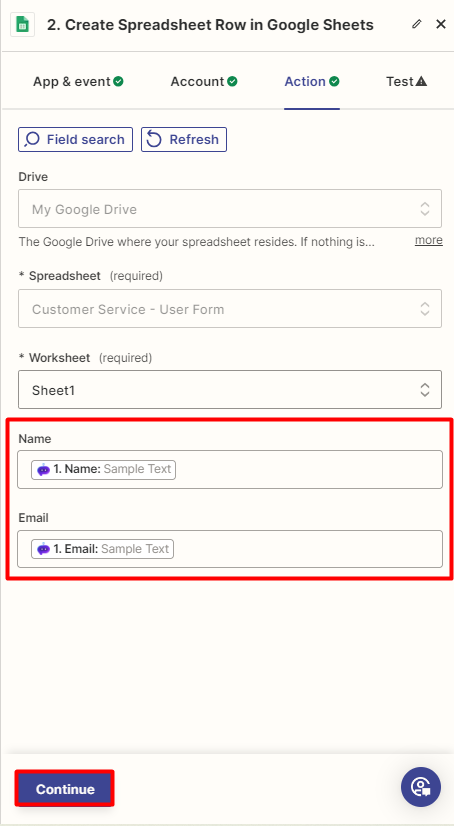
Fill out and select the following fields:
- Drive: My Google Drive
- Spreadsheet: search and select the spreadsheet where you want the captured data to be saved
- Worksheet: search and select the worksheet
-
Select and map out the spreadsheet header titles with the Botsonic user fields, then click [Continue]
-
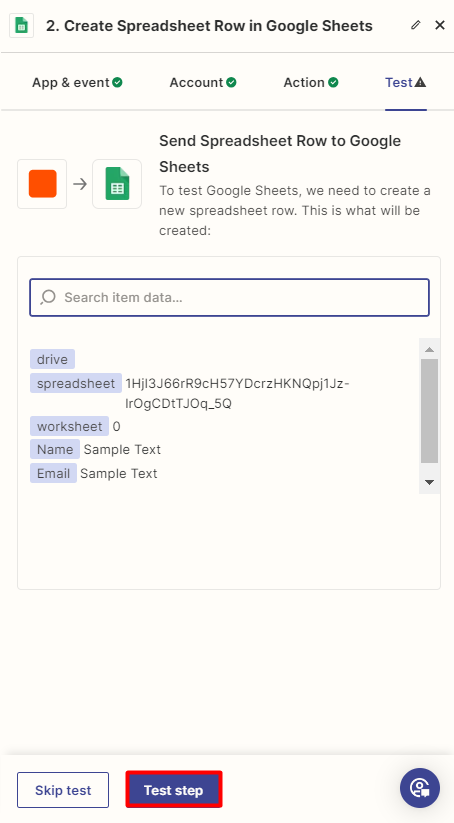
Click [Test Step]
-
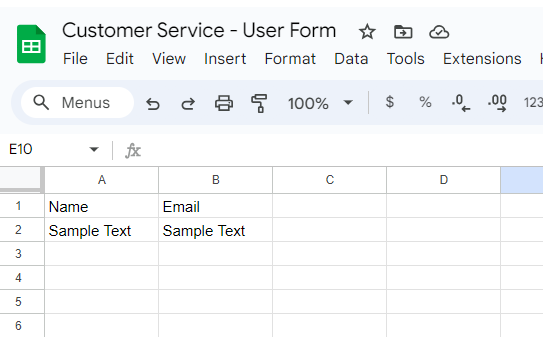
Go to the spreadsheet to check if the test was successful
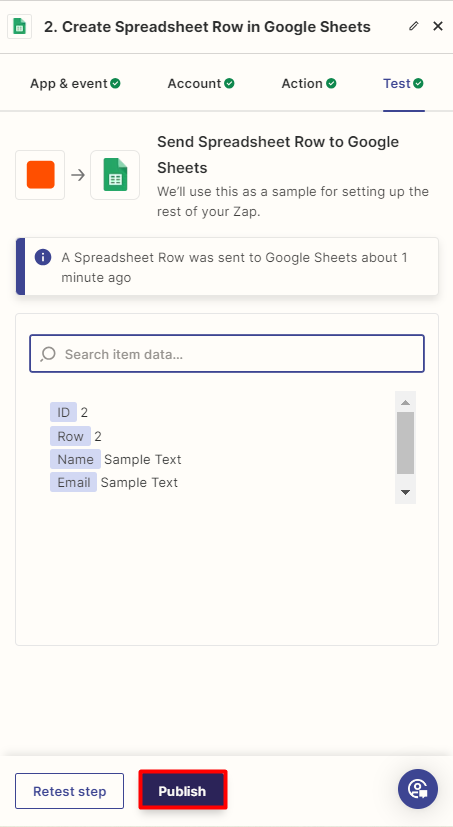
Step 7 - Publish the Zap
When you're ready, click the [Publish] button to start using the Zap with your Botsonic chatbot
Updated 8 months ago