
How to Customize the APPEARANCE of Your Chatbot
Learn how to personalize or add branding to the look and appearance of your chatbot
Step 1 - Access the Bot's Appearance Settings
-
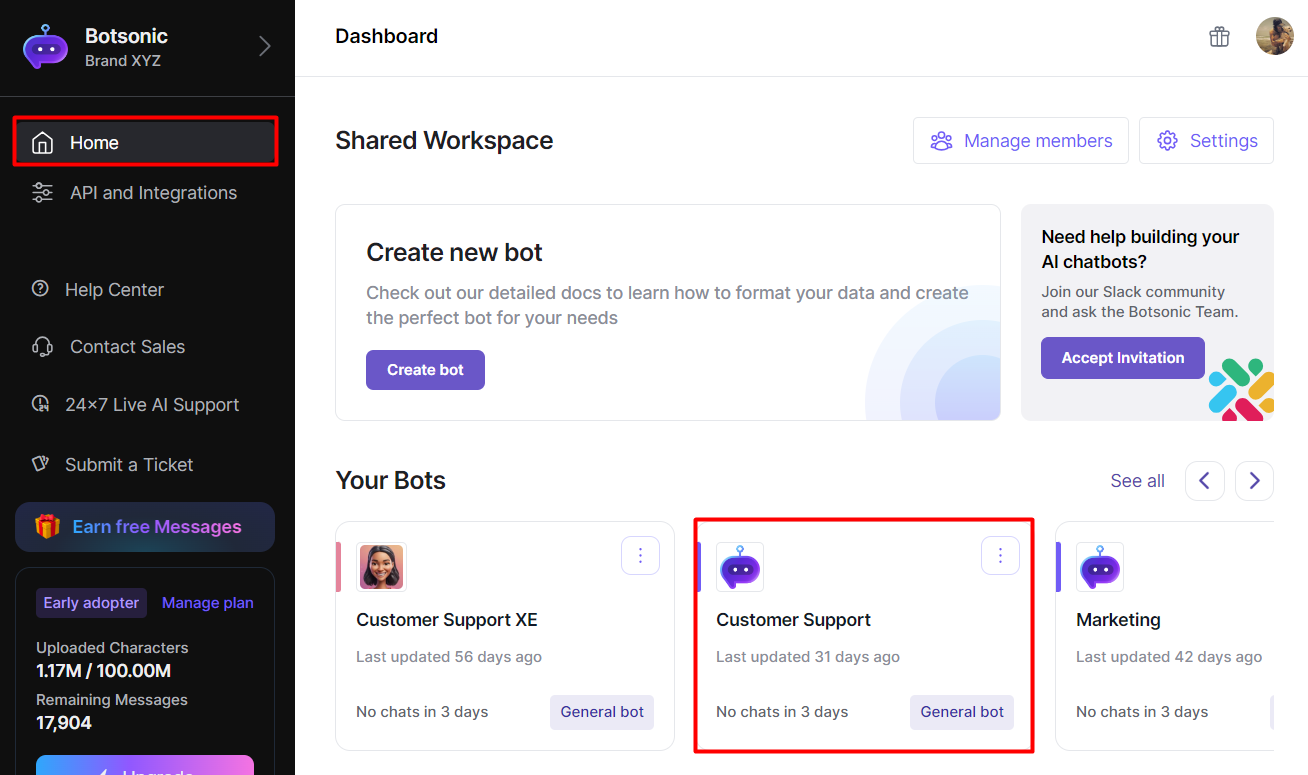
Navigate to your Botsonic Dashboard by clicking on [Home] from the left hand side menu. Then click and open the Bot you want to connect. If you haven't created a Bot yet, read thisQuick Start Guide
-
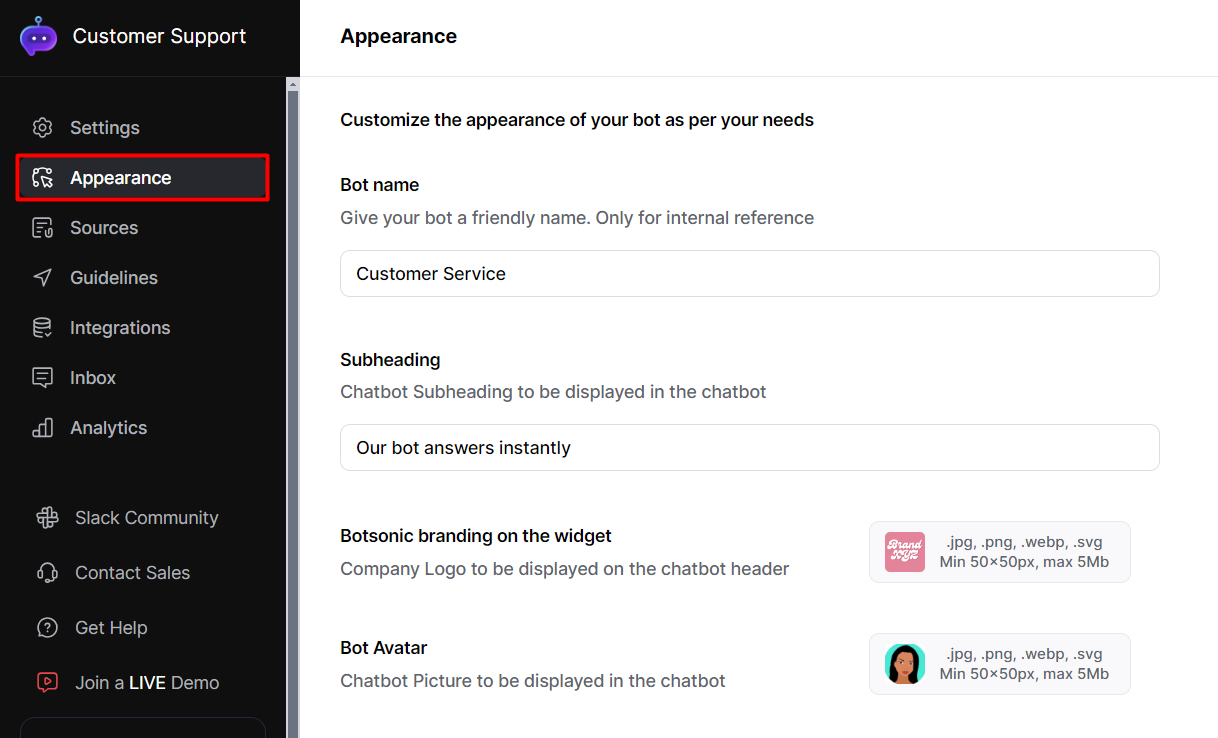
Click [Appearance] from the left hand side menu
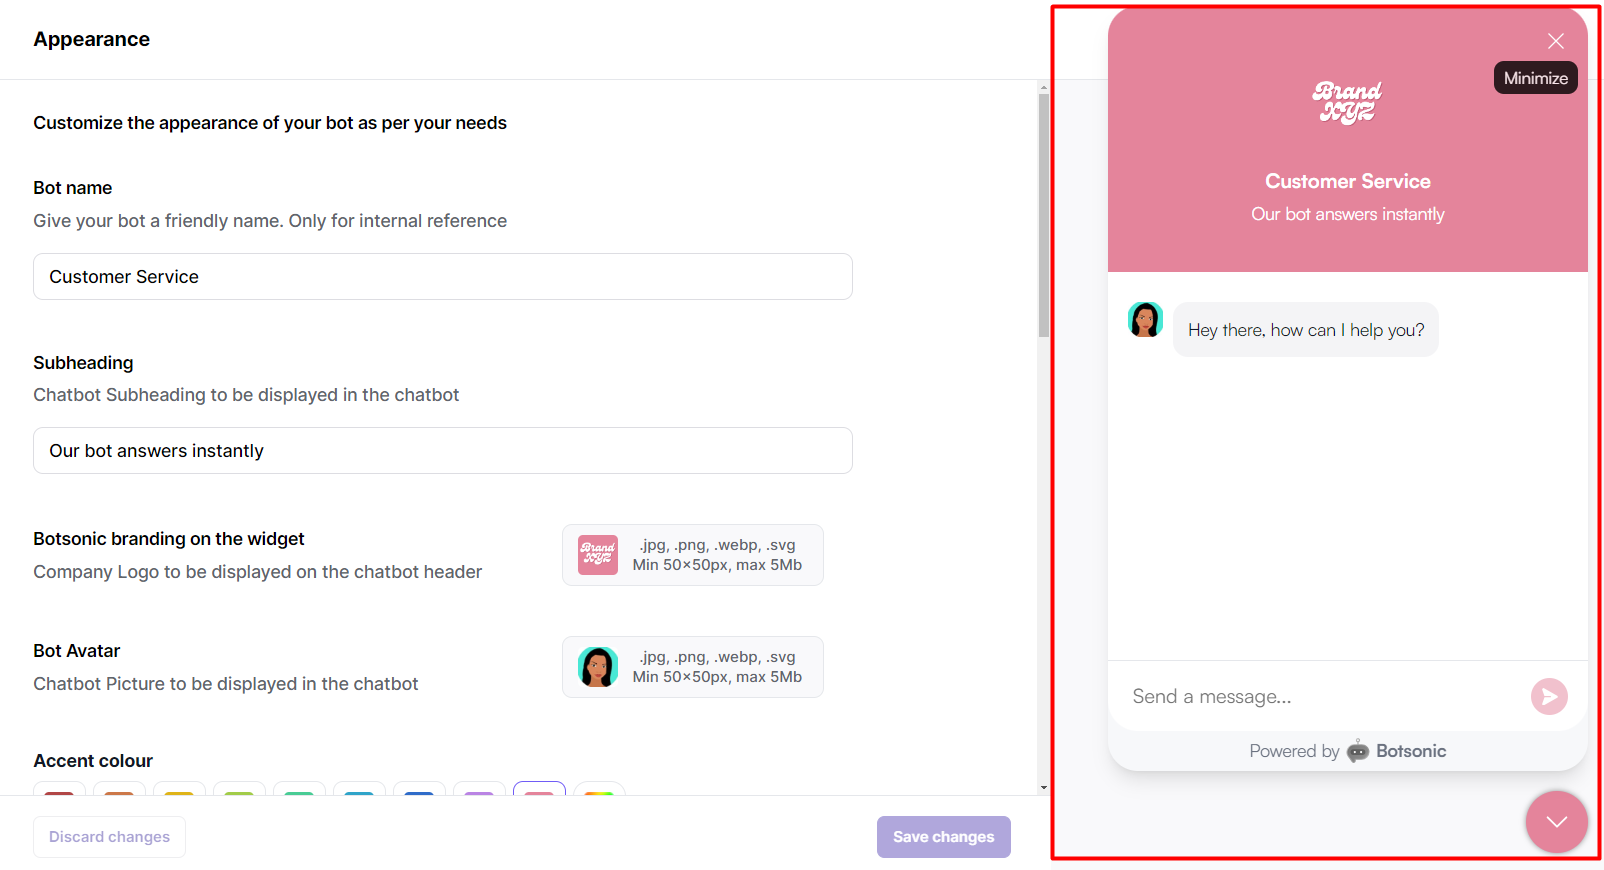
Preview the look of your chatbot
You can preview the look of your chatbot in real time as you make changesThe preview pane is located on the right-hand side of the page.
Step 2 - Personalize the look and feel of the chatbot
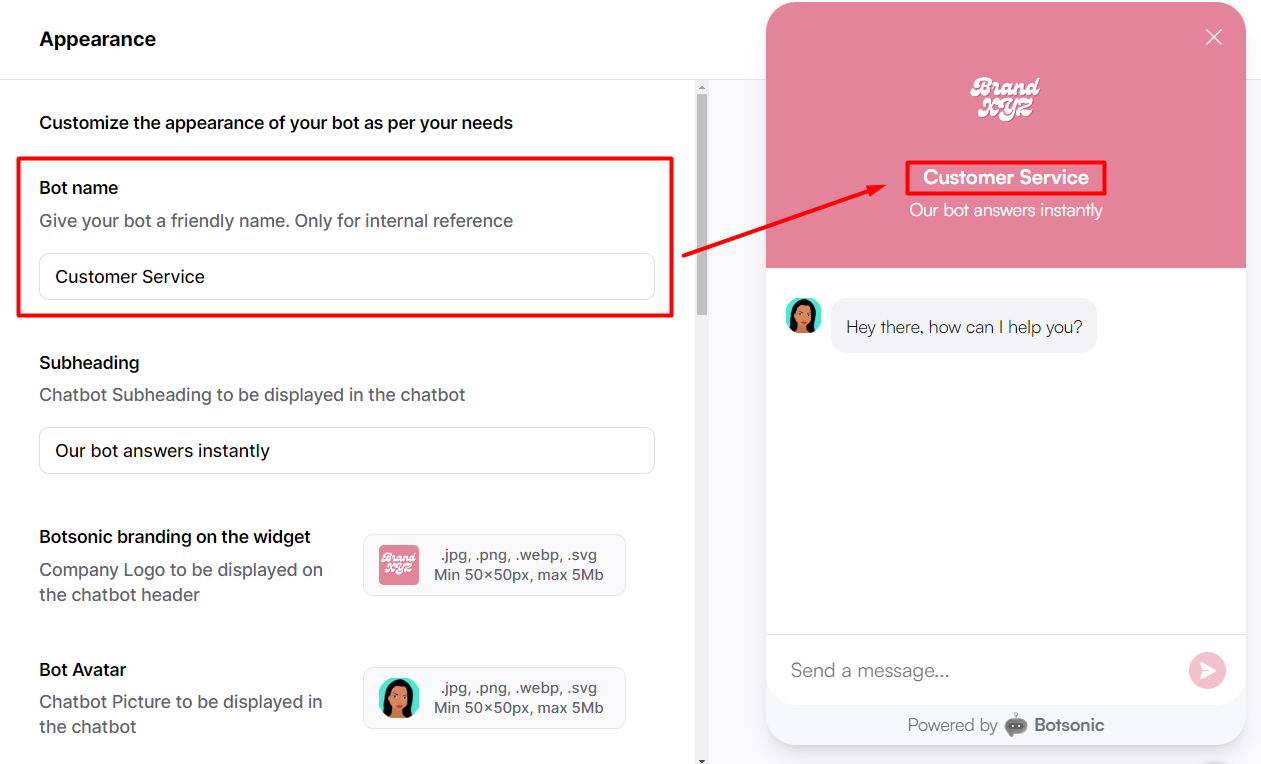
Company Name
Enter your company name or any name you'd like to appear on the Bot's interface.
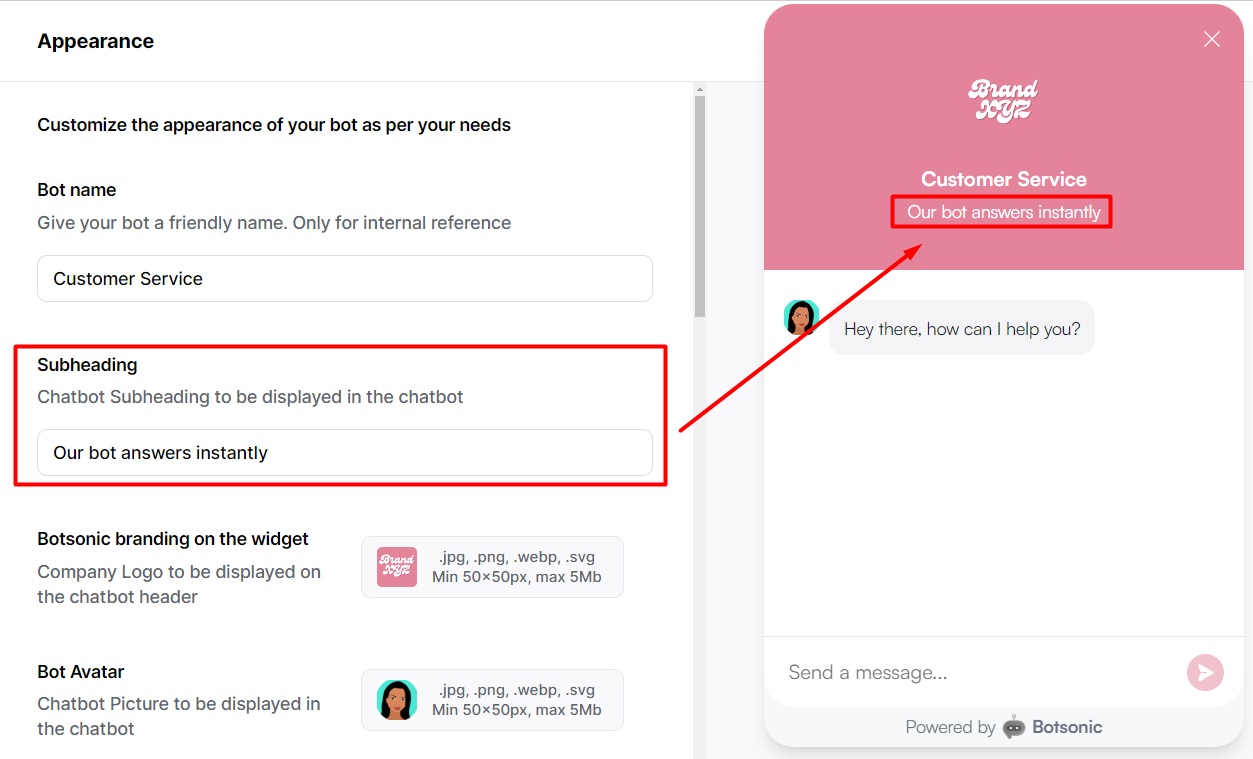
Subheading
Enter a customized message for your bot's subheading
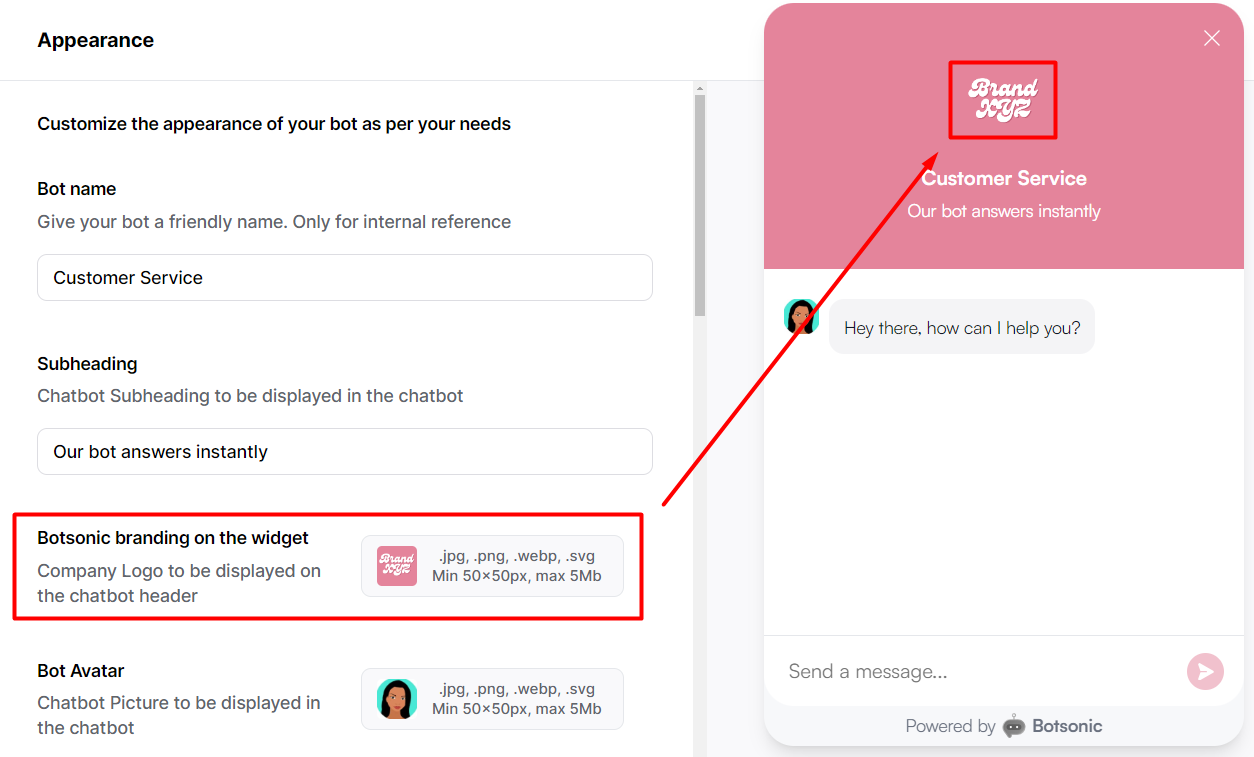
Company Logo
Upload your company logo
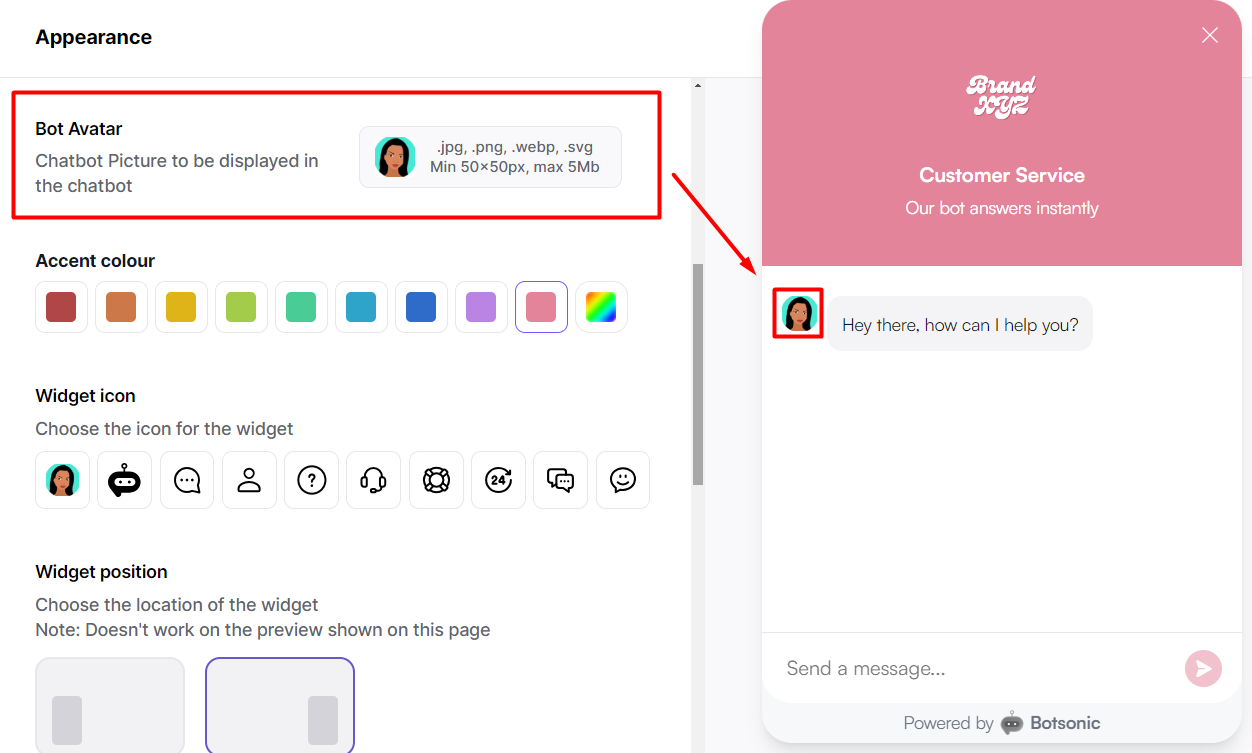
Bot Avatar
Upload an avatar for your bot
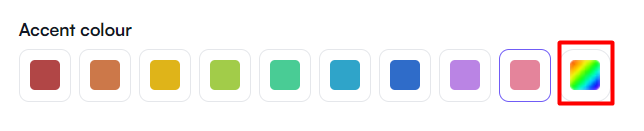
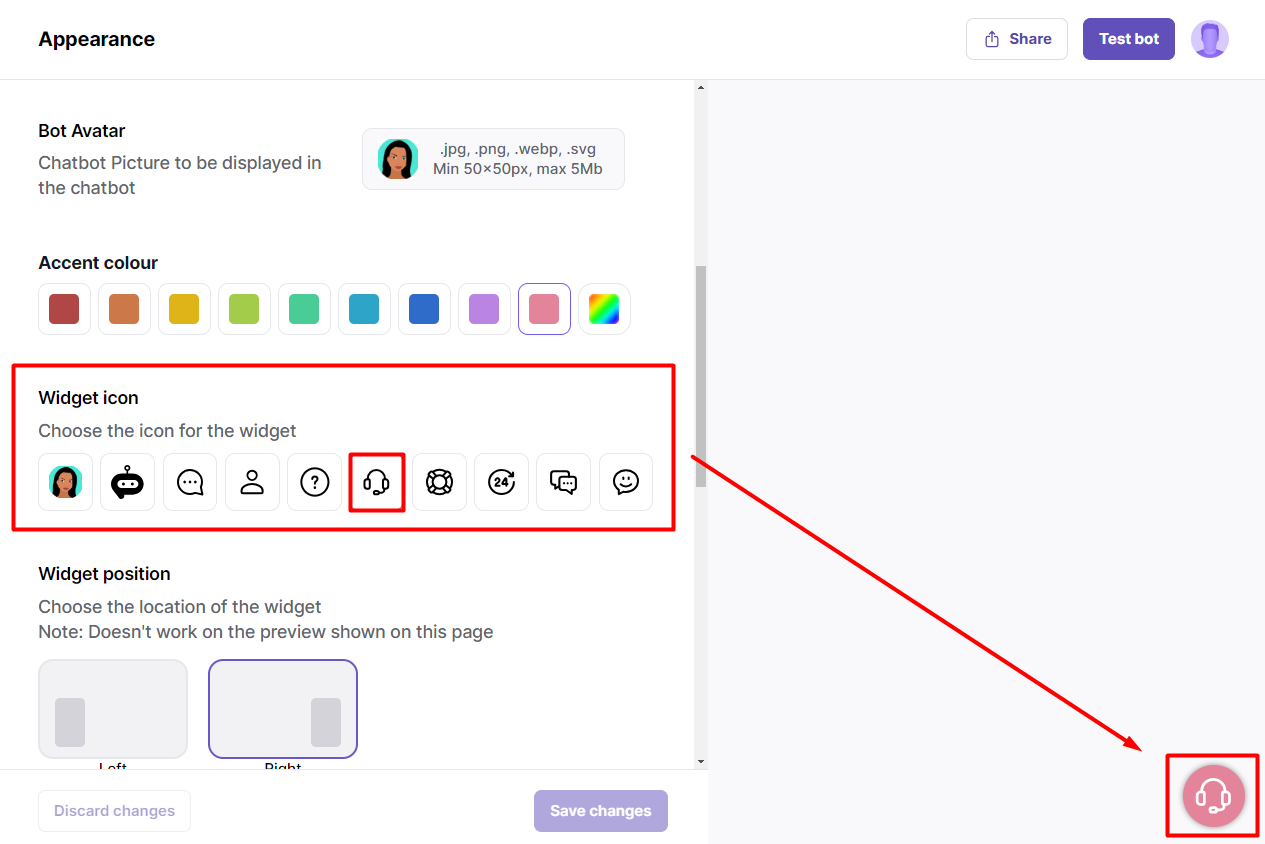
Accent Color
Select an accent color
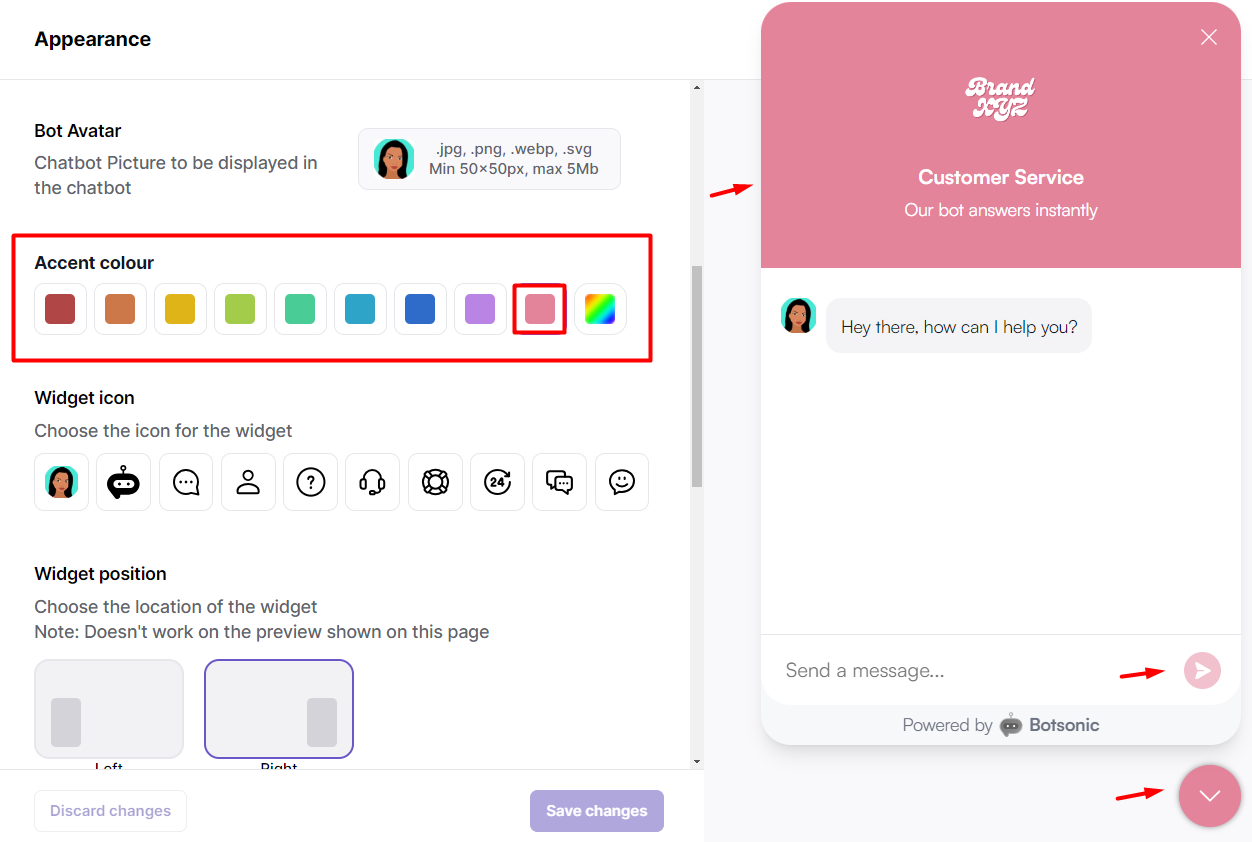
You can also select an accent color from the color picker or enter a hex code
Widget icon
Select an icon for the chat widget
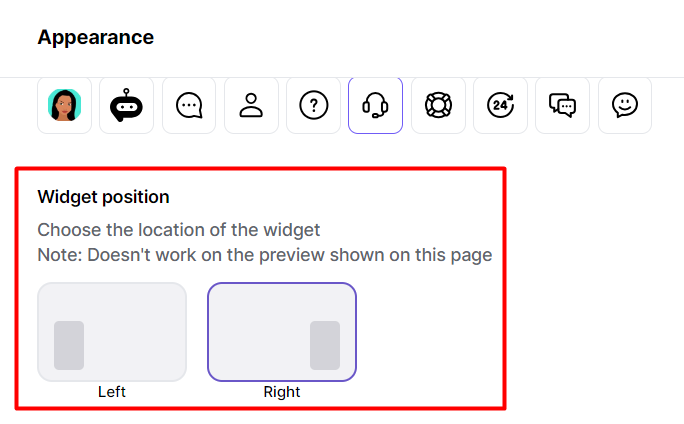
Widget Position
Select left or right for the widget position on your website's screen
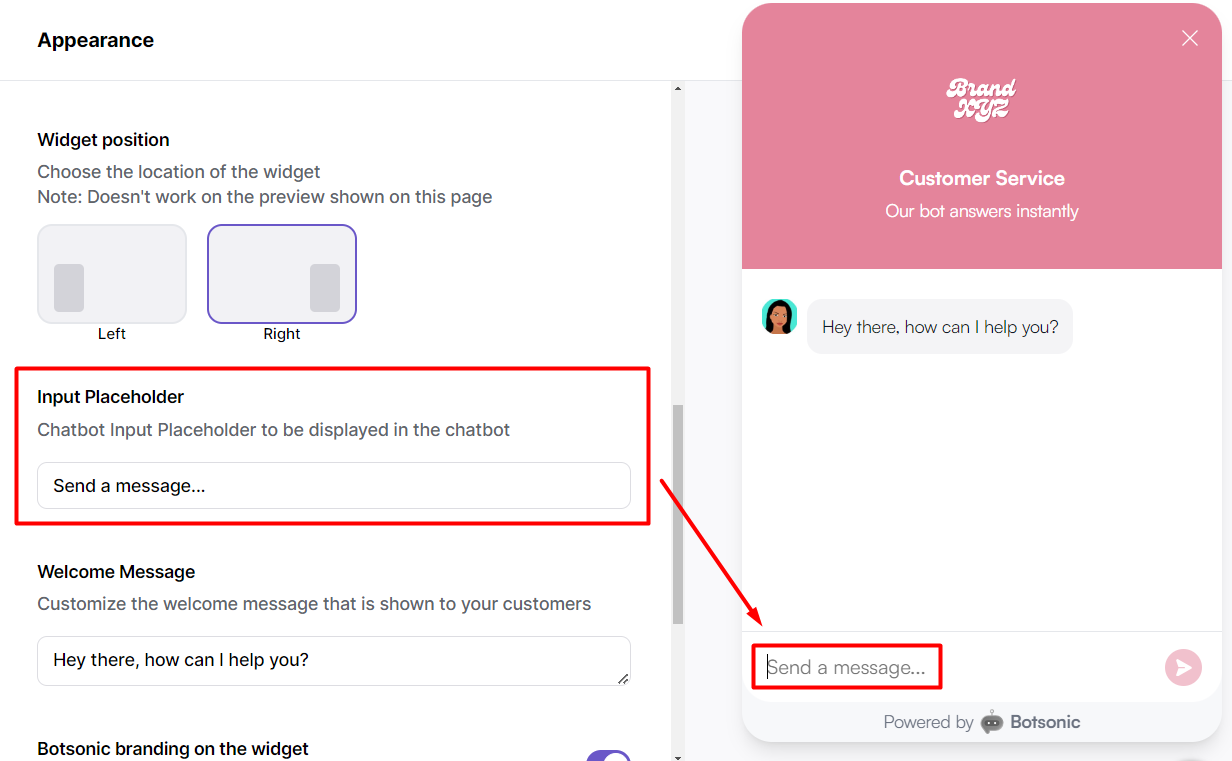
Input Placeholder
Enter a message to be displayed as an input placeholder on the chatbot
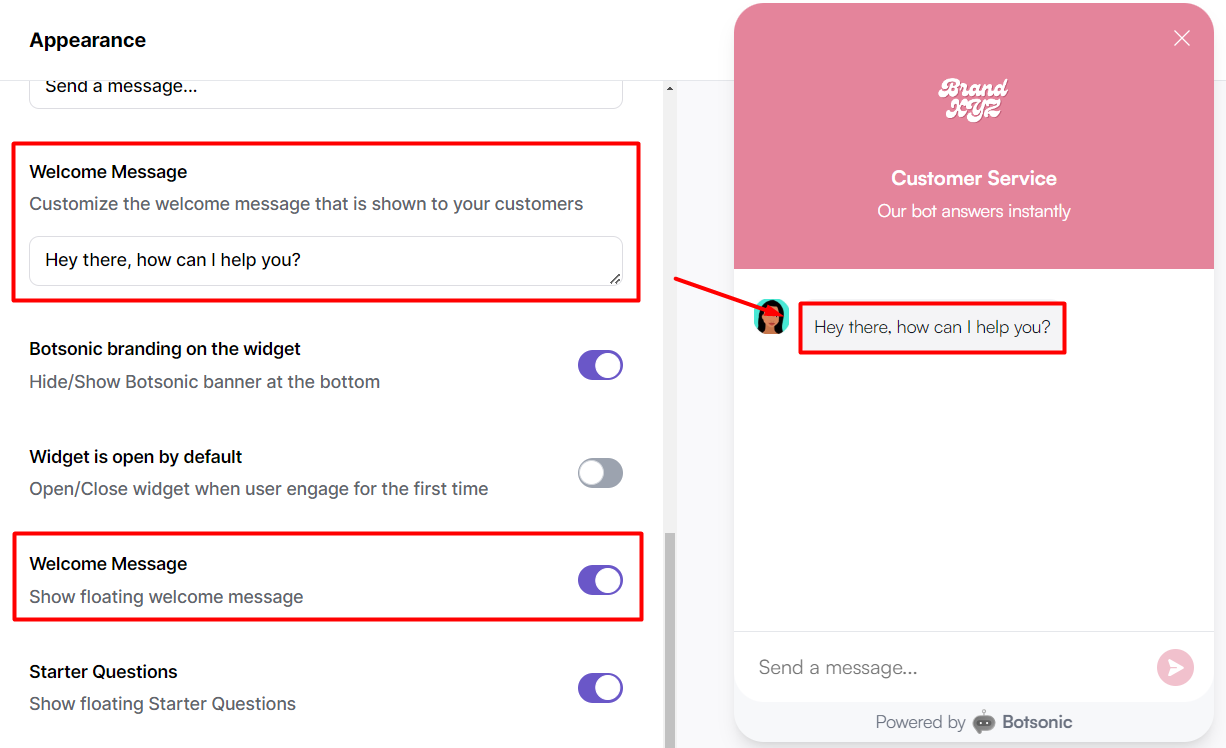
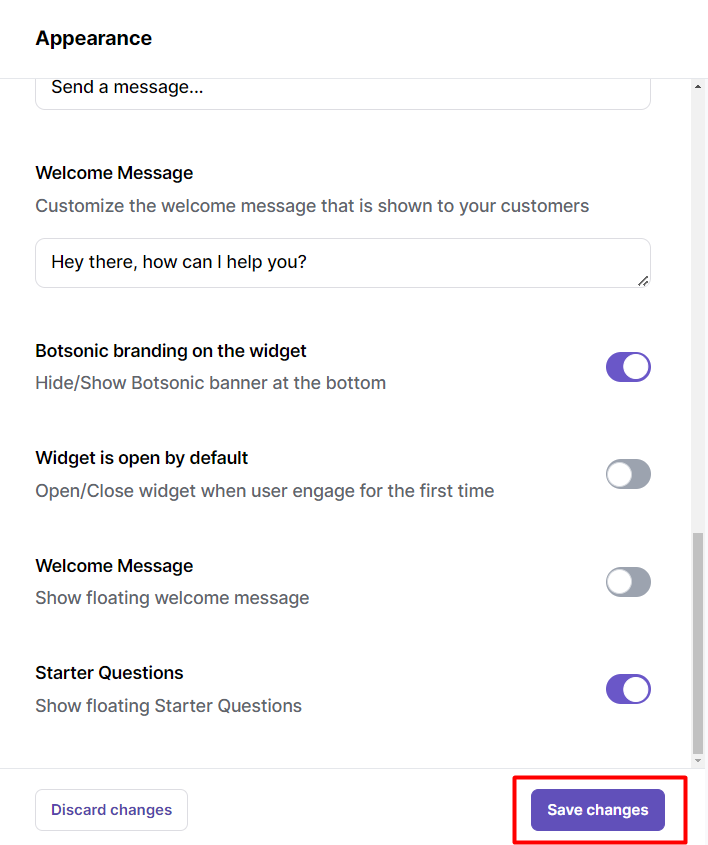
Weclome Message
- Enter a customized welcome message that will be displayed to users when they start engaging with the Bot
- Toggle OFF to disable
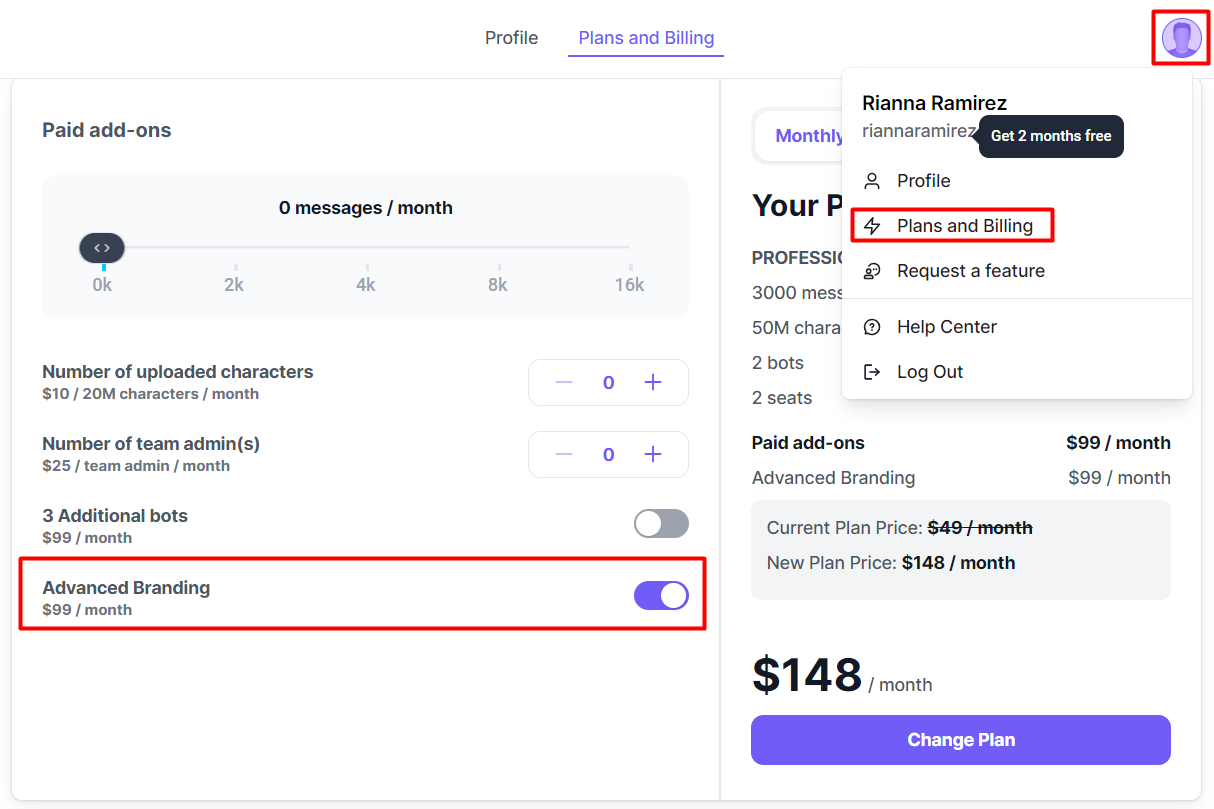
Show/hide Botsonic's branding
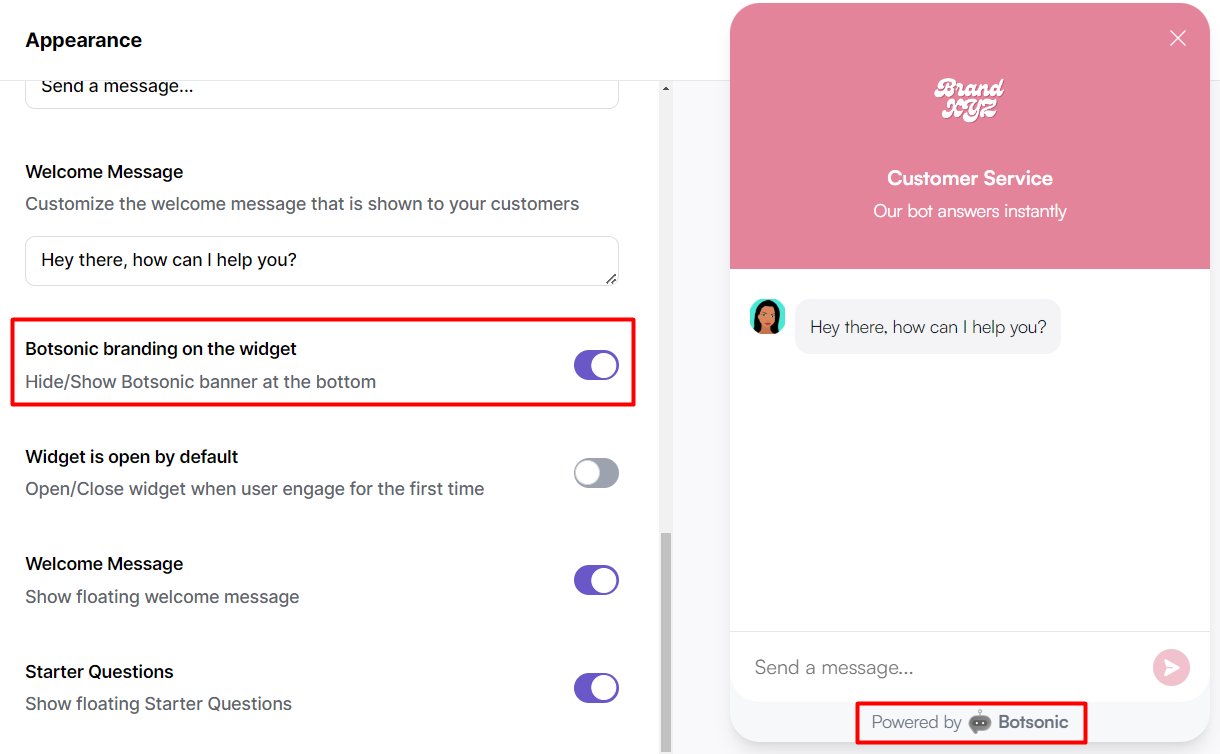
Hiding Botsonic's branding is an add-onTo activate, please go to your Plans and Billing page to switch ON this add-on.
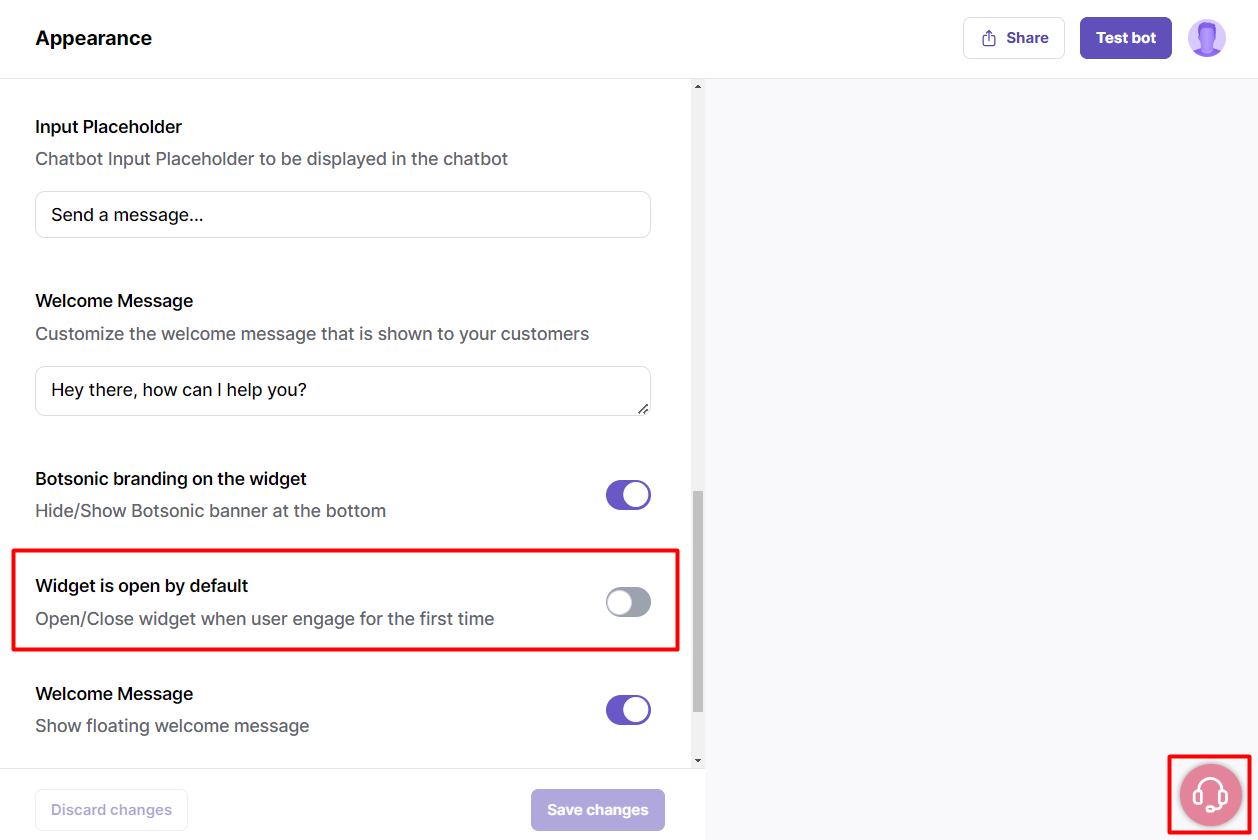
Widget is Open by Default
Select a setting to open/close the widget by default
Step 3 - Save your changes
Click [Save changes]
Updated 8 months ago