
AI Workflows
Learn how to train your chatbot to mix human-like behaviors with strong action-taking abilities.
Workflows let your chatbot complete a full series of steps, from start to finish. Each step can help the bot do something, like talk to the user, make an API call, or look up information in a document. This makes the chatbot more dynamic and interactive, offering a better experience for users.
Step 1 - Create a Workflow
- Open the bot you want to work on.
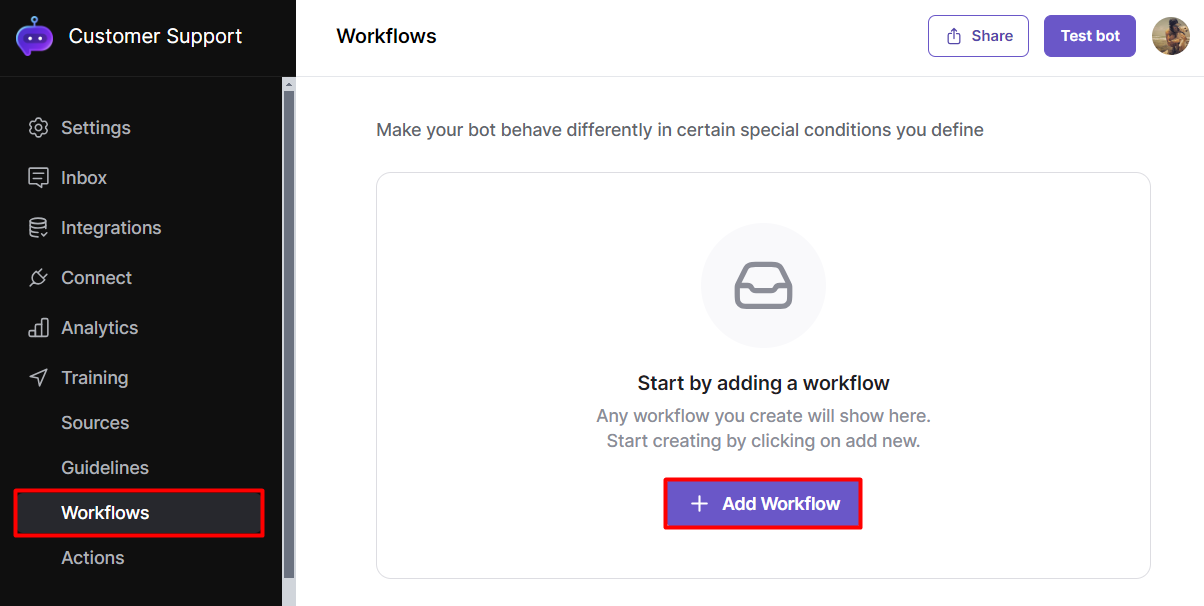
- On the left-hand side menu, click on "Workflows".
- Click [Add Workflow]
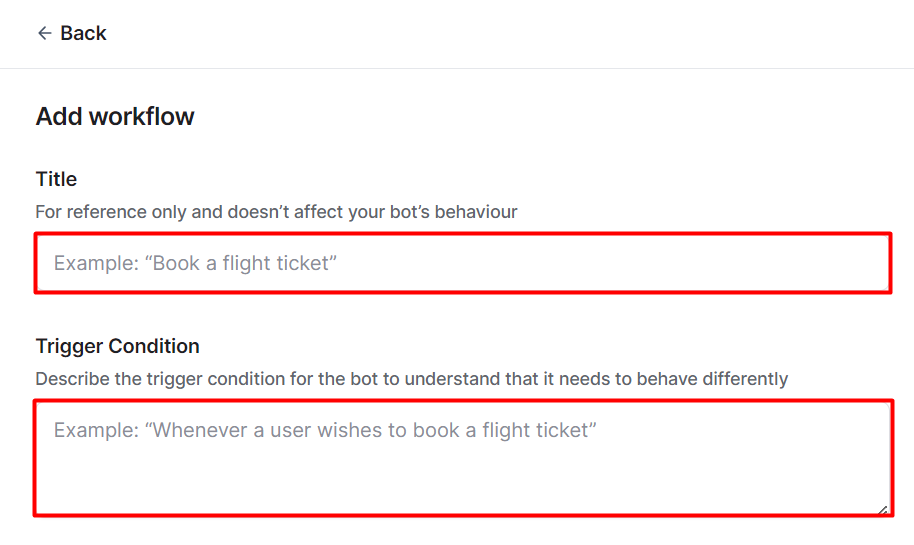
- Give this workflow a title, e.g., "Order Cancellation."
- Describe the trigger condition. When should this action be triggered? Eg. "when a user wants to cancel an order."
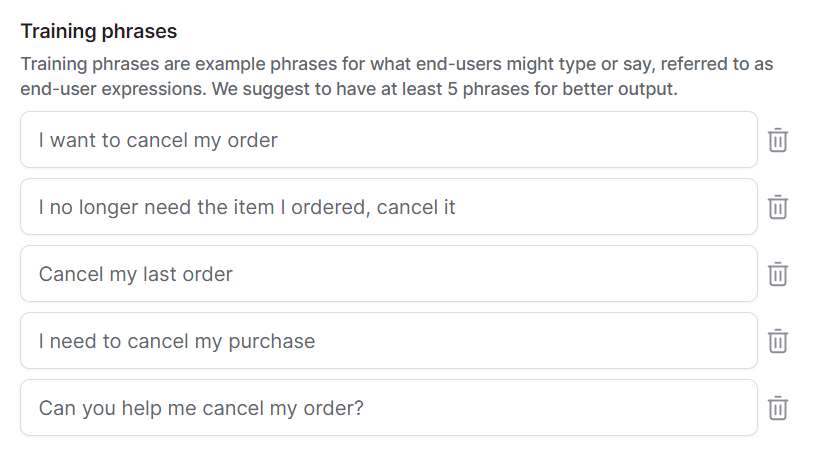
- Provide the bot with some training phrases. Training phrases are example phrases for what end-users might type or say. Botsonic will use these phrases to train the bot, so we suggest having at least 5 phrases for better output. Here are some example phrases for a trigger condition to "cancel an order"
- I want to cancel my order
- I no longer need the item I ordered, cancel it
- Cancel my last order
- I need to cancel my purchase
- Can you help me cancel my order?
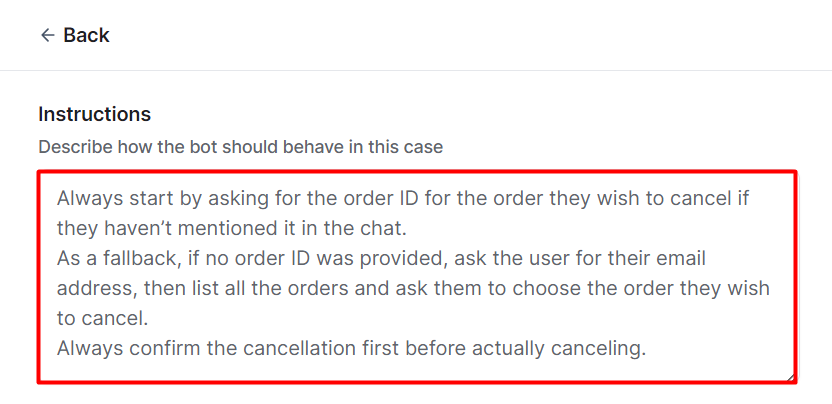
- Give the bot instructions on how to behave in the given scenario. For example:
- Always start by asking for the order ID for the order they wish to cancel if they haven’t mentioned it in the chat.
- As a fallback, if no order ID was provided, ask the user for their email address, then list all the orders and ask them to choose the order they wish to cancel.
- Always confirm the cancellation first before actually canceling.
Step 2 - Link an Action
The bot can interact with other systems outside of your bot. An "action" is a predefined action or function that the chatbot can perform, such as making API calls, interacting with external systems, or referencing specific documents, to enhance its responses and capabilities during user interactions. For example, you might make an API call to "cancel an order."
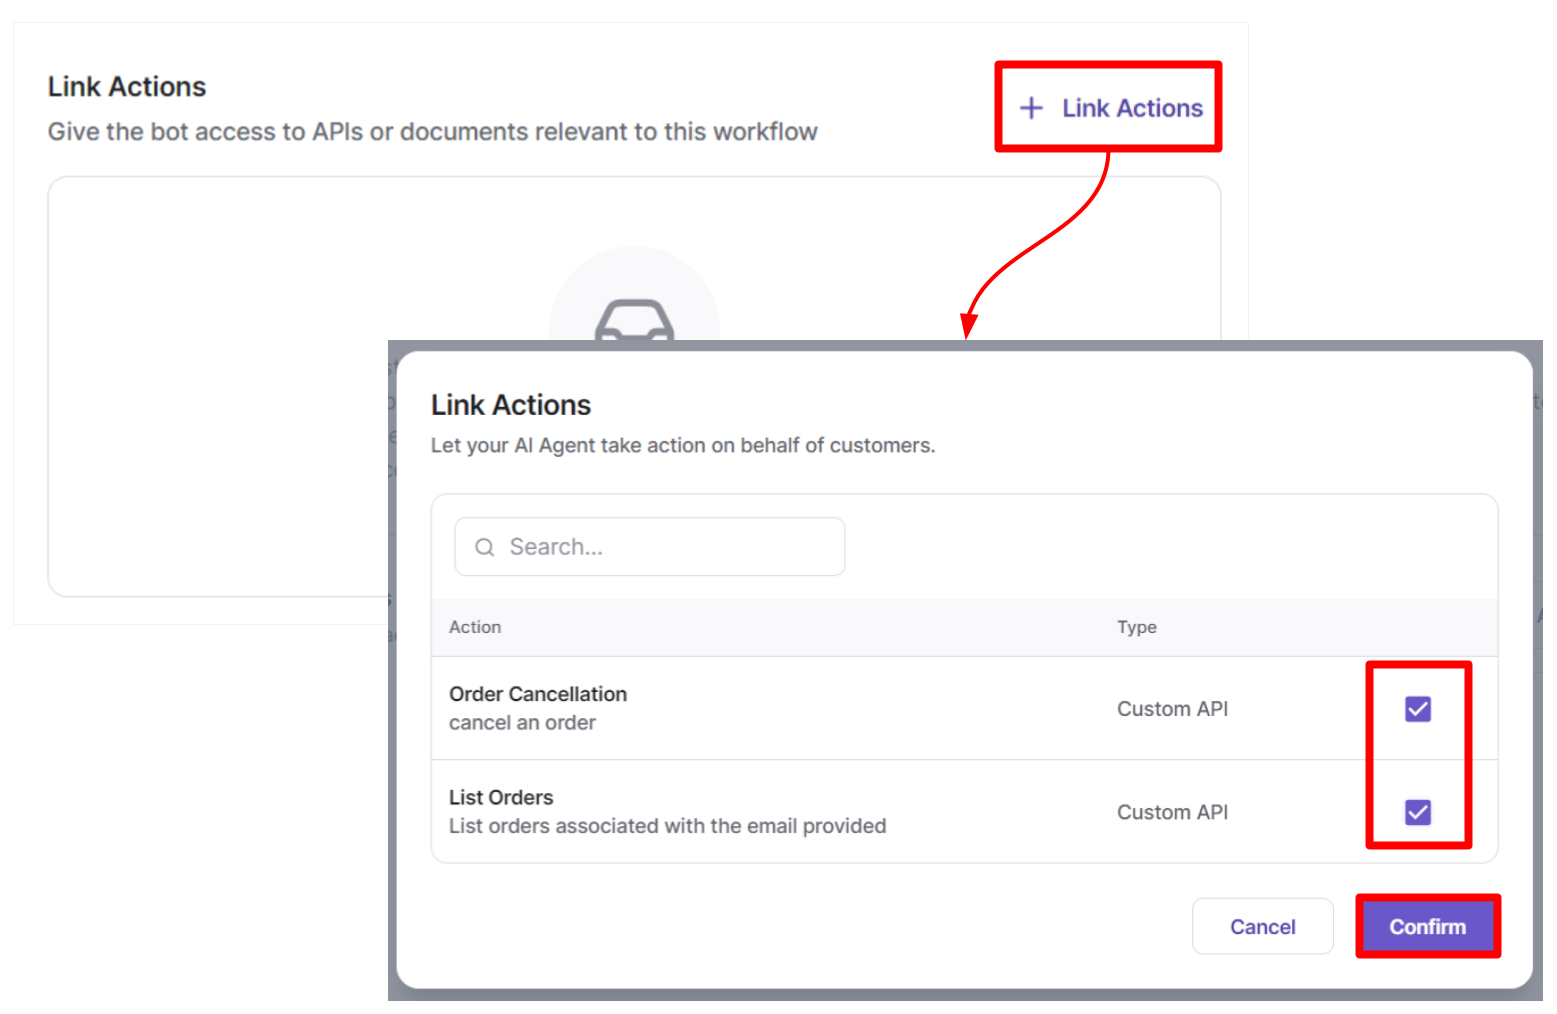
- Ensure that an "action" has been created, then click [Link Actions]. If you haven't created an Action yet, read and follow this step by step guide to Create an Action
- Select the action/s required to perform the task
- Click [confirm]
Updated about 1 year ago