Create a General Bot
A General Bot is mainly used for engaging with customers or users, regardless if it's for a product or service, or for company SOPs, processes, and policies.
A general bot can provide real-time response by answering questions posted by users by accessing and processing existing content from existing documents or websites.
Step 1 - Create a Bot
-
Click [Home] from the left hand side menu to get to the Dashboard, then [Create bot]
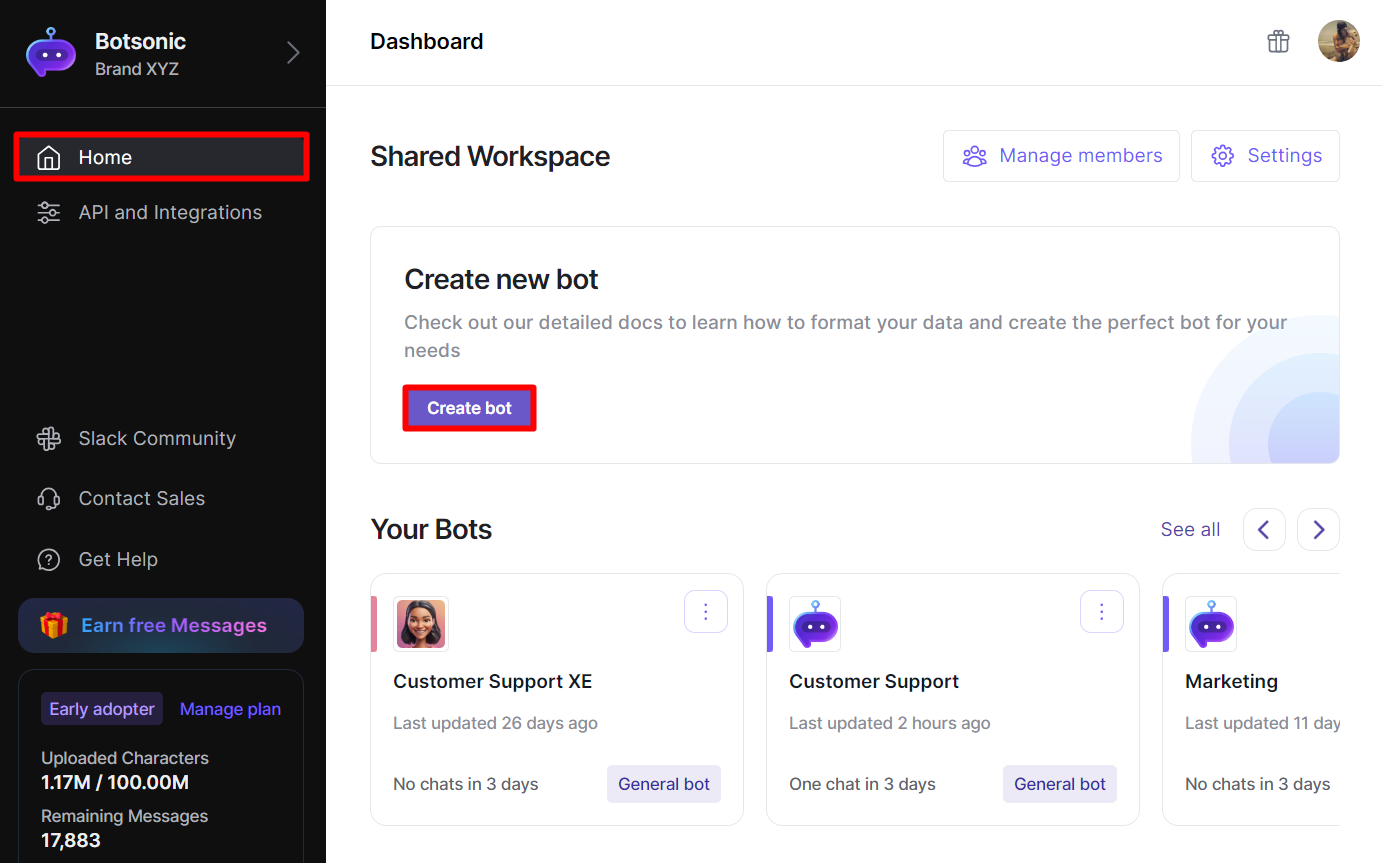
- Give your bot a name.
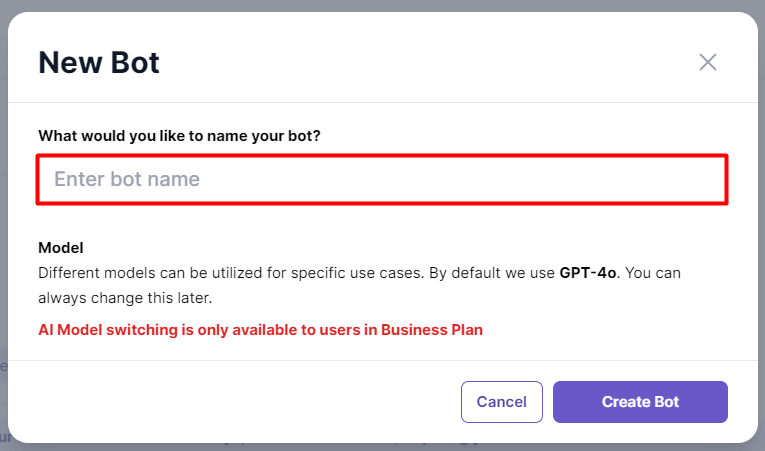
By default, the AI Model used is GPT-4o. You can always change this later. Read this article to learn more about the differentAI Models.
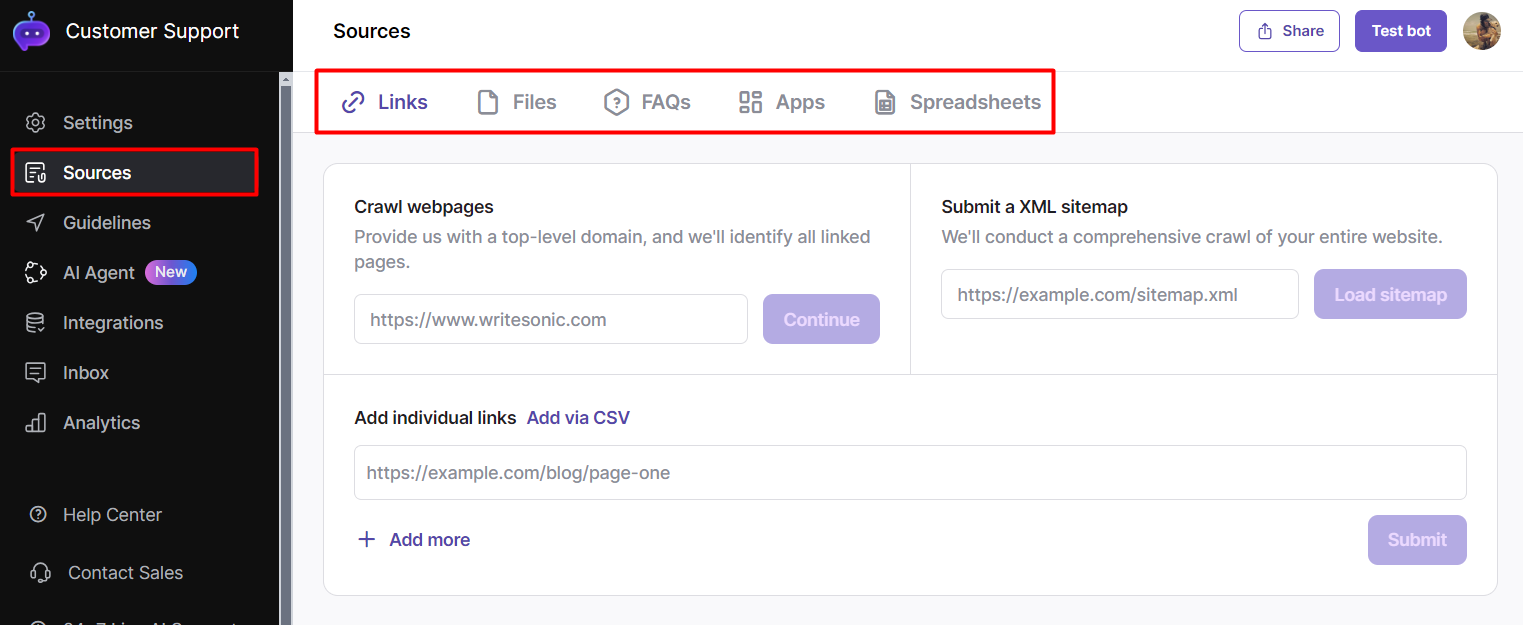
Step 2 - Upload knowledge SOURCES to train your bot
Training sources are essential documents containing all the information and references that the Bot will access and process to provide information requested by users.
- Click [Sources] from the left hand side menu, the select the SOURCE type you want to add or upload to train the Bot.
- You can upload files, webpages, FAQs, and sync to Notion Pages
- Each Bot in your workspace is tied to its own knowledge source independently.
Read and follow the step by step guide for uploading and adding knowledge sources for your bot.
Step 3 - Customize the settings of your bot
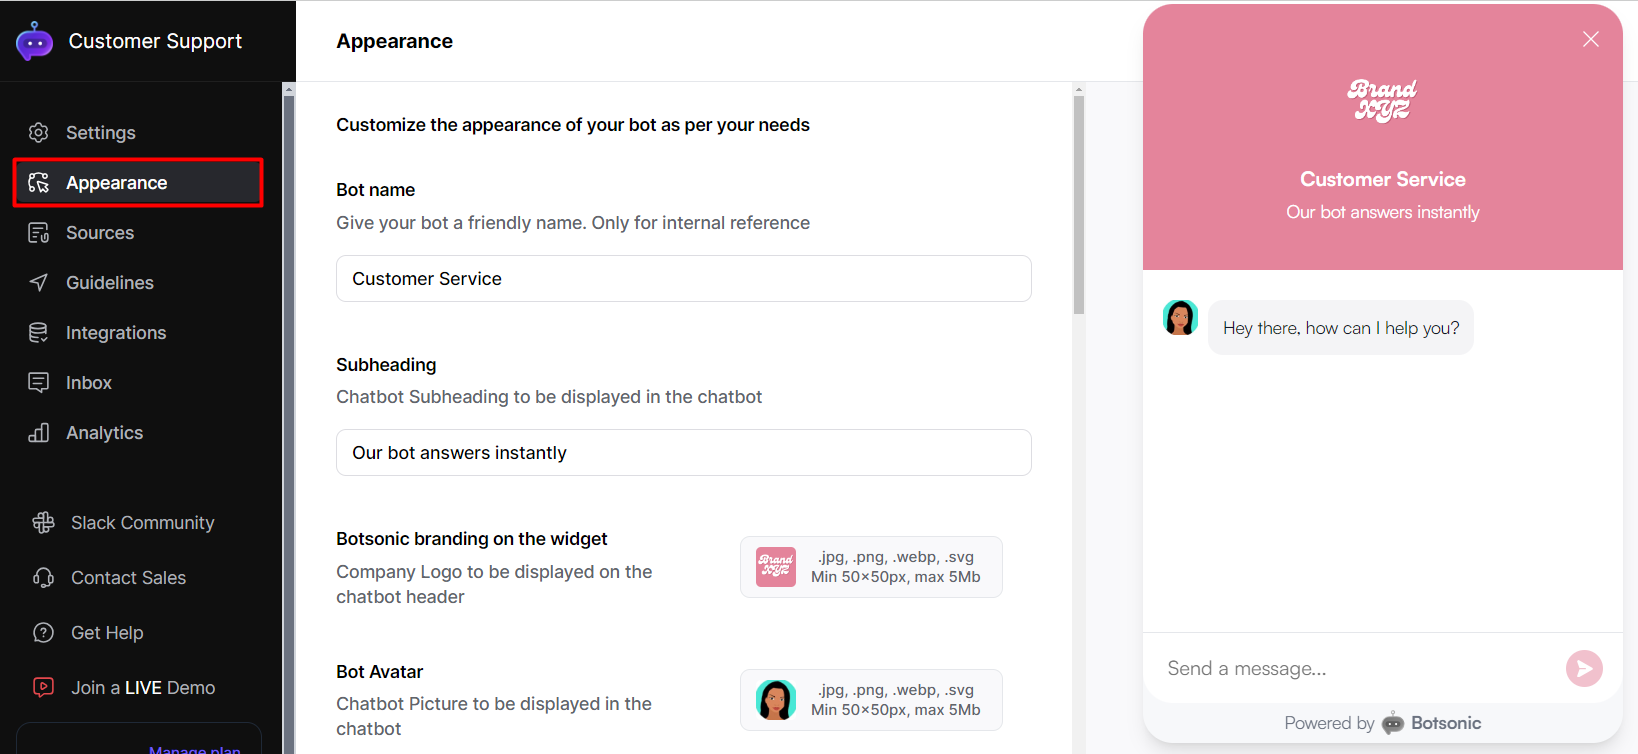
Appearance
Click [Appearance] from the left hand side menu to personalize or add branding to the look and appearance of your chatbot:
- add your company name, upload a logo and avatar;
- select an accent color that goes with your branding / theme;
- customize displayed text on the chatbot (sub-heading, welcome message, etc.);
- show source references along with the chatbot's responses;
- ask users to post feedback when they exit the conversation
Read this step by step guide to Customize the APPEARANCE of Your ChatbotClick the [Appearance] tab from the left hand side menu to access the appearance settings for your Bot
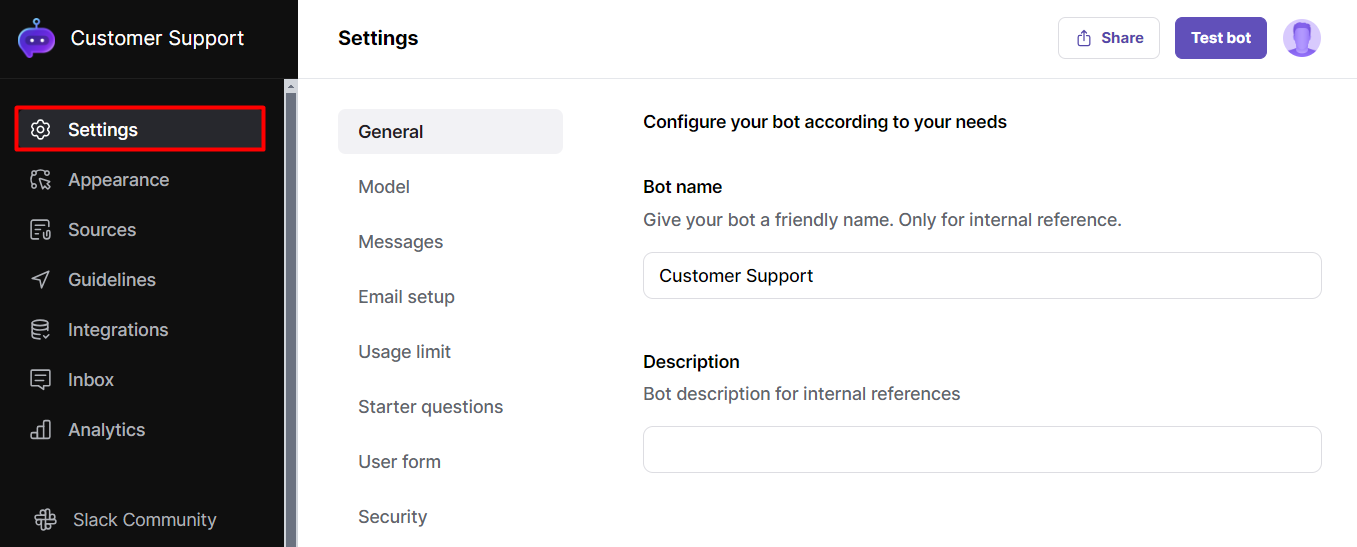
Bot Settings
Click [Settings] from the left hand side menu to configure the settings of your bot:
- set the length of responses;
- set multilingual support;
- select an AI model;
- send email transcripts;
- send follow up questions
- provide additional guidelines
- limit messages,
- block users with masked IPs
Read this step by step guide to Configure Your BOT SETTINGSClick the [Settings] tab from the left hand side menu to access the settings page for your Bot
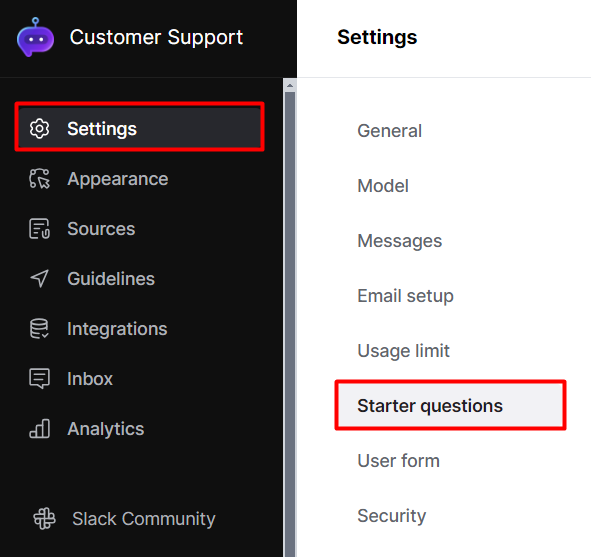
Starter Questions
Starter questions help initiate a conversation or engage the user. These questions are displayed above the chat icon on the website.
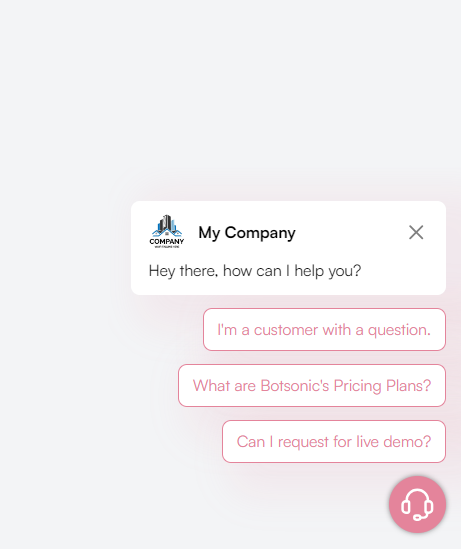
Read this step by step guide to Add STARTER QUESTIONS for Your ChatbotClick [Settings], then click [Starter questions]
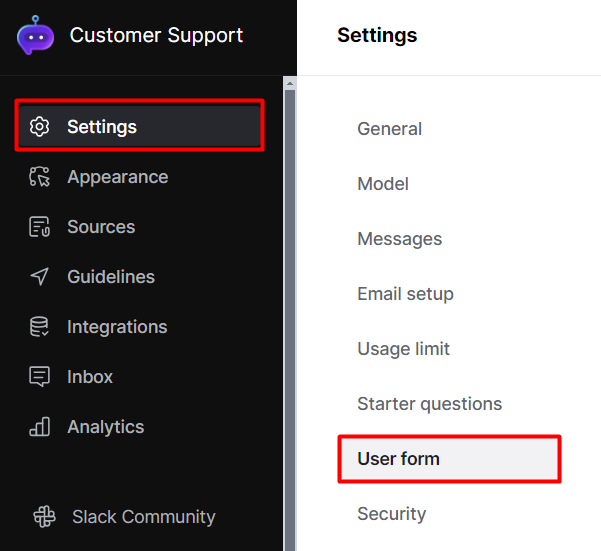
User Form
User forms provide a structured way for the chatbot to collect information from users. When enabled, the user is prompted to enter and submit information on a form before they start interacting with the chatbot.
Access to this feature varies based on the specific plan you have chosen.

Read this step by step guide to Setup and Collect Data with a USER FORMClick [Settings], then click [User form]
Step 4 - Connect your chatbot
Embed the bot on your website, developers can use Botsonic's Rest API, or integrate with your favorite 3rd party applications.
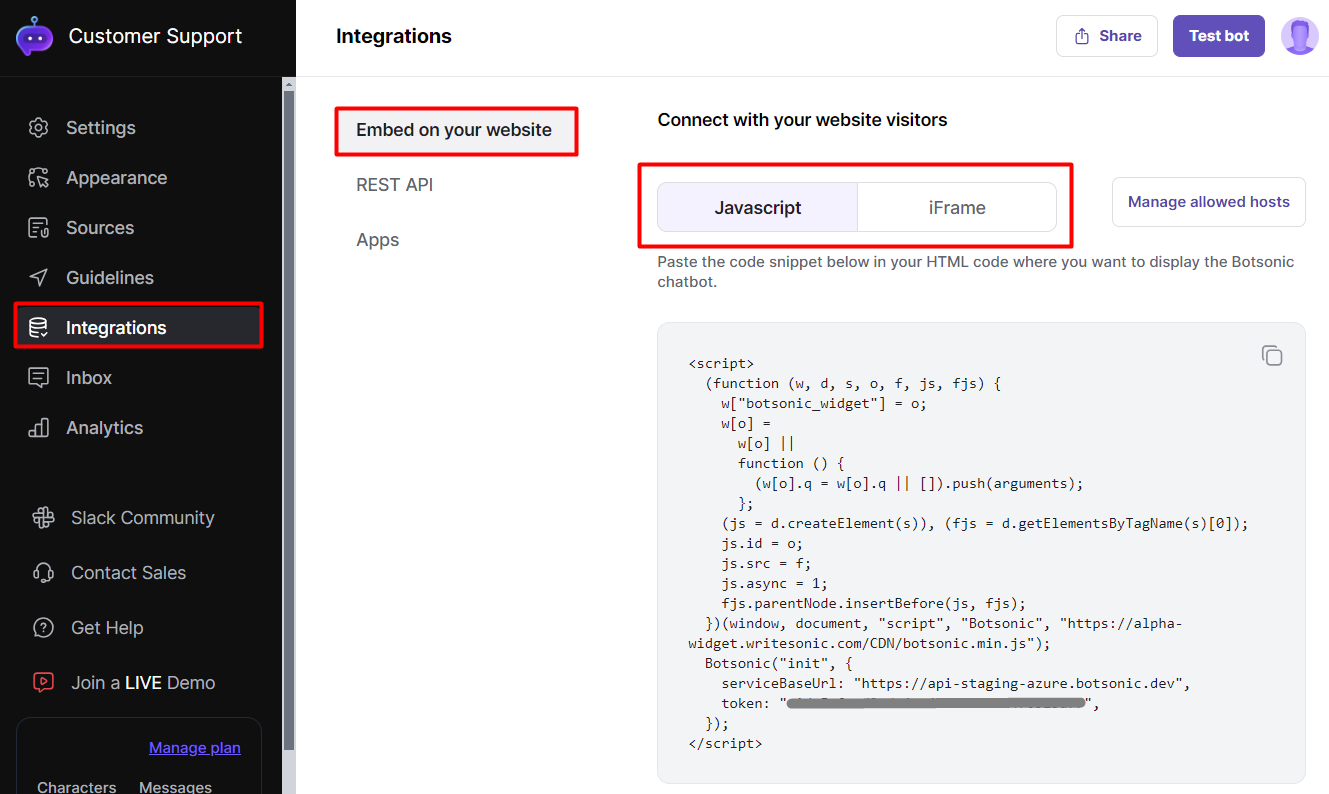
Embed the bot on your website
Easily copy and paste a code or snippet to embed the chatbot into any website interface so website visitors can interact with the chatbot. There are 2 ways to embed the bot on your website:
- Embed Javascript
- Embed Iframe
Read this step by step guide to Embed the Chatbot with an HTML Embed Code or with an Embed Iframe
- Click [Integrations], then click [Embed on your website]
- Then click [Javascript] OR [iframe]
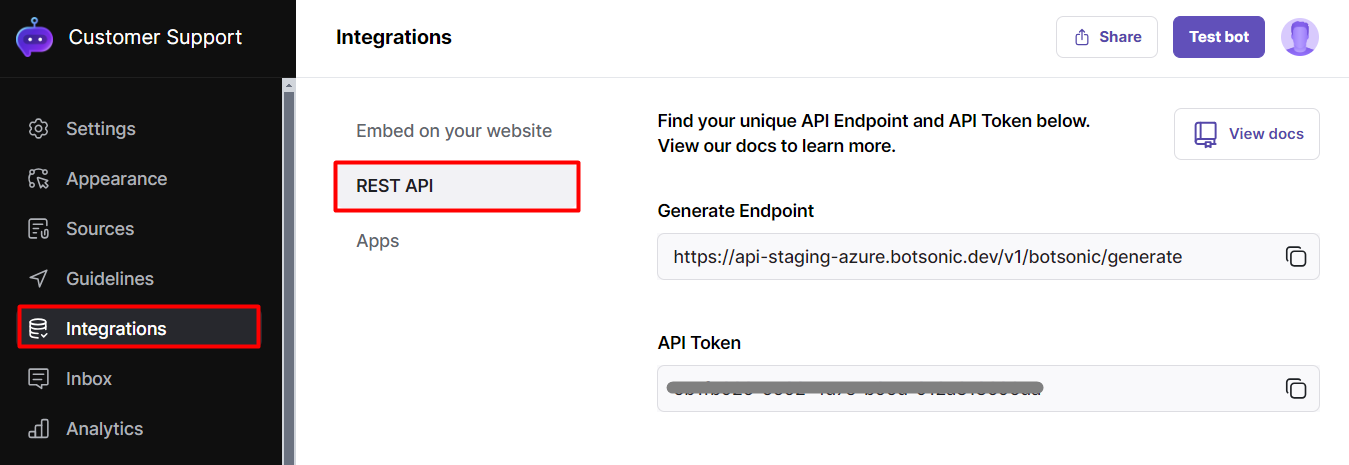
Rest API
With Botsonic's Rest API, developers can integrate the chatbot into various applications, websites, or services.
Read this step by step guide to get the Rest APIClick [Integrations], then click [Get REST API]
Integrate with 3rd Party Applications
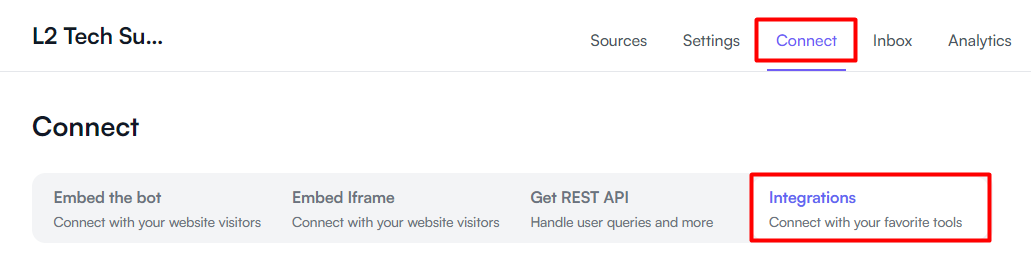
Connect your chatbot with your favorite tools:

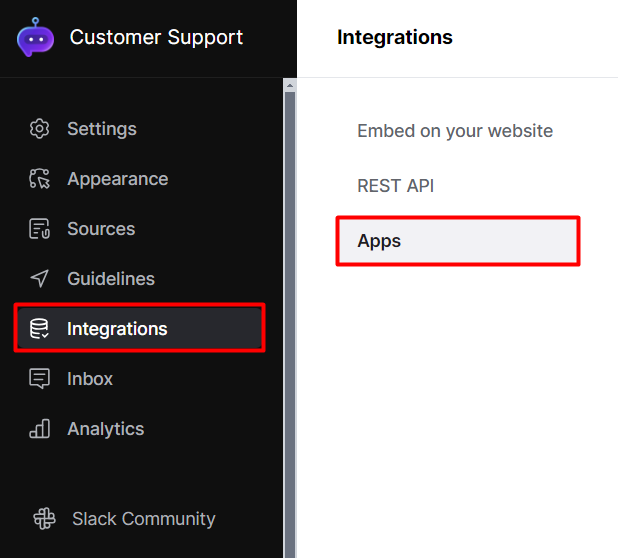
Read this article to learn more about Connecting your Chatbot with your Favorite ApplicationsClick [Integrations], then click [Apps]